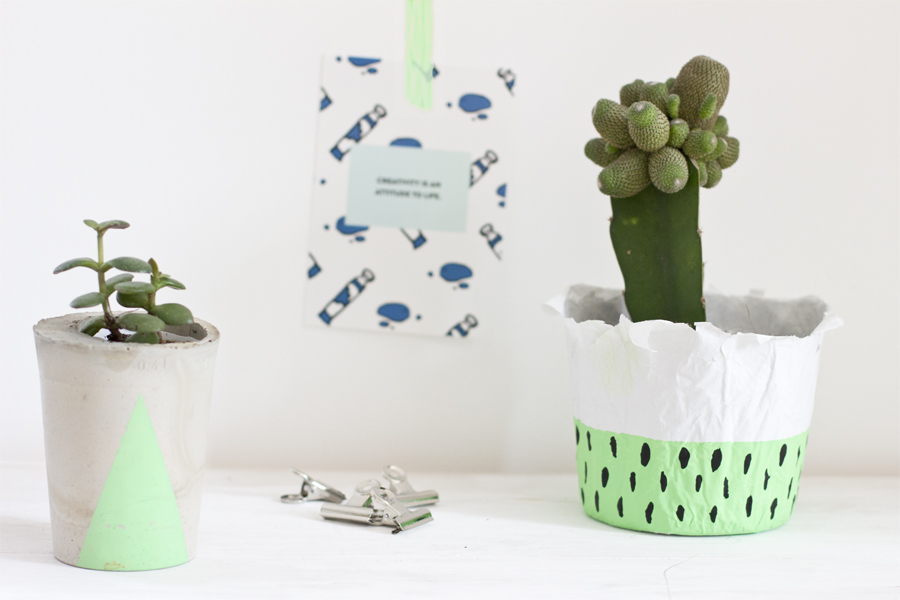
I’m currently on a quest. Just me, myself and I. And that is the quest to re-use stuff that I have at home to craft and DIY. You’d think that’s common?!…


I’m currently on a quest. Just me, myself and I. And that is the quest to re-use stuff that I have at home to craft and DIY. You’d think that’s common?!…

Every DIYer (or hoarder – but the actual difference is fluent) knows the problem situation when they have something in hand that’s actually trash but one’s thinking: I could use this one…

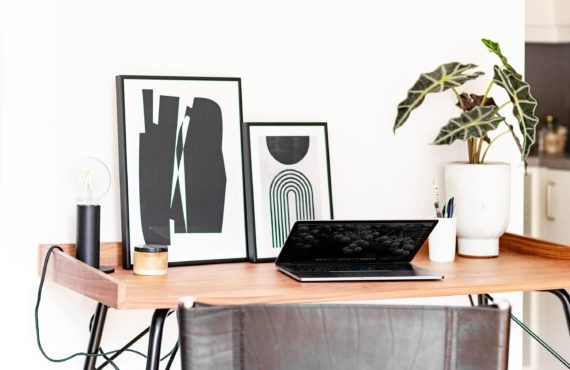
*Sponsored by Desenio – discount code at the end of post Poster stores are a great way to get affordable (and adorable) art for your home. However, I always feel uncomfortable…
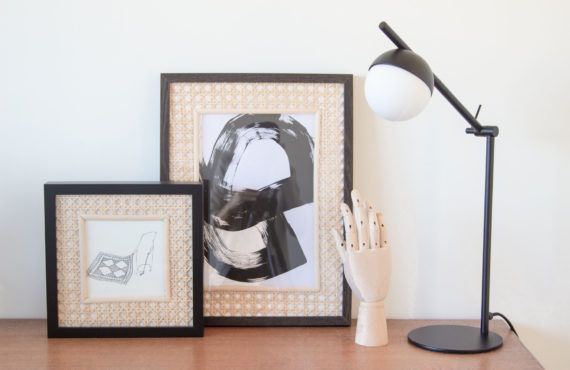
A few years ago I started making a gallery wall with mostly black frames and then a few months ago I switched to a more natural style with wood. So have…

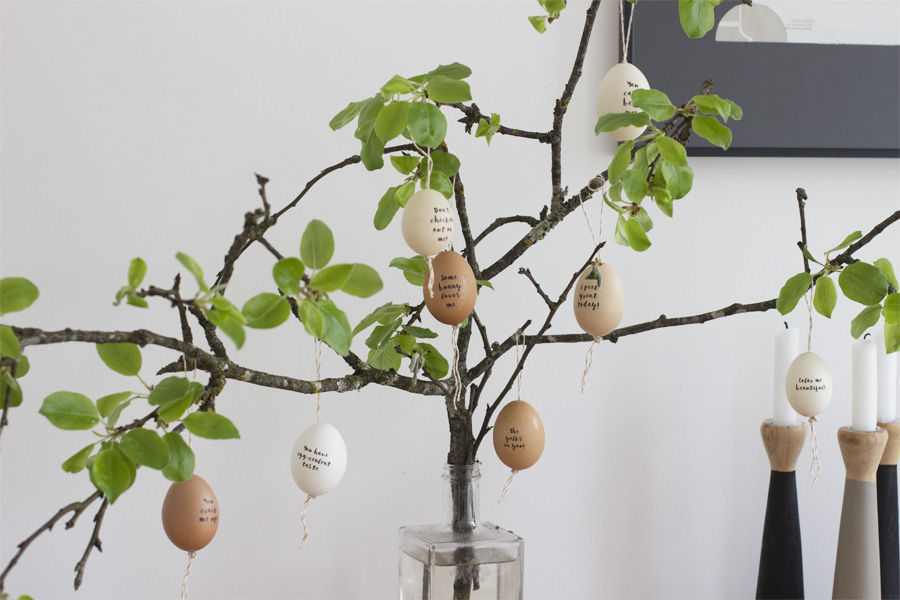
*Sponsored by ottoversand.at When it comes to tell my loved ones that I do love them, I’m an awkward person. There has to be at least a pun in there that…

Last year, I shared my New Year’s resolutions for the first time. I already explained why I can’t and won’t write those on the 1st of January (read all about it…

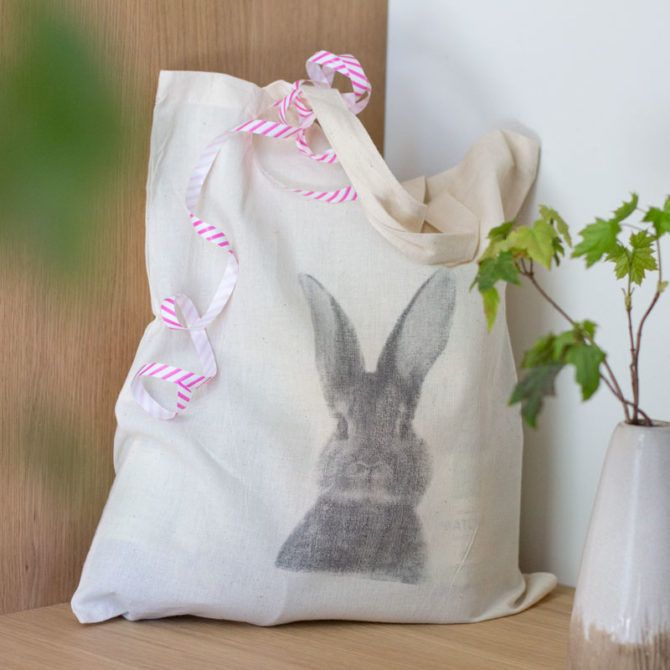
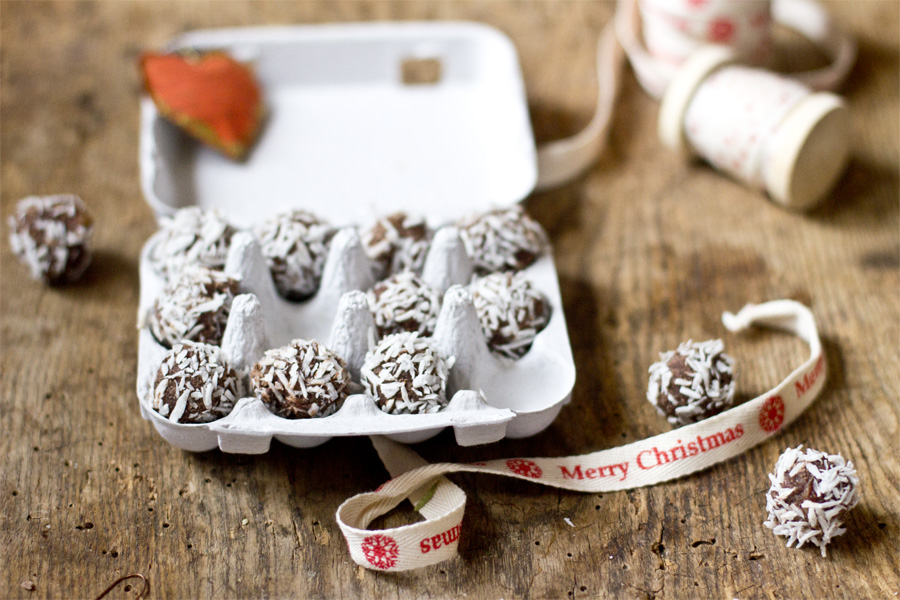
Packaging has an important role to play: it is the first thing you see and builds anticipation. So making it extra pretty has always be my goal. It also gives me an…

This year I tried to be so organized that I even can send out Christmas cards – to friends and family but also to my business contacts. As a one-woman-show all…
Isn’t there a meme out there that complains about people telling stories before they post a recipe? Well, I’ve seen it and I ignored it. Because the story I’m about to…

I made it a quest this year to look through my closet, donate what I don’t like and what is in good shape, repair what needs some attention and get only…
*Sponsored Do you remember the time when you moved into your first apartment? The first home that was your own? The one you could decide what comes in and what it…
This year I tried to reduce my footprint as much as possible. I already mentioned that I stopped eating meat last year and this year I went on a fly-fasting. (Which…