
A few years ago I started making a gallery wall with mostly black frames and then a few months ago I switched to a more natural style with wood. So have a few looks going on in my home and it bothers me. It bothers me more that I’d like to admit. However, I didn’t want to throw out all the frames and images I collected, so I looked for a way to incorporate them into the overall more natural, neutral look I was going for in my home office.
When a few days ago, this rattan left-overs fell into my hands in my cellar, I had this idea of making a passe-partout out of rattan. Said and done. My partner just came in when I decorated it and said: Oh, so that’s how you’re dressing your art. Ok.
Enthusiasm sounds different but well. If I only had or did what he’d like from the beginning, I would be stuck quite early. How do you like this look? I guess, it’s a controversial look but I like it.
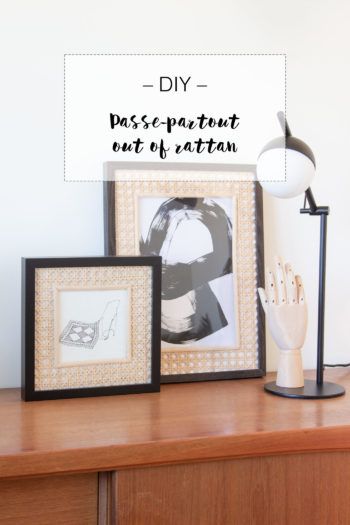
If you’d like to make your own rattan passe-partout, here’s the full tutorial.
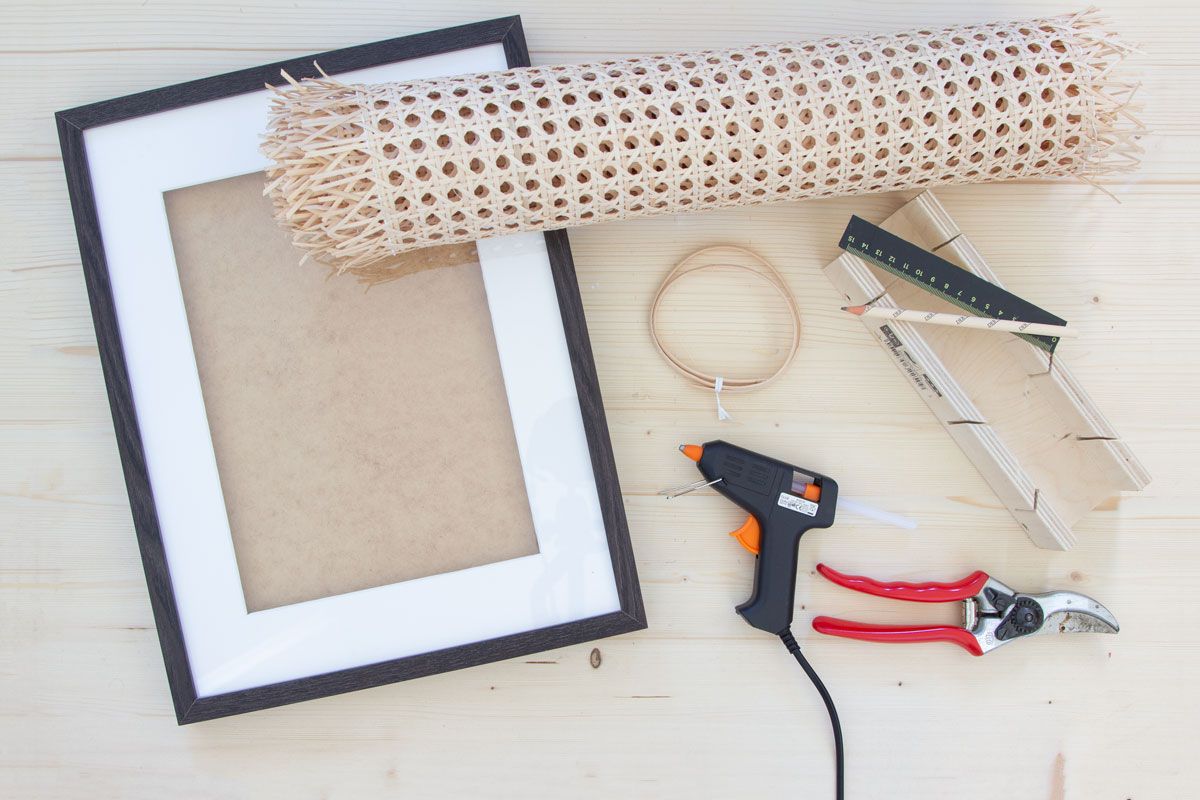
All you need for the rattan passe-partout:
- a picture frame
- rattan
- cane
- scissors
- a miter box
- pruning shears (or a wood saw)
- hot glue
- pencil and a ruler
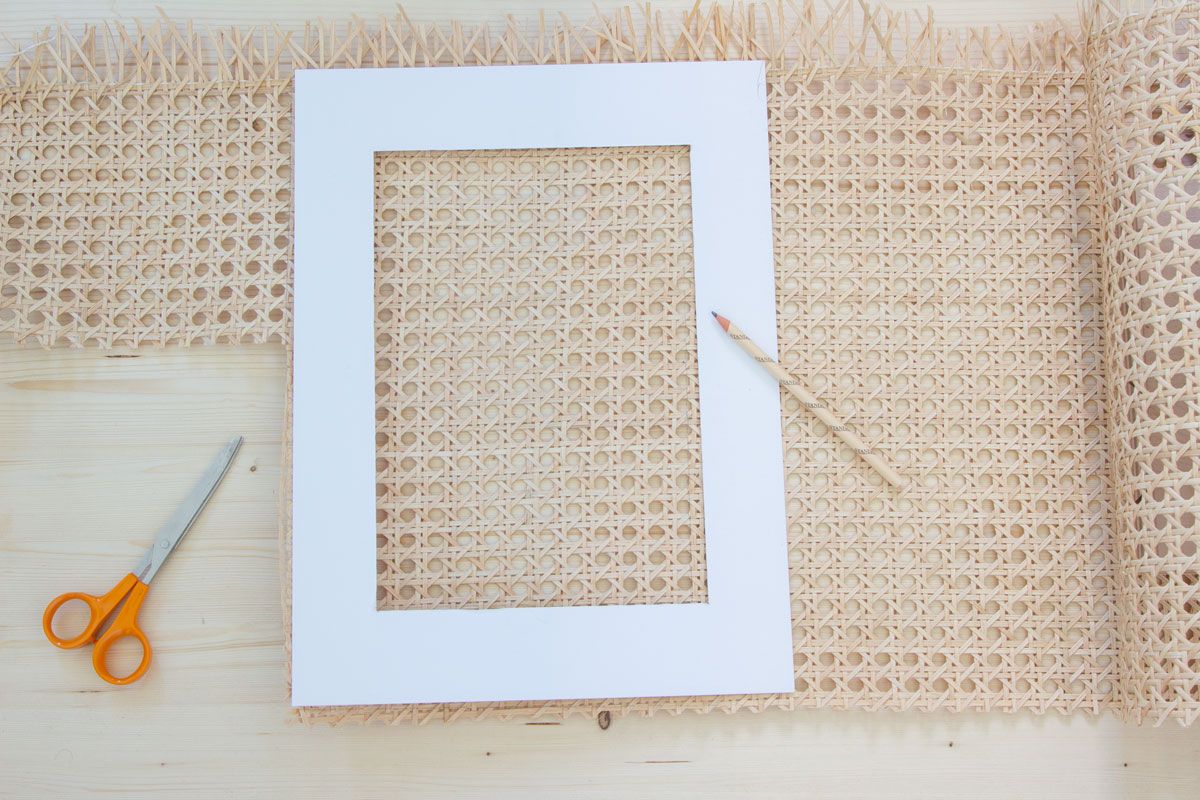
First take the passe-partout out of your frame and lay it out on your rattan. If you don’t have a passe-partout, I recommend taking a piece of paper and making a template first. It’s also great to have something on the back of your rattan once it’s in the frame.
Then mark the edges with your pencil. You’ll see in the next pictures that I drew a little on the wooden mat I use as working space.
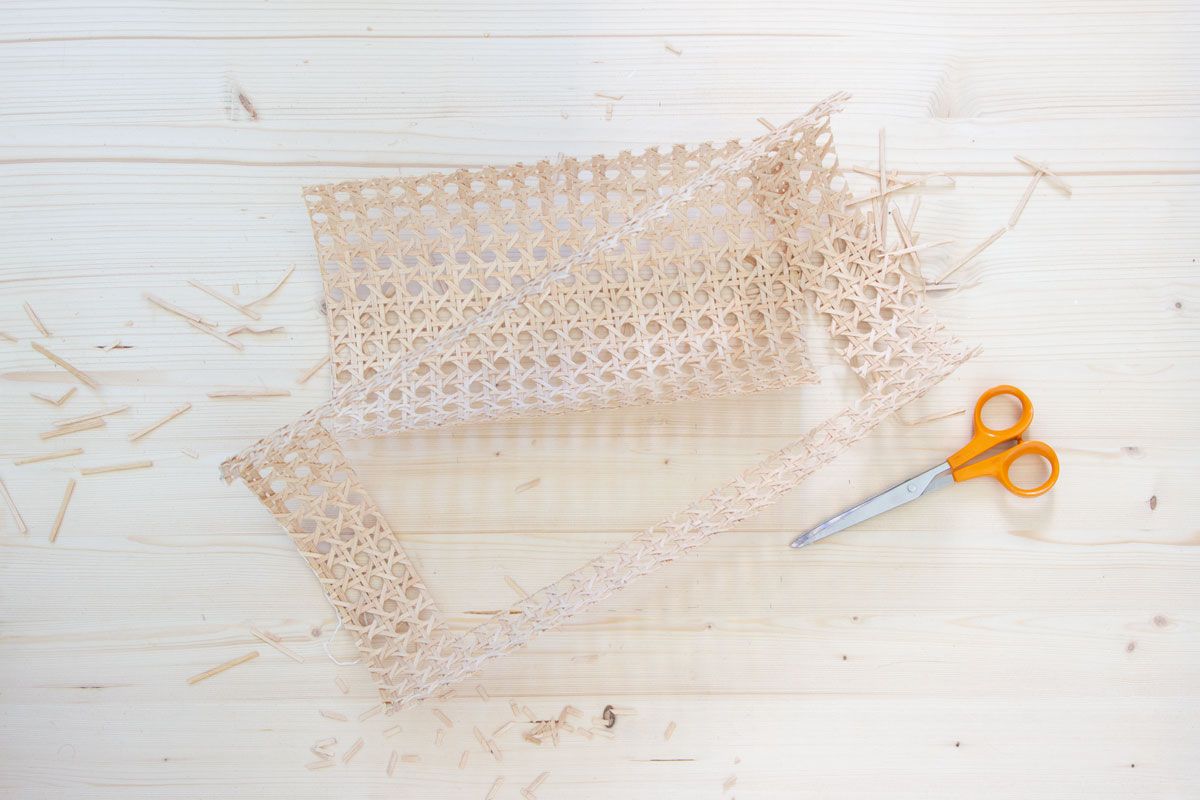
Then take your scissors and cut it out. It should look something like the picture above.
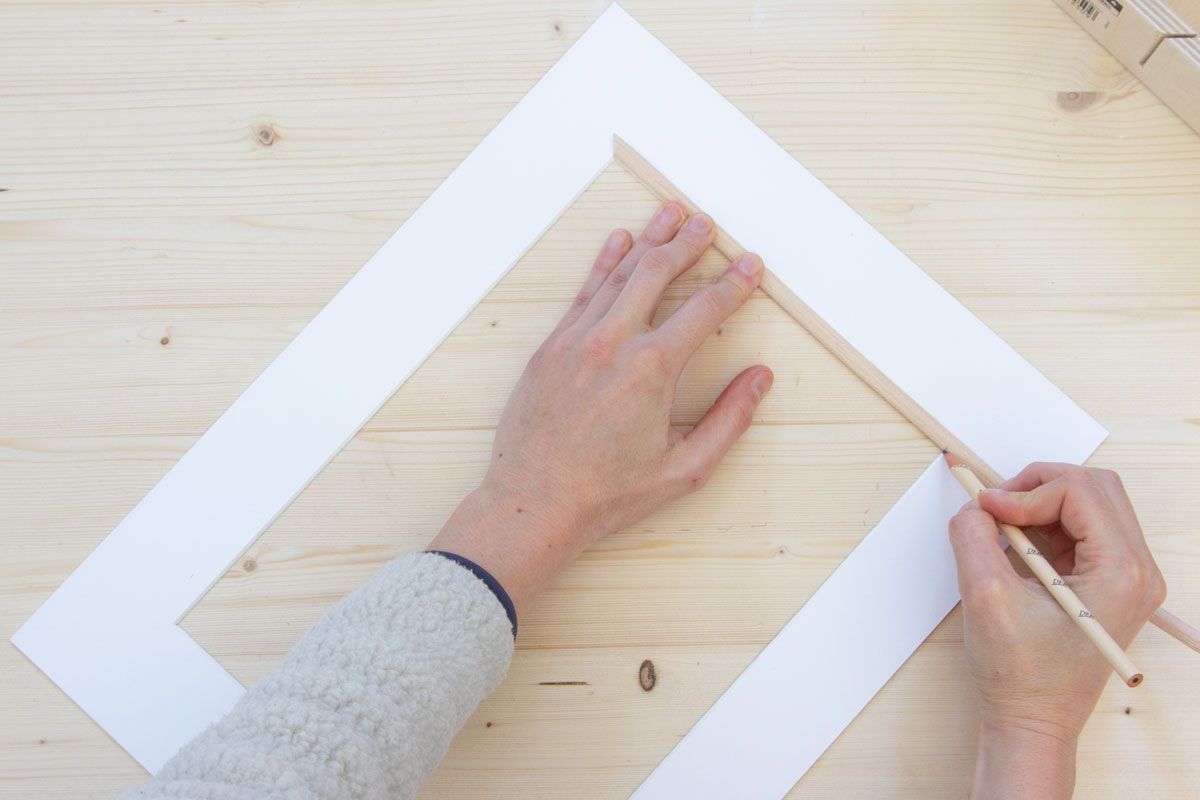
Next, take your cane strip and mark the edges of the inside of your passe-partout. You see in the picture above already at the one end I’m not marking what the end result looks like: we want the edge at a 45° angle. So if you start with the beginning of your cane strip, make sure to mark a little into the strip so you have space for the angle.
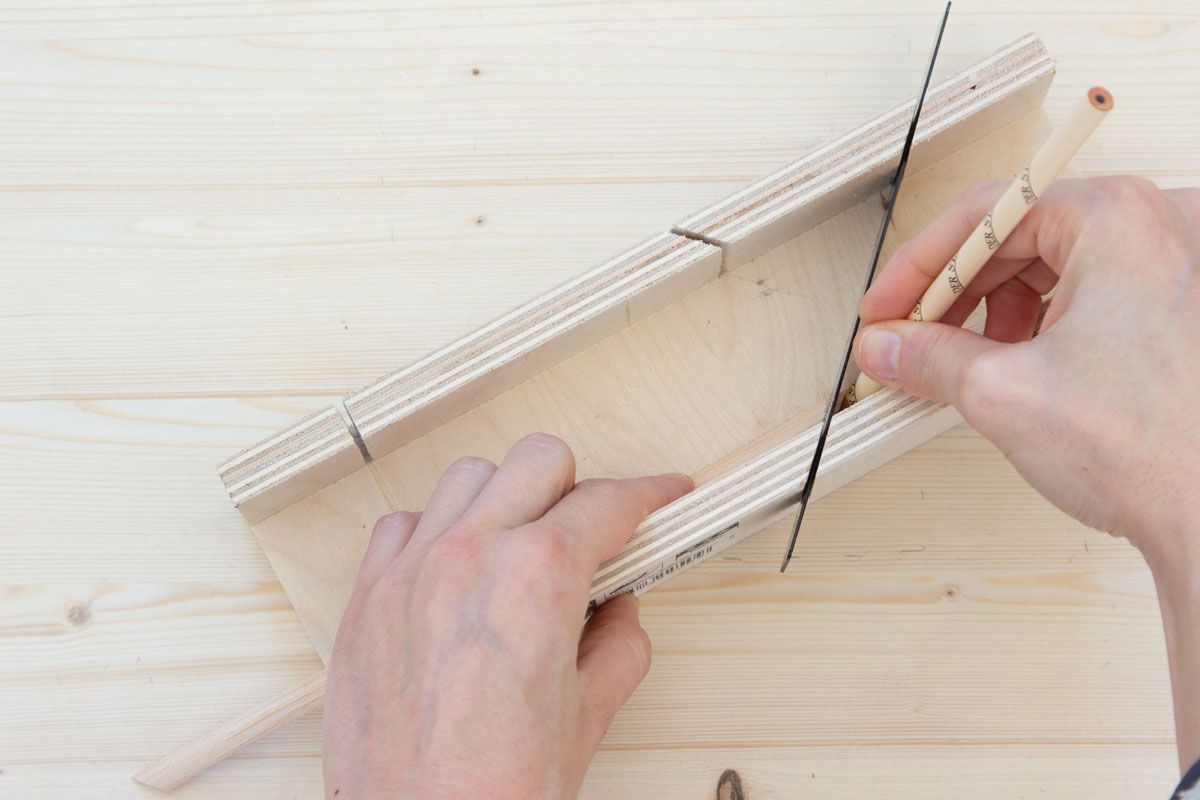
Then take your miter box and place your cane strip inside. This should help you get the angle right. I used the ruler to give me a guidance, then marked it with the pencil and finally gut it with my pruning shears. If you’re using a wood saw, you can just cut it right there in the miter box.
Do this for all four sides of the inside edges of your passe-partout.
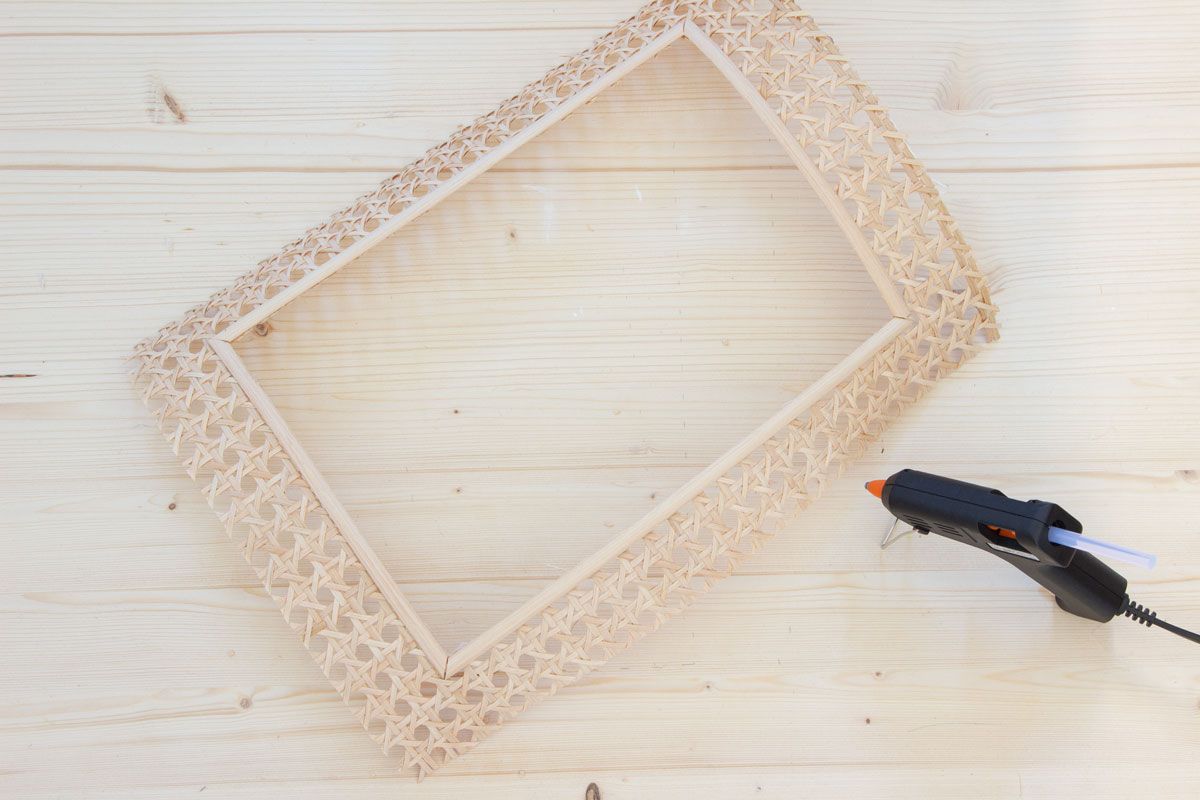
Finally take all four cane strips and stick them with the hot glue to your rattan.
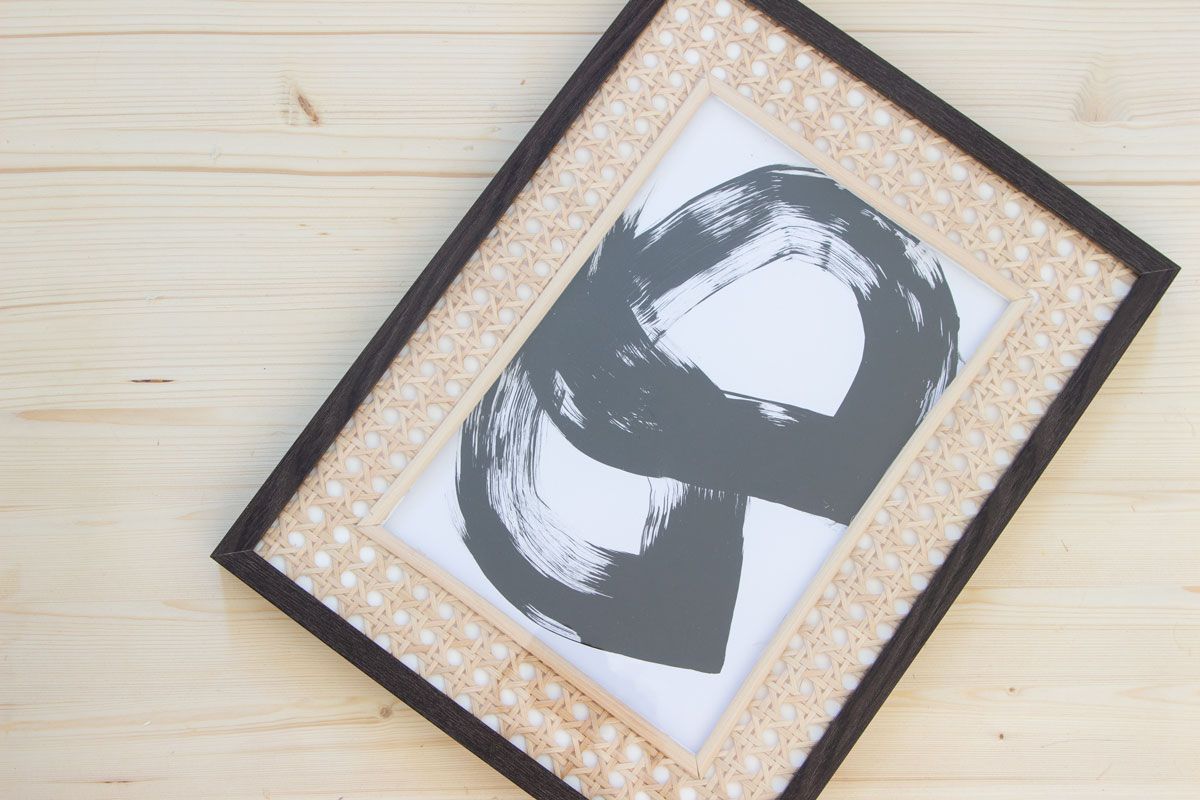
Assemble the frame, put in whatever artwork you want and voilá!
You can watch the whole process of making this rattan passe-partout on my Youtube channel:
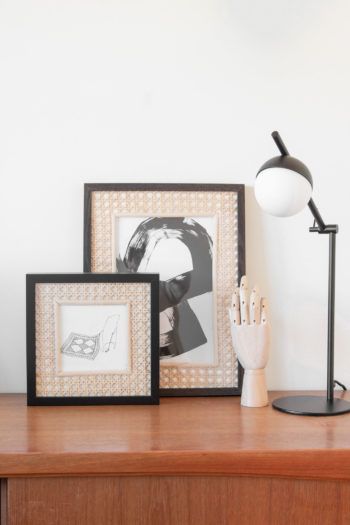
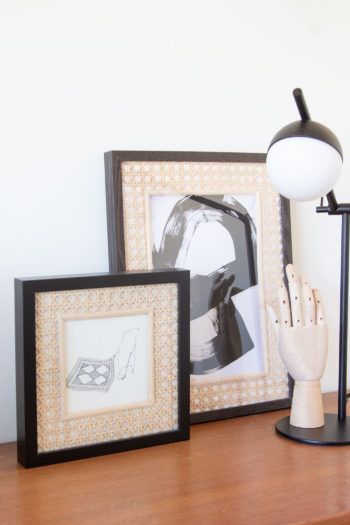
The artwork that’s in the taller frame is something I made myself. You can find a tutorial on my Instagram Reel tab. The other one with the bear is from one of my favourite artist Majas Bok who I interviewed for this blog as well.
Now I can acutally mix and match the black frames with my more neutral wooden ones. So far I like to keep them together like this on the sideboard.

Let me know: Do you think it looks good or are you more agree with my partner that it’s not a good solution?
Now. Carry on!

