
Finding the perfect bag can be a challenge. Especially if you not one of those girls that like to spend thousands of euros on it (and even then!). So it’s a reoccurring theme here on the blog that I make bags myself (like here and here). What they all have in common: they are all quite small. Because I don’t need to carry lots of stuff and the bigger the bag the more I do so. It’s not fun to keep searching for your keys or carry heavy stuff around – just because you can. And that’s me when I have a bigger bag: there’s room for way too much, and as a result I carry way too much stuff. Well, sometimes you have to trick yourself.
What my previous bags – unfortunately – have in common: they are clutches that always occupy at least one hand. So this time I was looking for a style that keeps both my hands free. Which is small enough that I don’t start carrying half of my household. Is big enough for my purse (which is big!), sunglasses, keys, phone and a carry-along bag – and currently my face mask.
That might be a bit much to ask from a small bag but trust me, I’ve created the perfect one!
I’m confident to say so because I’ve been testing this bag for over a year now: it’s standing the test of time.

Materials for a small over-the-shoulder bag:
- cork leather
- linen
- scissors
- threads
- needles
- a strap (2-3 cm wide)
- a backpack clip
- a zipper
- measuring tape
- chalk
I’ve also created a cross shoulder bag template. You can see all exact measurements there.

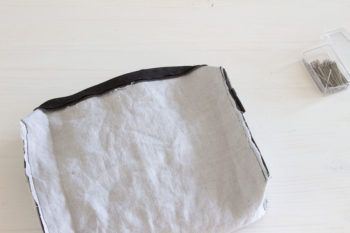
Place the linen over the cork leather and draft the bag with some chalk. I noted the measurements down in the template. Then cut the pieces out.
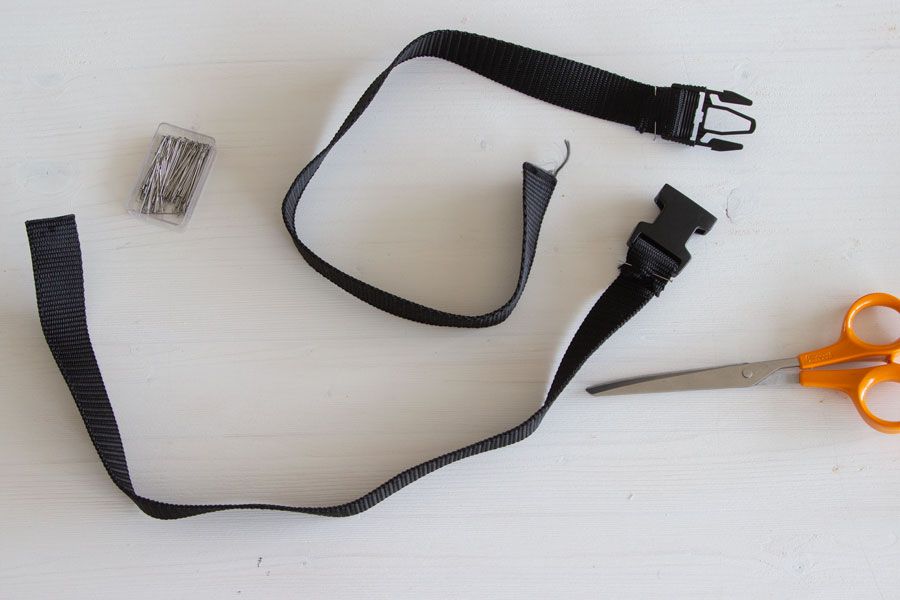
I cut the strap into two pieces and sew the clip parts each to one side. Once I did that I realized that it’s not the best idea, so I opened the seam on one side and threaded the strap through. So I can adjust the length when I’m wearing it.
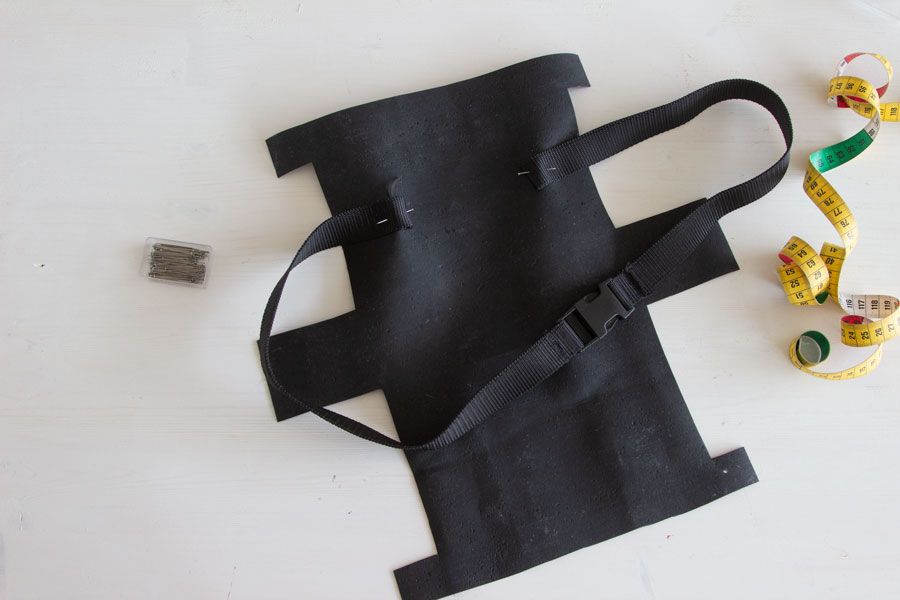
Sew the strap to one side of the back. Make sure not to sew it to close to the edges.

Place the linen now over the cork leather: we’re now going to sew it all together. But first, let’s attach the zipper.

Pin the zipper for this on both sides of the bag and sew it on.
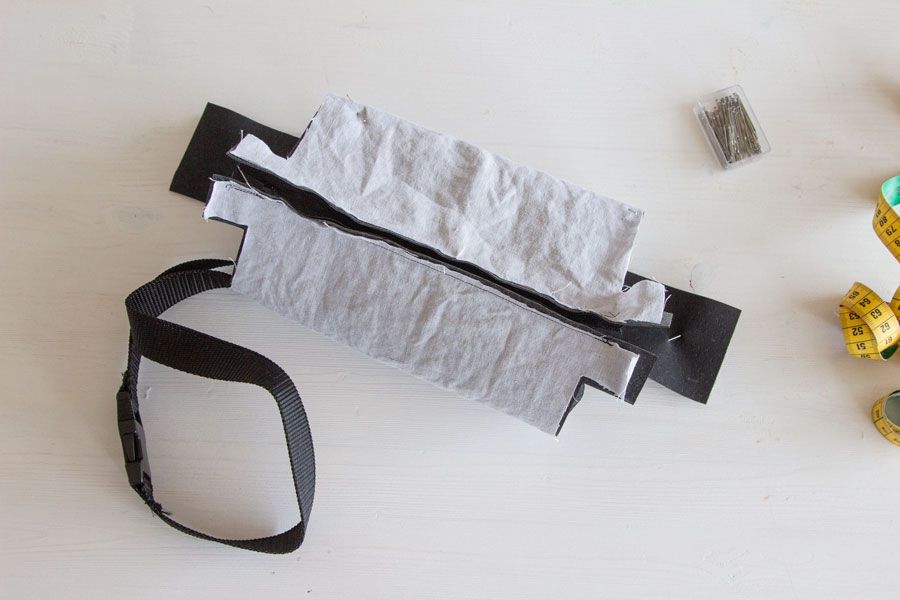 This is what it looks like when the zipper is closed. Make sure that the linen will be the lining of the bag. The zipper should face outward – towards the cork leather.
Now sew the sides together. Don’t worry about a bit messy sewing. This will all be on the inside and not visible to any admirers.

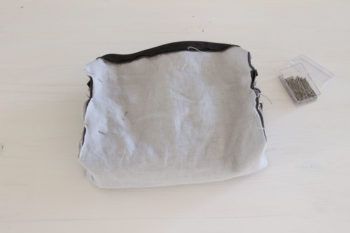
Last but not least, sew the sides. For the last bit at the top, I turned the bag inside out again. With the cork leather you don’t have to worry to leave “open edges”. It will not pull threads or wear out.
This is now the finished bag and I’ve been using it non-stop for over a year now. I couldn’t be happier with it. If I’d sew it again, I would attach the strap a bit further up to the top of the bag.
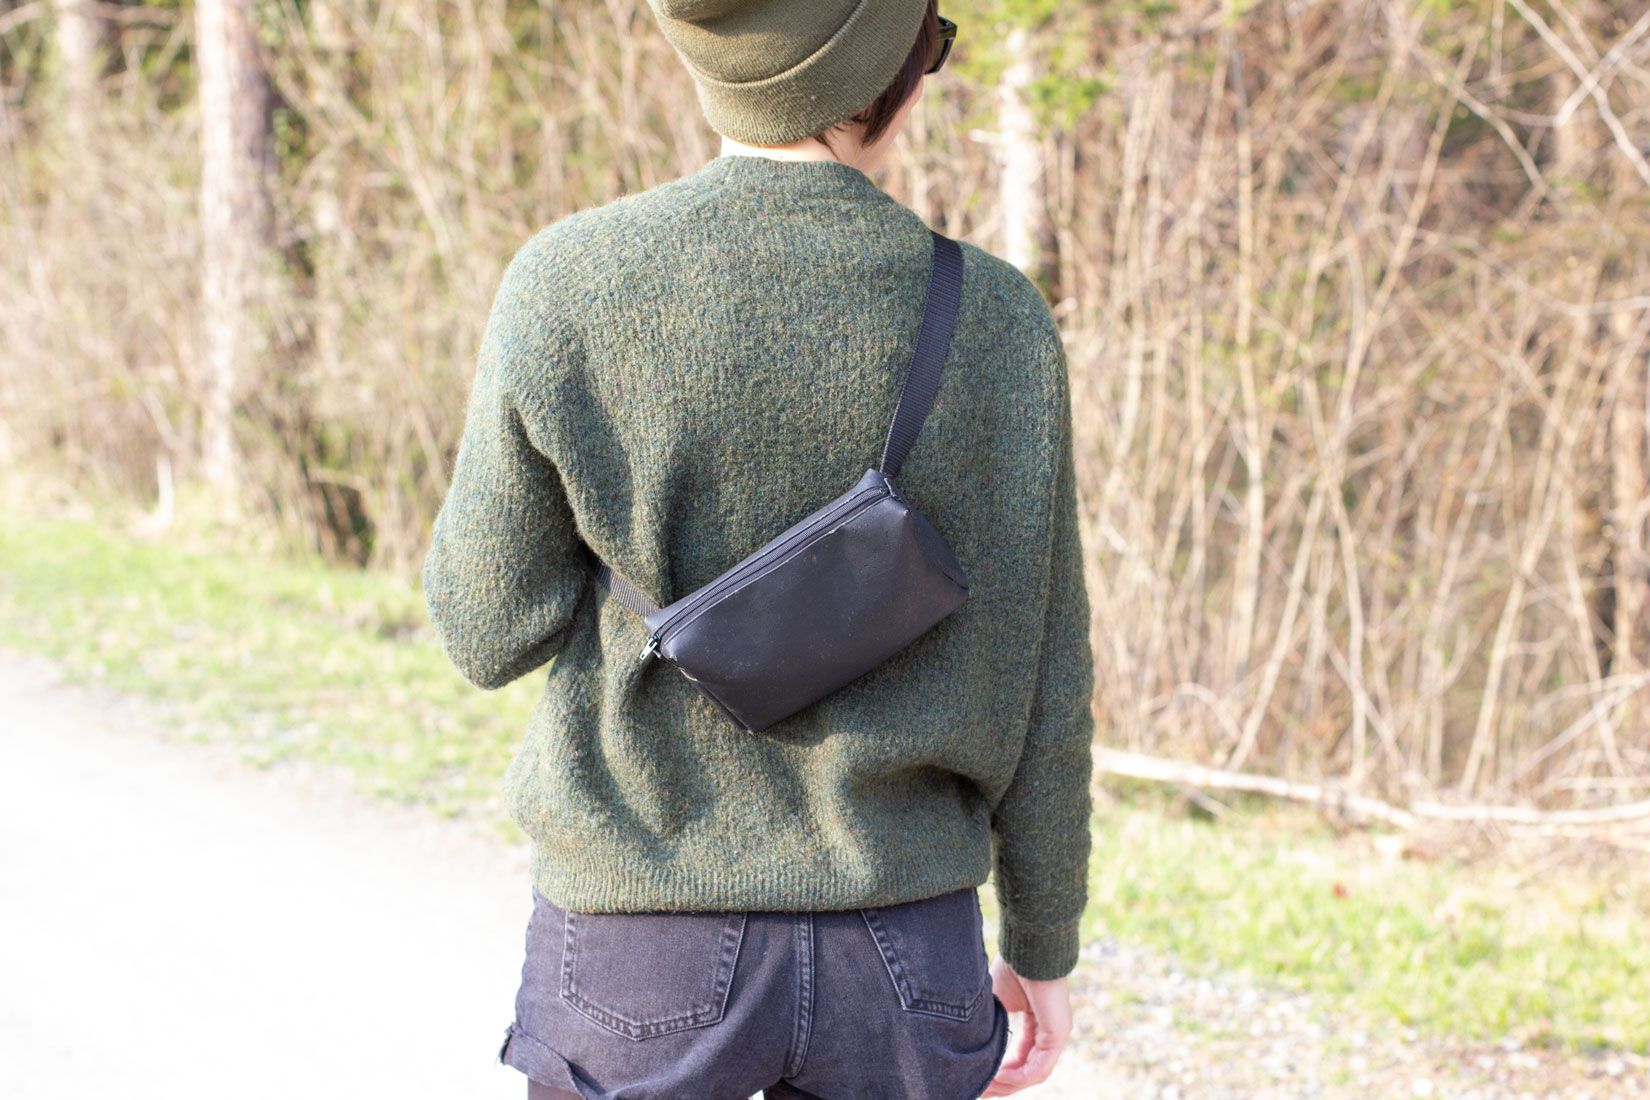
The bag is normally on the back where it’s out of my hands and easy to carry. When I need to take something out, I just pull the strap to the front and open it. It’s literally very handy!


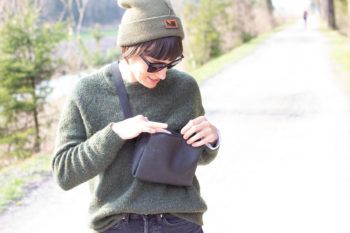
So this is the finished bag. A DIY that resulted out of necessity – like many of the best DIYs do. What do you think?
Now. Carry on!

