*Affiliate Links
This must be the year of firsts. Well, not the way you think. But I like the way you’re thinking. This must mean, I like you, because people with dirty minds are my kinda people…
Sorry, got distracted. I was talking about the DIY sandals I made. Shoot! I had this whole introduction planned where I say: this must be the year of firsts. Then I talk about how I made my first vegan leather belt just a few weeks ago and link to the post (SEO, y’know!). And then when you’re all just wondering what the next big thing is. So I tell you that I made my own sandals. And you would be like: WHAT?! That’s possible?! And I’d be like: Yeah, guuuuurl, and it’s totally easy and they’re surprisingly comfortable and fit (not that surprisingly because they’re custom made) like a glove.
Guess that didn’t go down as I thought it would. But then: the headline said it all anyway and you saw a teaser image already. So the surprise would have been ruined from the start. Thank you, SEO! Way to spoil my introduction!

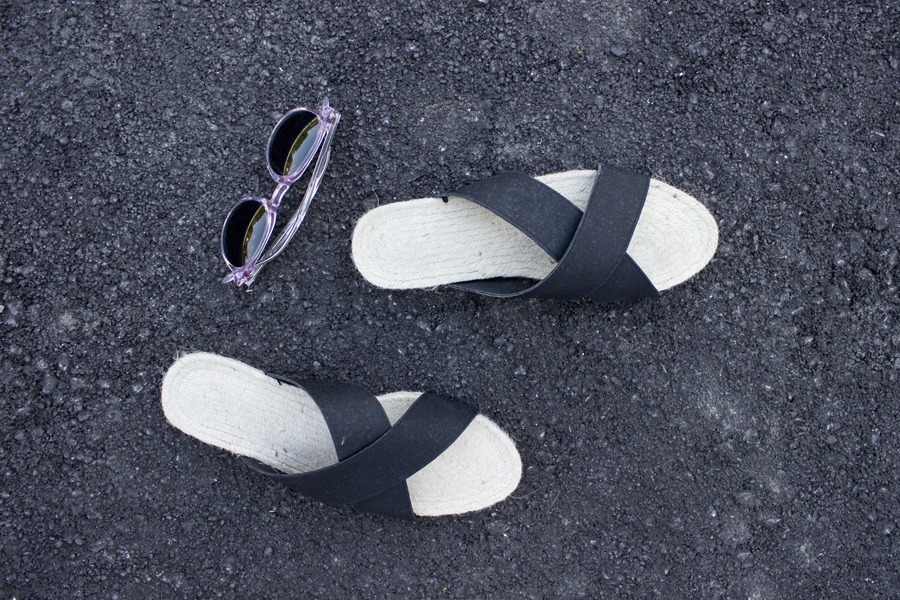
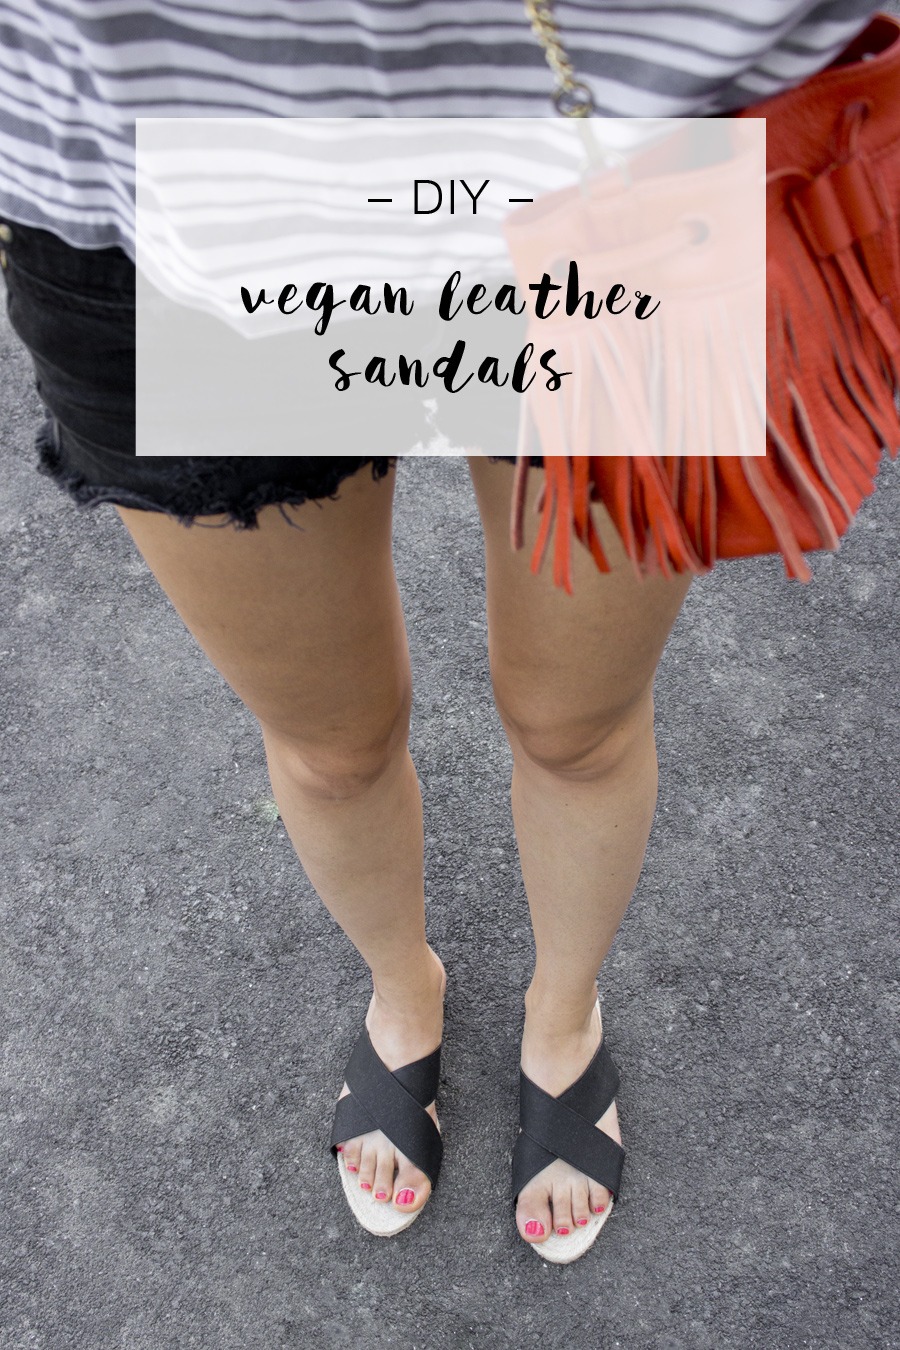
So, guess, I’m doing this the old fashion way: I had some leftover vegan leather aka cork leather. And I always wanted to make my own sandals. So I did and I’m really happy about them. They are really comfortable and I was walking in them the whole day after I finished the DIY. They are not for running (Duh!) but as summer sandals pretty, pretty good.
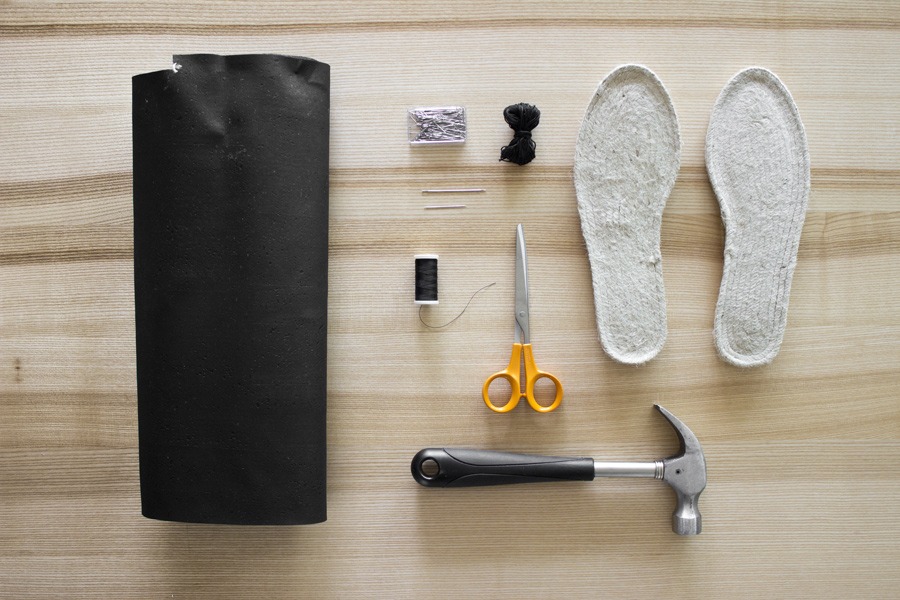
All you need for the DIY vegan leather sandals:
- cork leather*
- soles*
- scissors
- black yarn
- a strong darning needle
- sewing machine with black thread
- pins
- maybe a hammer
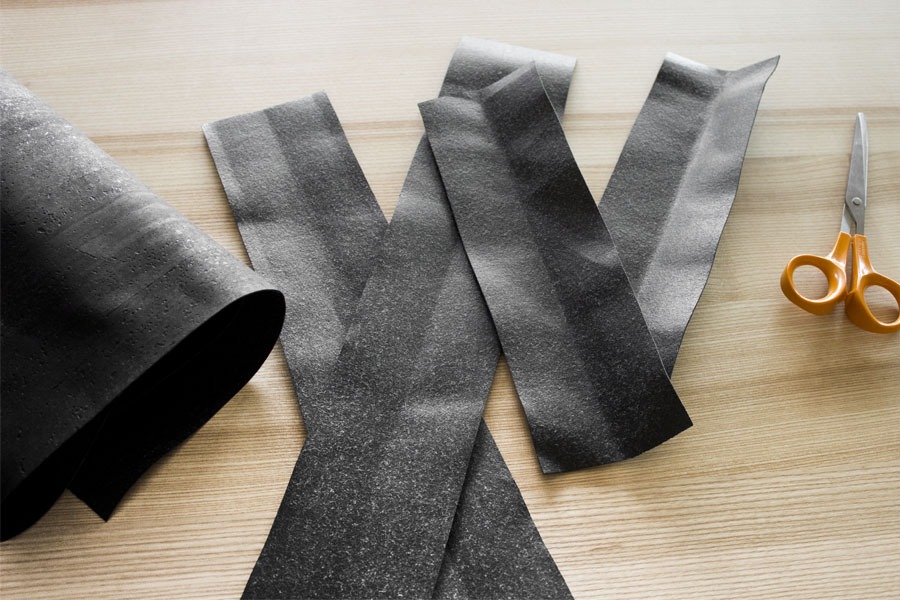
Cut four stripes from the cork leather. I made mine 26 cm long and 8 cm wide. This left me with enough leeway to adjust them to my foot.
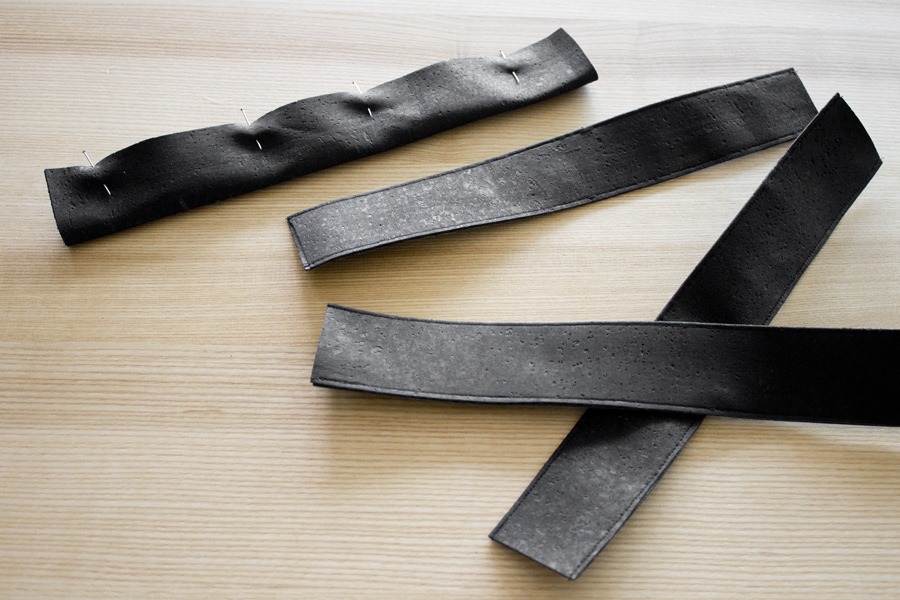
Fold the stripes by the length into half, pin it together and sew them with the sewing machine.
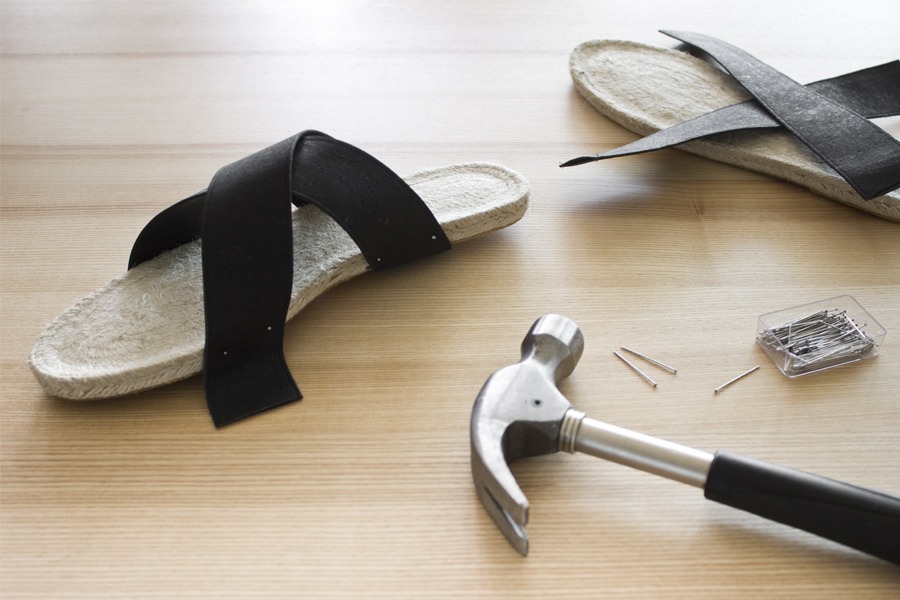
Now take the soles and pin the stripes crossed over the top. Slip your foot in and pin it to both sides. This is where I used the hammer: to force the pins into the sole, so it holds tight while I sew them on. Be careful with your fingers and toes!
Do the same with the other sole and make sure that it looks even: the stripes should be at about the same place and the crossing should also look the same. This might take some adjusting.
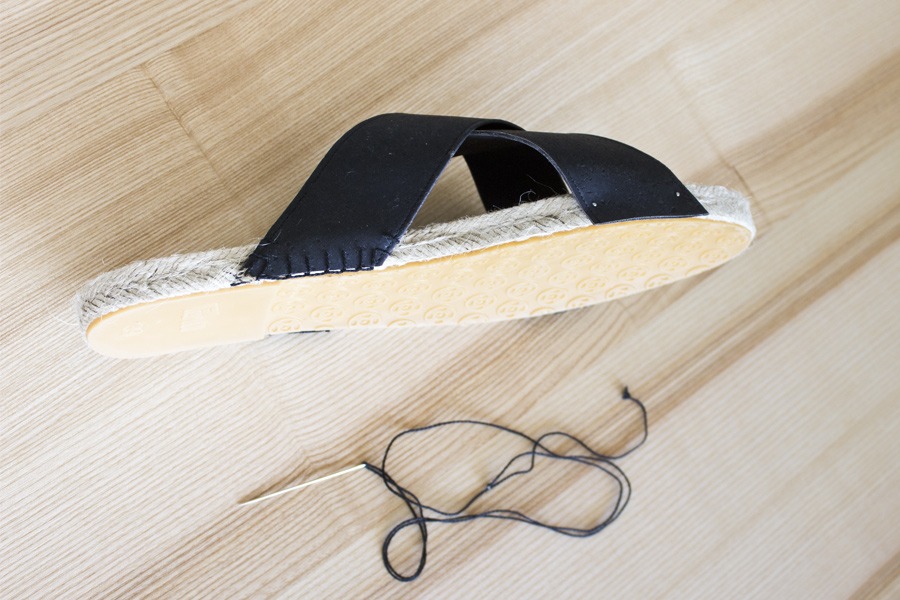
Once you’re happy with the placement: Cut off the excess right at the bottom and sew the stripes to the sole. There is some stitching that’s recommended for Espandrillas (for which the soles are actually made for). I took this youtube tutorial (I copied the link at the exact time when the sewing tutorial starts). I didn’t sew it on the top – as in the video suggested – but the bottom. Just make sure you don’t step on the yarn once it’s finished – it should be just as thick as the rubber part of the sole. In my case, this worked really well.
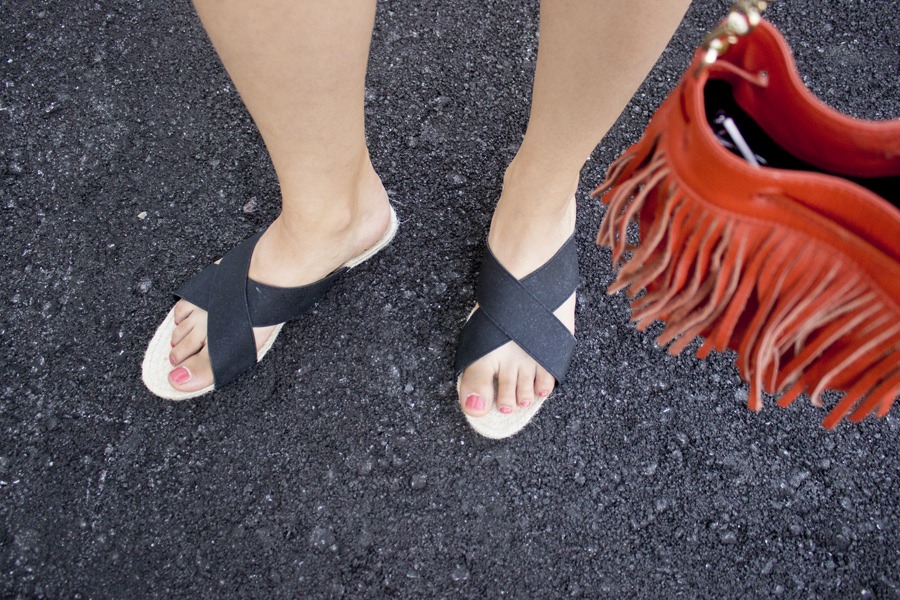
Once all four stripes are sewn to the soles, you’re done! You just made your own minimalistic looking DIY sandals! How good does this feel?
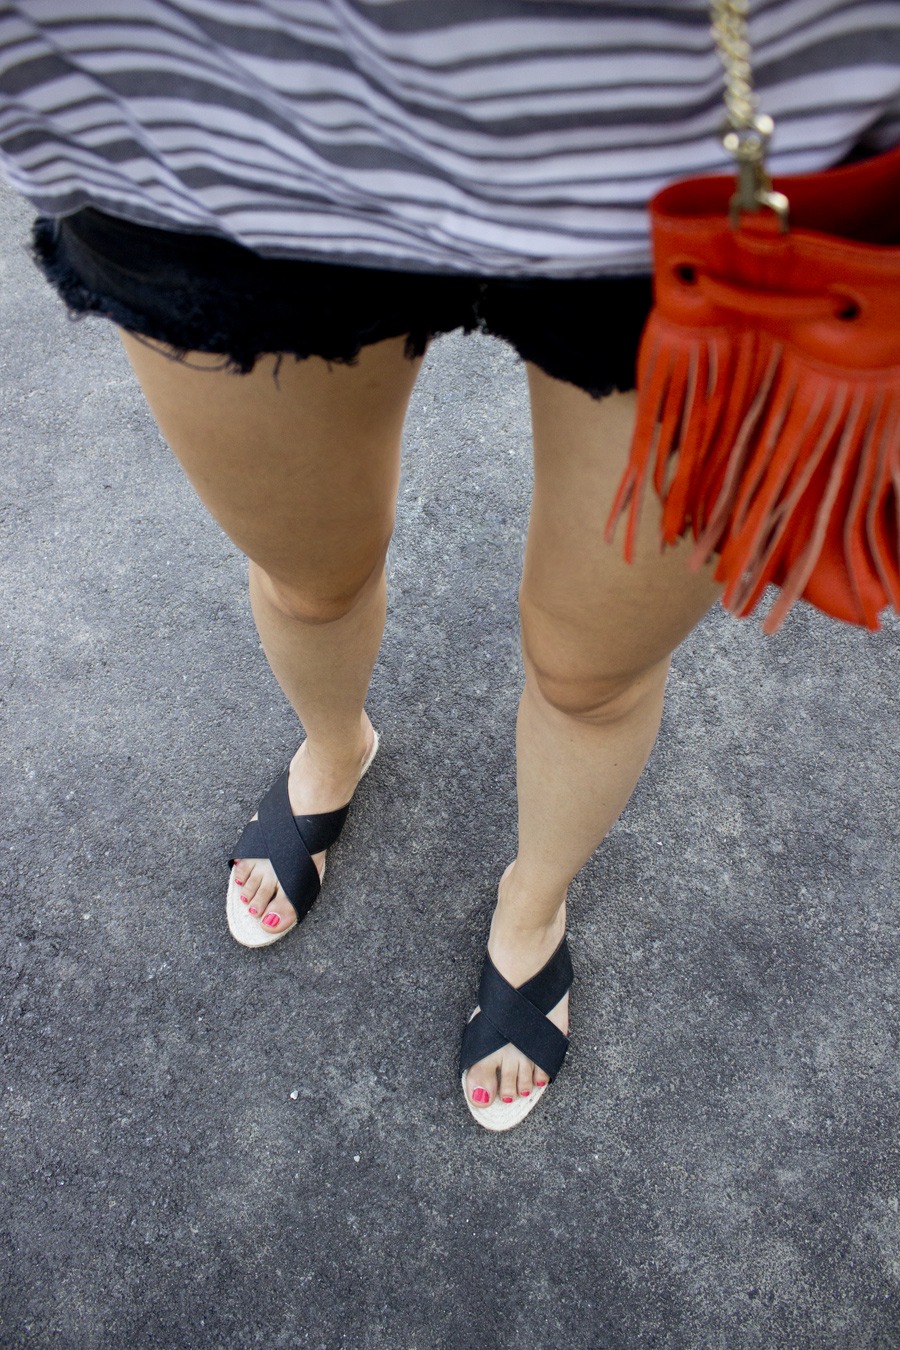
You can see me now at the lake walking in this sandals – just like I owned this place.
What do you think?! If you like to make your own sandals, I would love to see your results. Just use the hashtag #lookwhatimade_diy when you share it on social media – so I can see it. Or write me in the comments below, via email or also on social media.
Would love to hear from you!
Now. Carry on!
*This post uses affiliate links


