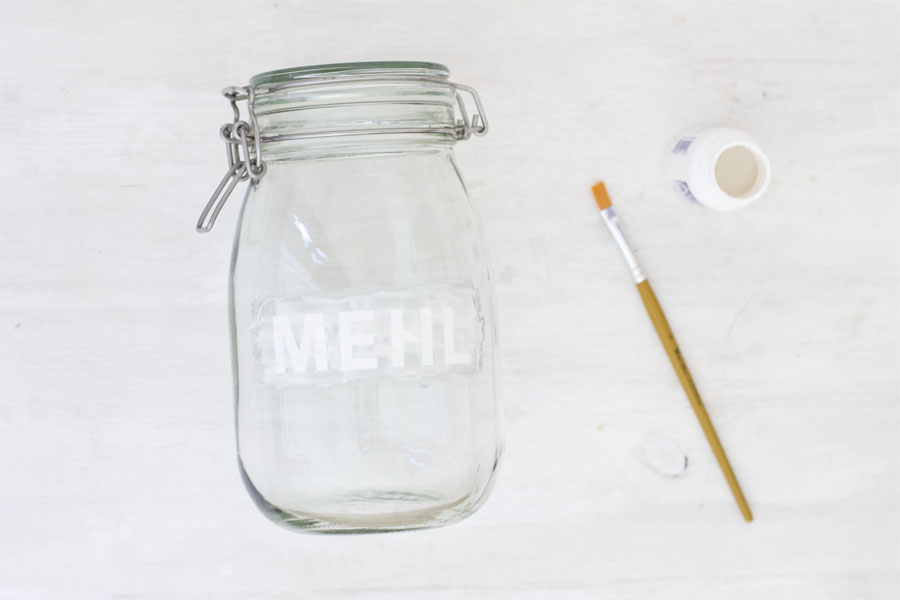
If you watched my Instagram stories the week before this, you’ve seen that I had real troubles making this color etched storage jars work. Why? Because I had this idea that the etching would look real good and it turned out: one could hardly see it when I filled it with sugar or flour.
The worst! What’s labeling for if you can’t see it? So I did what every person does failing at something: I sweared and then I researched what I could do. Turns out there’s a paint out there that can color etched glass. Turns out that’s not available in Europe and I couldn’t find an equivalent. So I did some research on the ingredients (and tried different paints that I had at home – unsuccessfully) and found out that alcohol based paint could work and found a site that said porcelain paint would do the trick. It doesn’t. I tried. But this gave me an idea: I made this personalized plates and these cups with permanent marker. That’s worth a try, I thought and oh my, it worked!
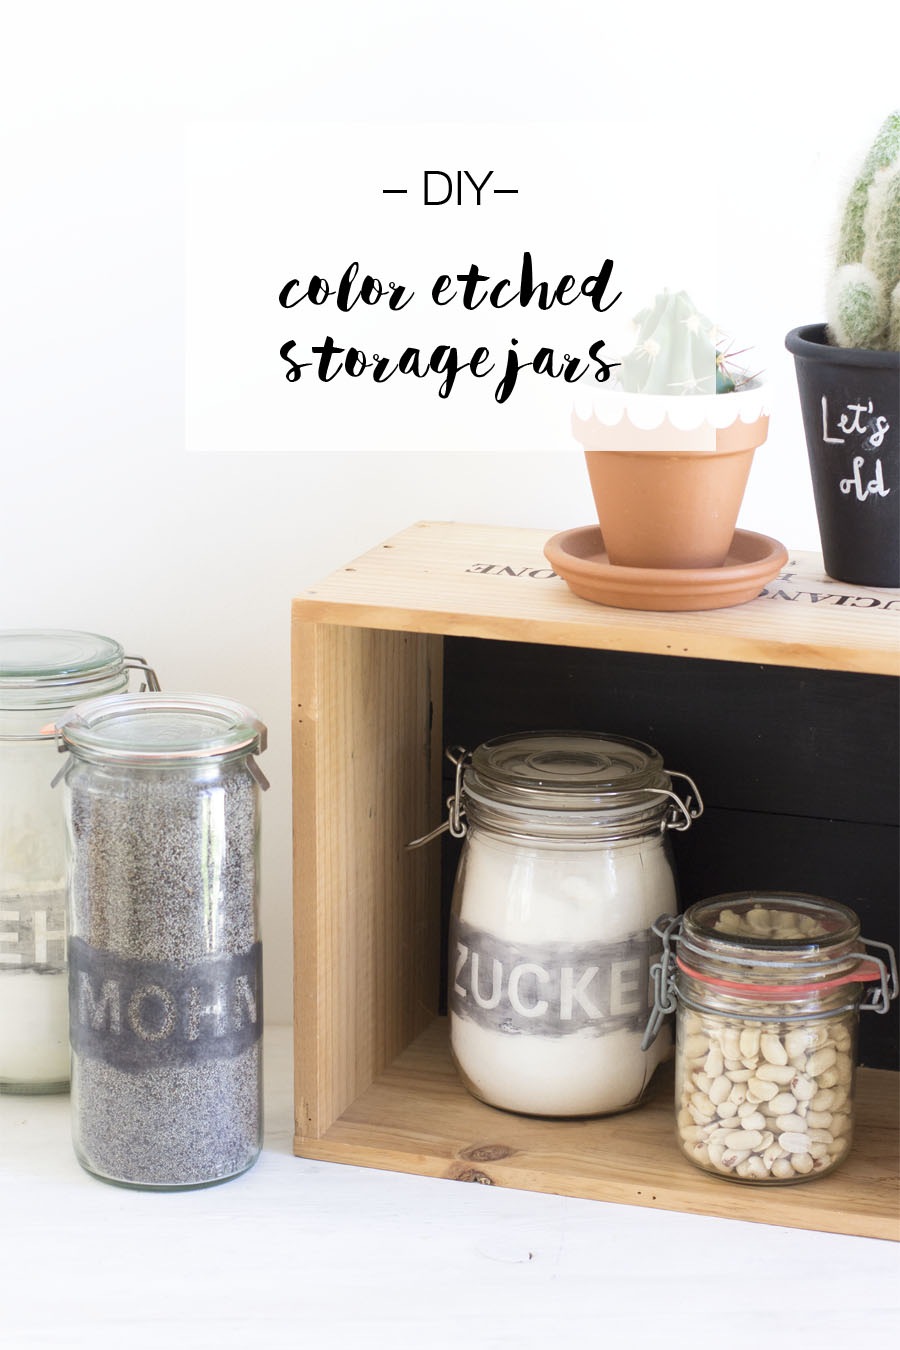
So here’s the full tutorial on how to make these color etched storage jars (that actually works).
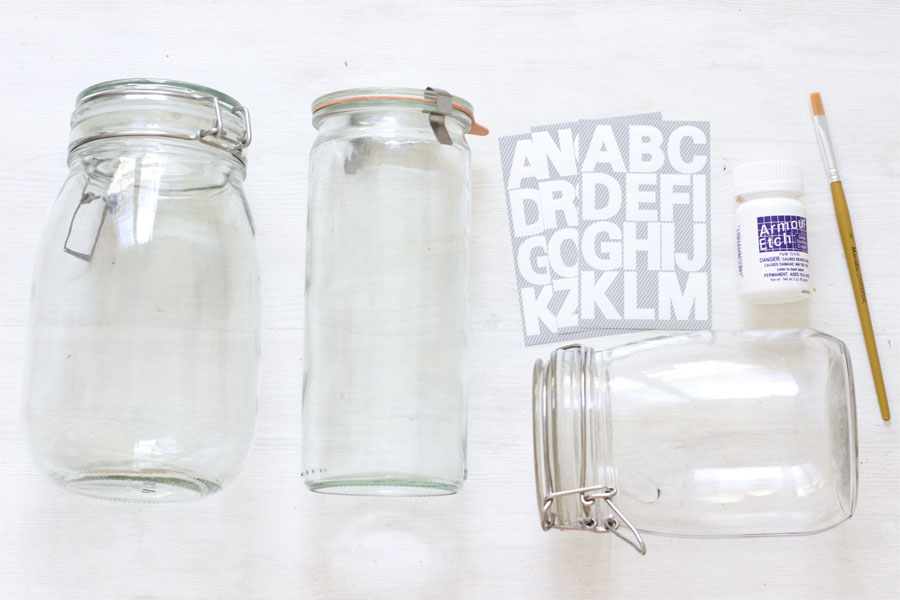
What you need for etching the glass:
- jars with swing tops
- letter stickers
- amour etch cream
- a brush
I didn’t want a template for the outer edge of the etching but if you’d like an accurate label, you might want to consider that.
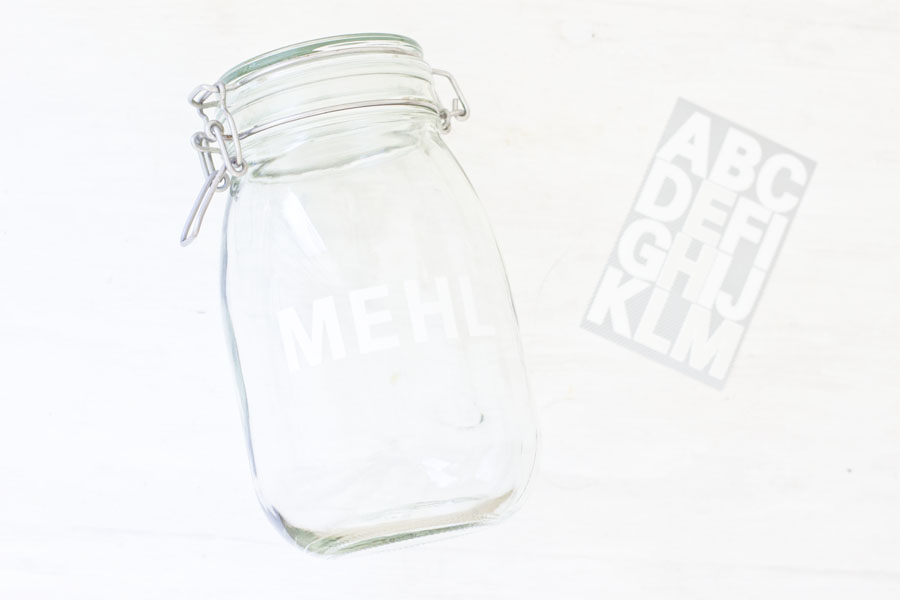
First you just need to stick the letters on the jars where you want the label to show.
Brush the etching cream all around the letters – as I said I wanted a rough edge and that’s what I made with a few brushes.

Let it infuse for 1 hour and then wash the etching cream off with cold water. Pull of the letters and you have the glass perfectly etched.
As you can see in the picture above: one can hardly see the letters – especially when filled with something white. I was heartbroken. But I managed to pull myself together and as mentioned in the introduction: found a solution to this problem: permanent marker.
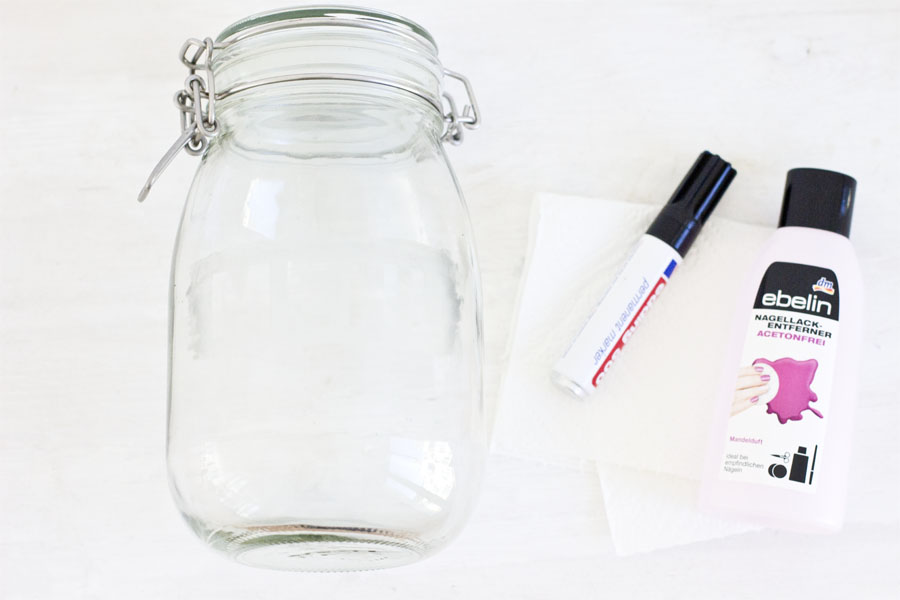
What you need for coloring the etched glass:
- etched jars
- a permanent marker
- nail polish remover
- kitchen roll towel
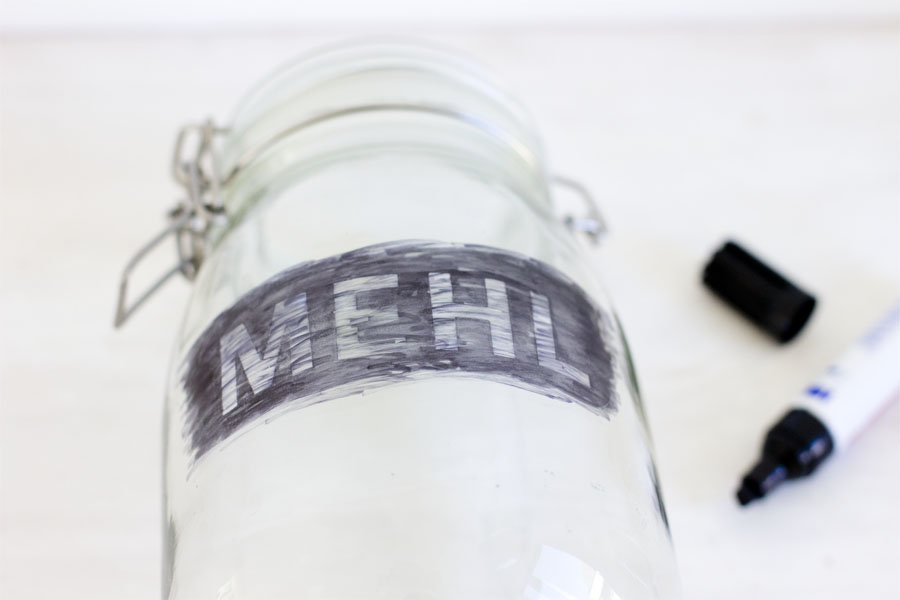
Take the jars and draw over the letters and the etching. Don’t be shy. Just draw over all the lines.
Wet a kitchen roll towel and wipe off the color over the letters. It will only come off where the glass isn’t etched – but let it dry a little before this step as some of the color on the etching will come off as well.
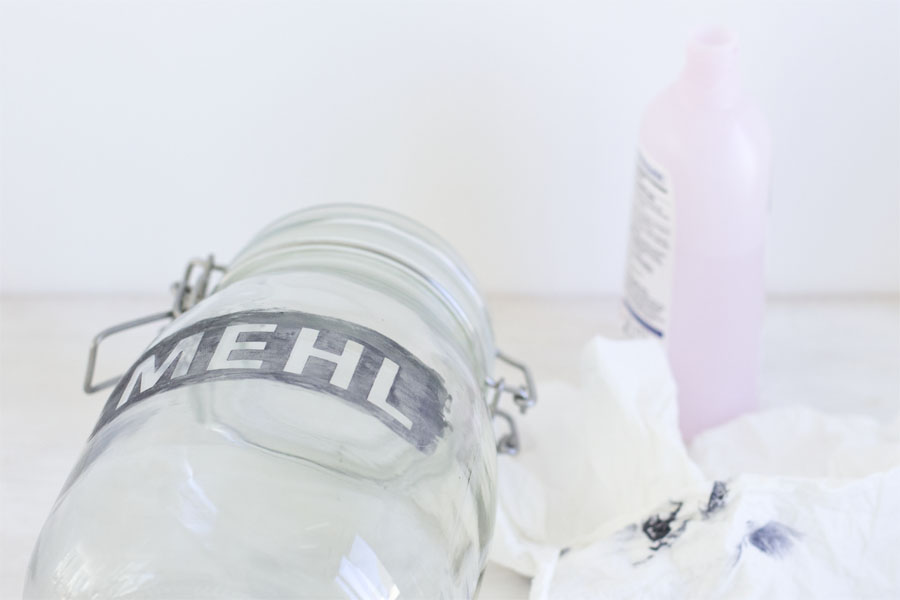
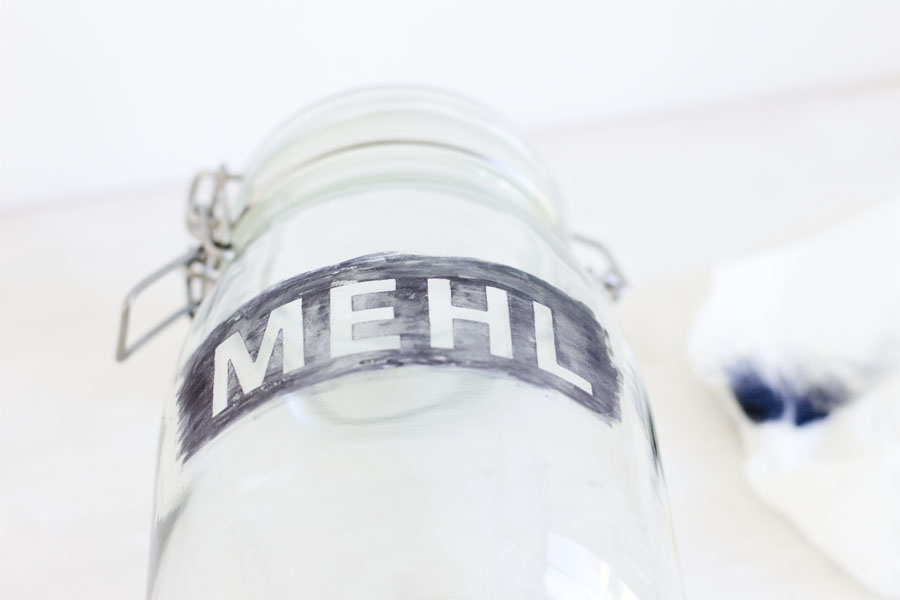
Let it dry. Put some nail polish remover on the paper towel and wipe carefully over the label. This will take off some of the color and you can do this until it has the opacity of your liking. Be careful though not to rub off all the color.
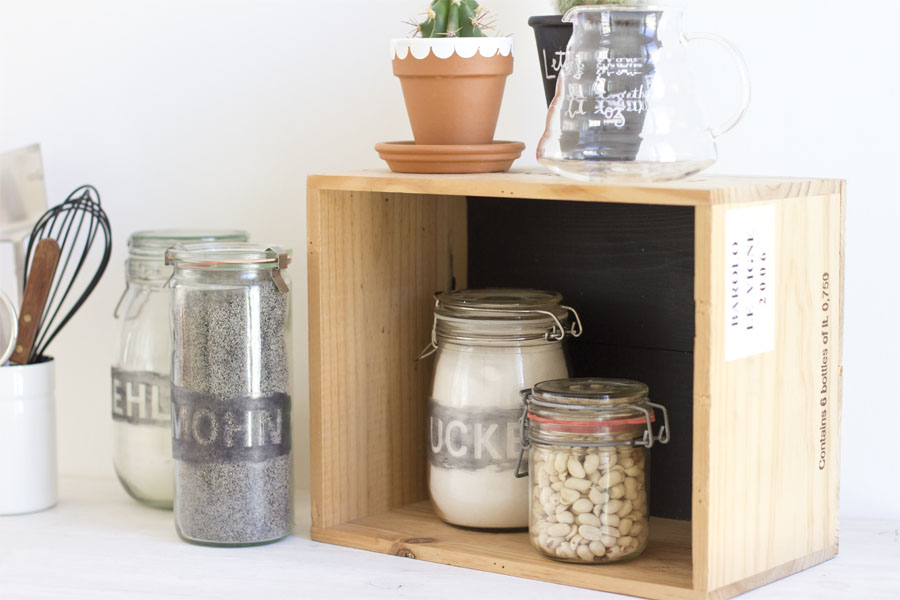
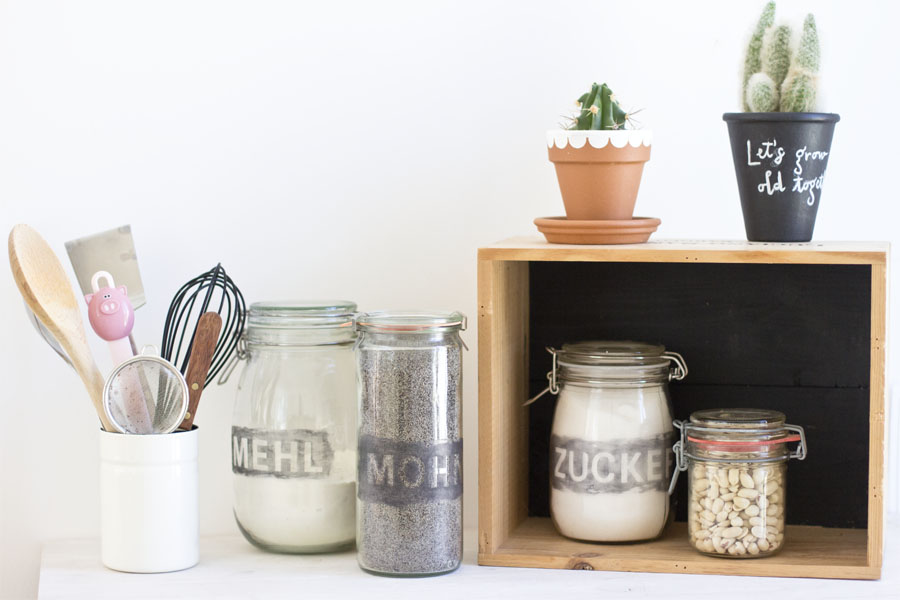
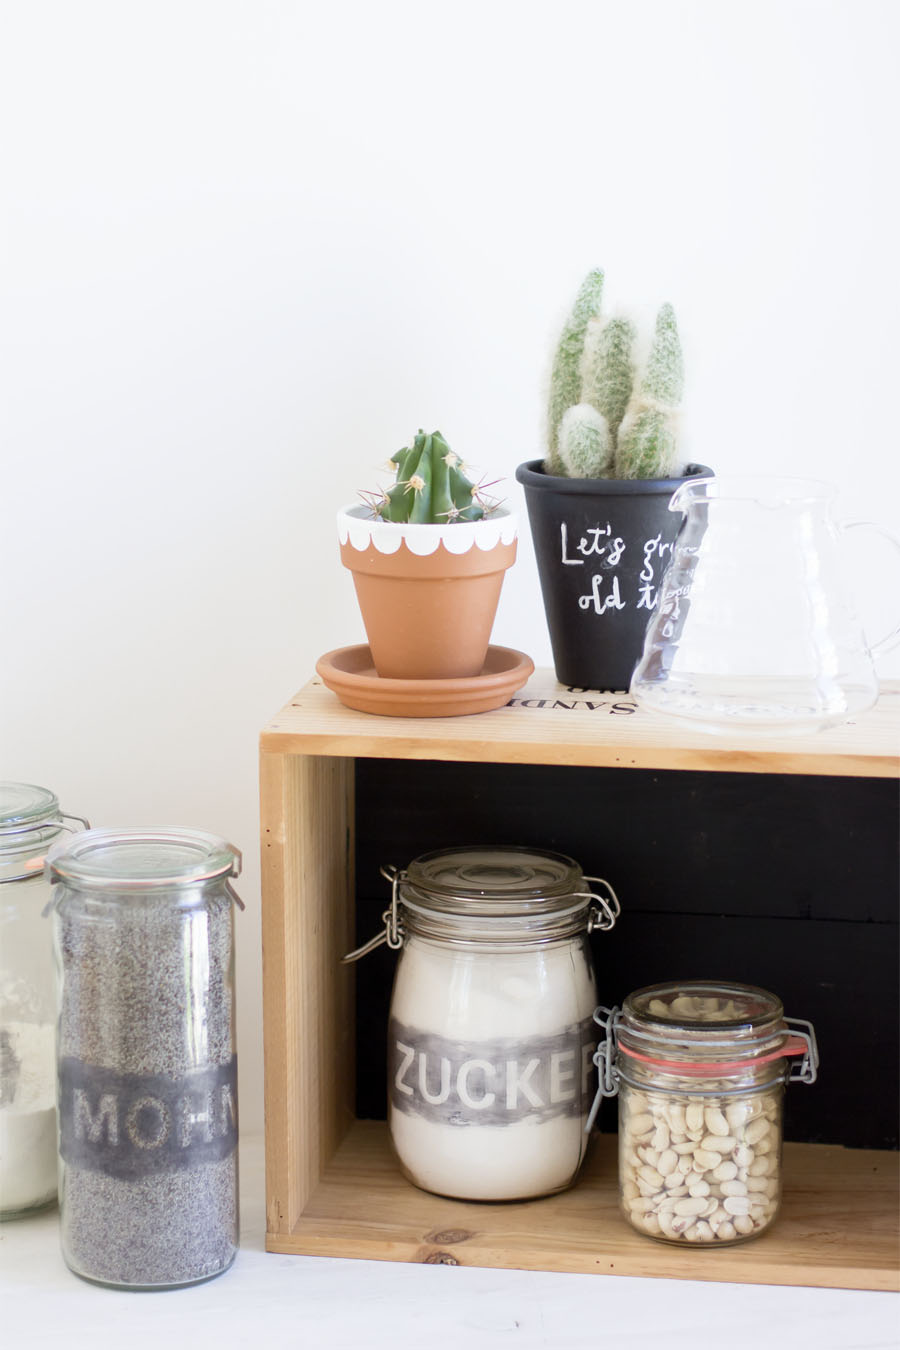
Let that dry and fill it with flour, sugar or what-not.
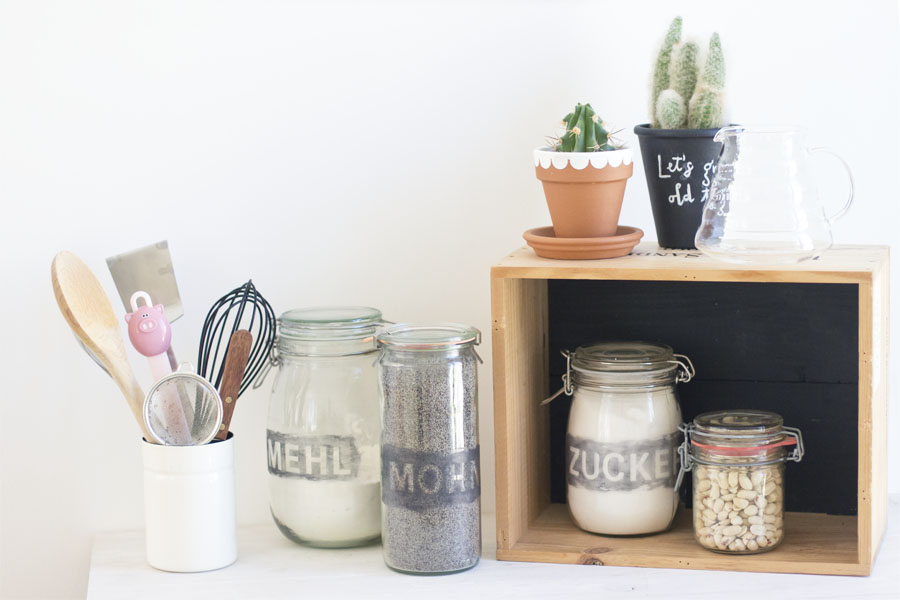
Now the million-dollar-question: is it waterproof. Yes, it is. You can wash it with hot water and dish soap.
You want to put it into the dishwasher? That works as well! Yeah, you read right. I let mine dry for a week and put it into the washer with 50° C and it looks fine!
Yeah to finding a perfect solution! Because this made me thinking about failing and because I listened to a very inspiring talk about successful failing, I’d like to write a little about it in this week’s Sunday Musings. So stay tuned! I’d love for you to join the conversation. What experiences do you have with failing? Are all of them negative?
Now. Carry on!


[…] can trump the feeling when an idea finally works after going through some troubles. Like with these storage jars or with this copper side table. They are now my favorite DIY […]
[…] Color Etched Storage Jars DIY from look-what-i-made.com […]