Since I saw etching cream pop up on Pinterest, I wanted to craft with it. But did you know that you can’t get it in Austria? Apparently it’s forbidden or how could you explain that you can’t get it anywhere – not even Amazon. But you know me: once I set my mind to something, I have to follow through, even if it takes its time.
I have a dear friend that lives in London now and she brought me craft supplies from over there before, so I asked her if I could order something and send to her address and she would send it back to me. So with this work around I finally got my hands on armour etch. Such an innocent little bottle, so much hassle to get it and so many possibilities to craft. Expect more DIY tutorials with this little magic etching cream all year round!
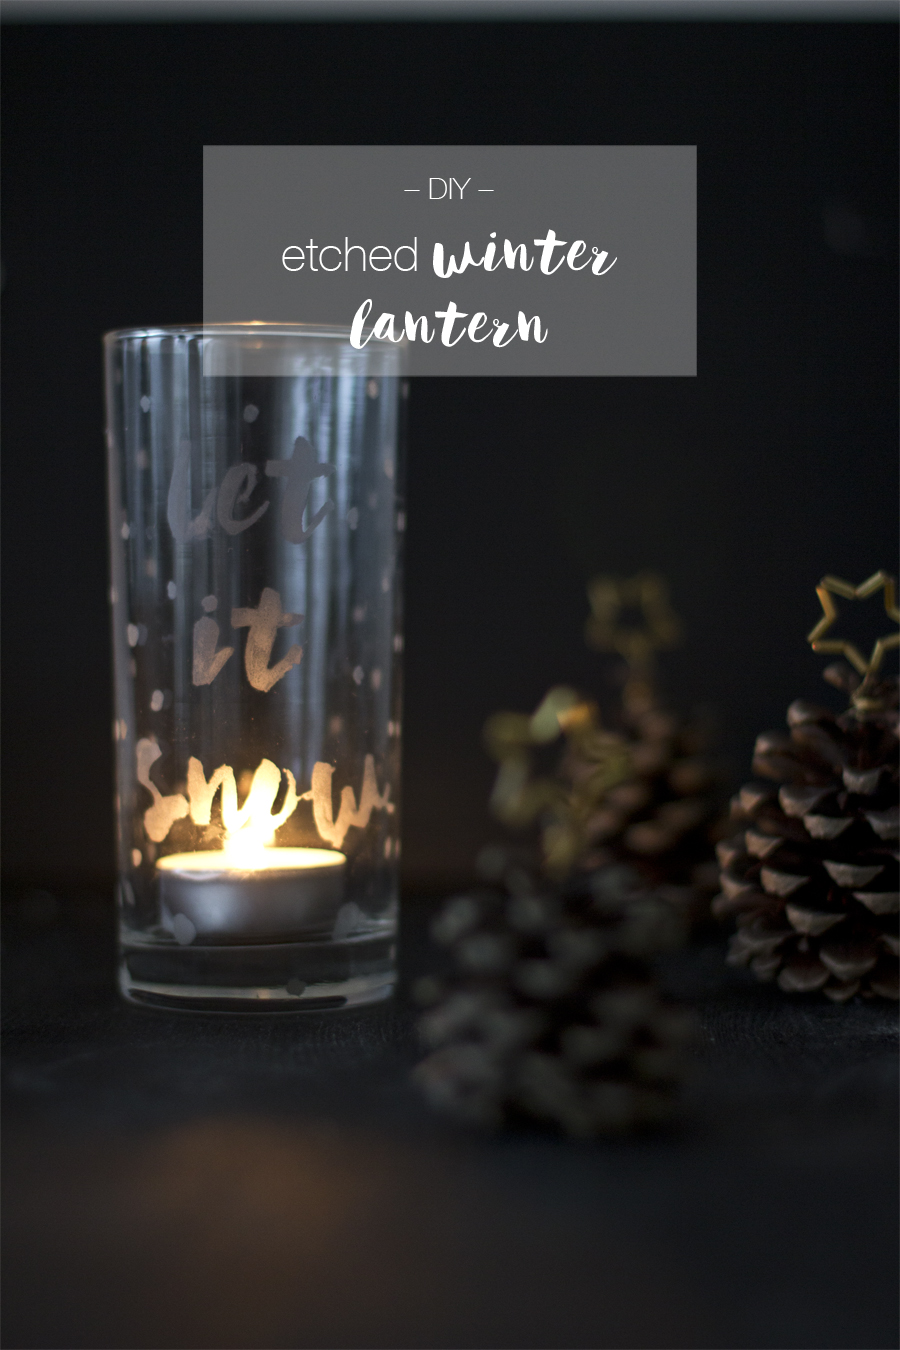
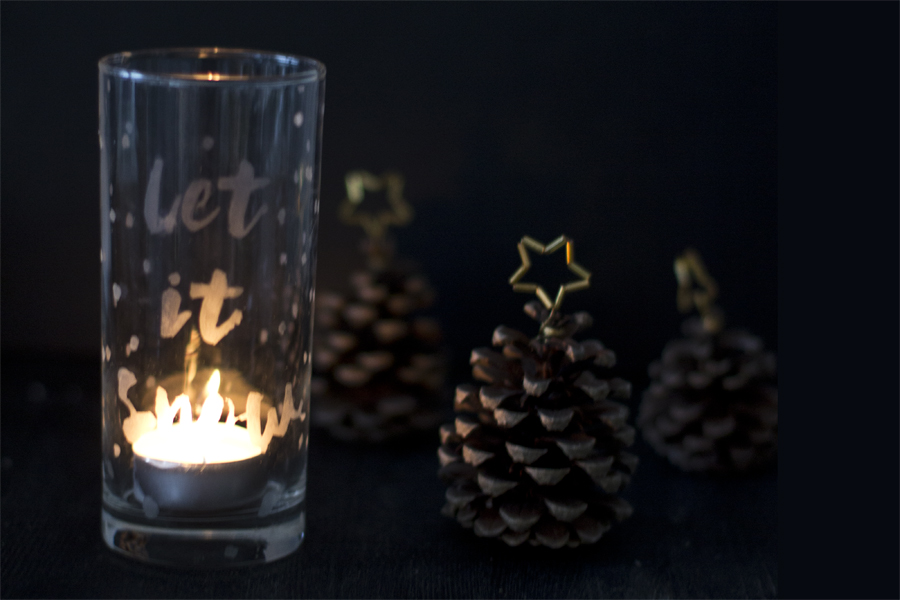
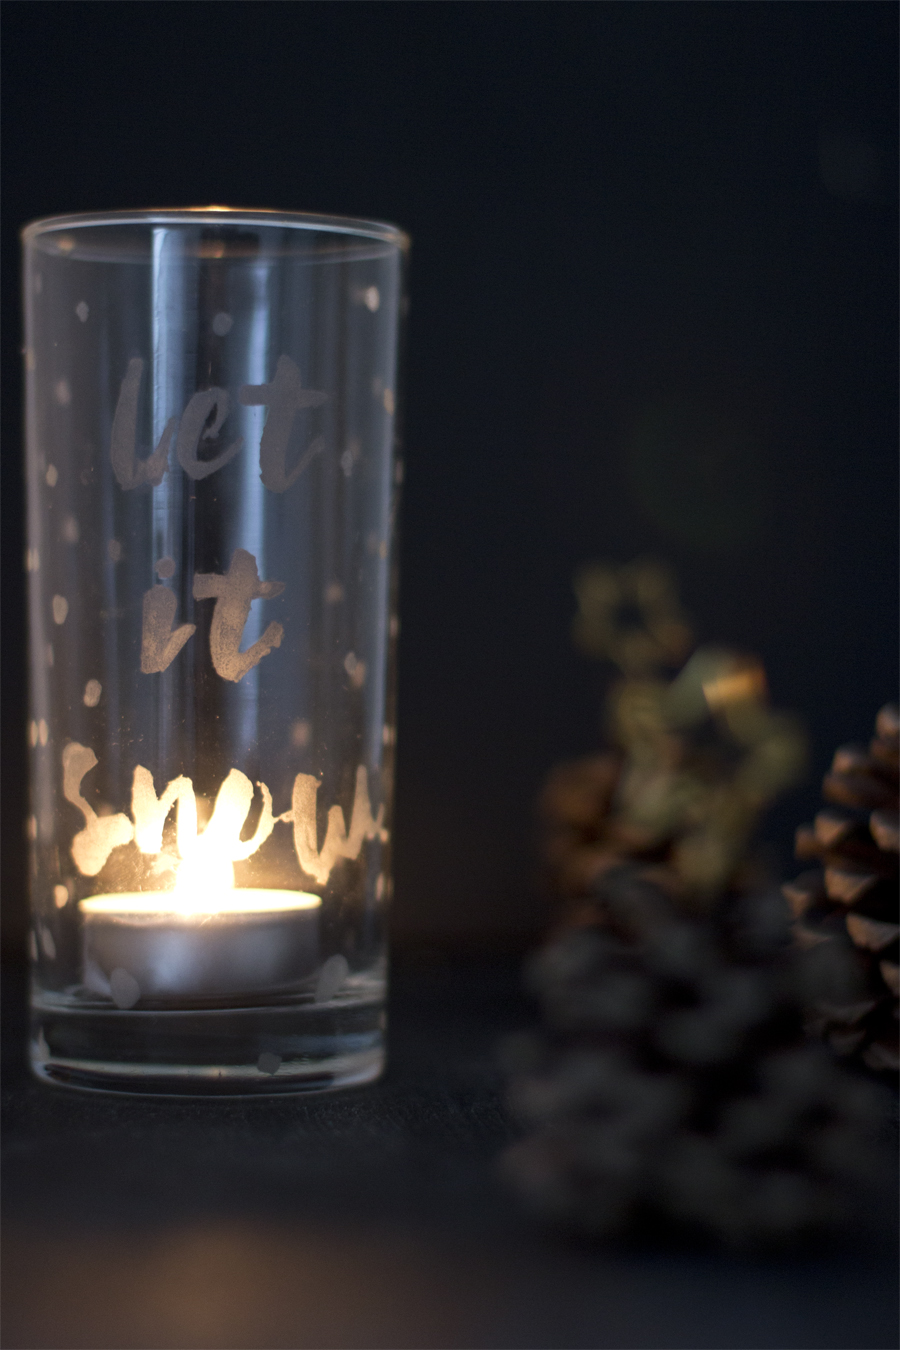
For now I show you my first result of the armour etch crafting and I’m really please how this glass etched winter lantern turned out.
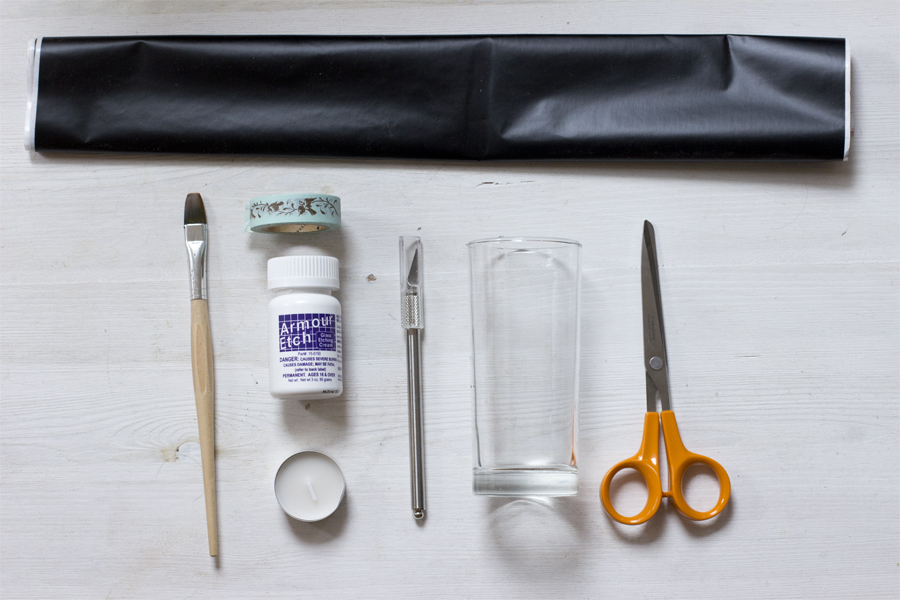
All you need is:
– 1 drinking glass with even walls
– armour etch
– this paper template
– adhesive foil
– a brush
– a scalpel
– Washi tape
– scissors
– a candle
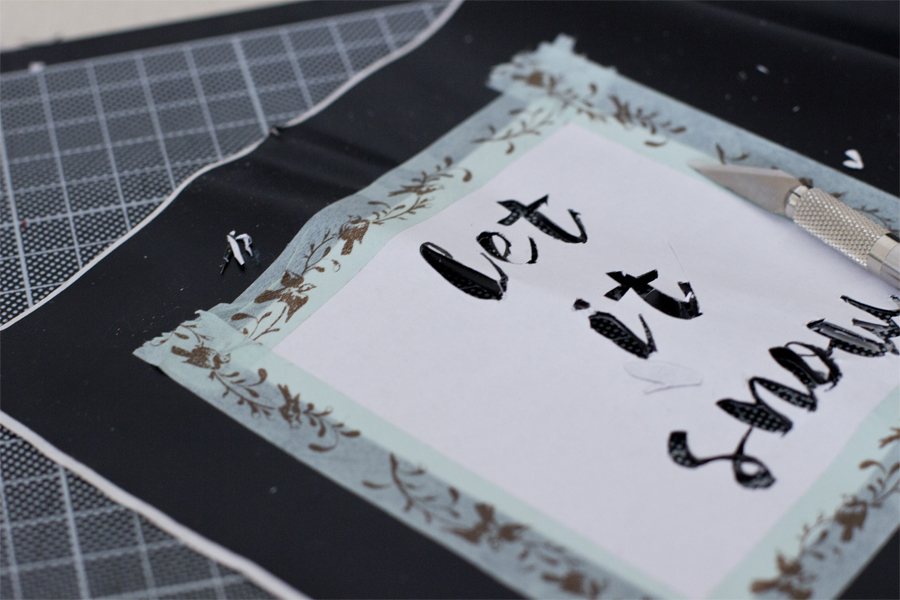
Print the paper template and stick it on the non-sticky side of the adhesive foil with the Washi tape.
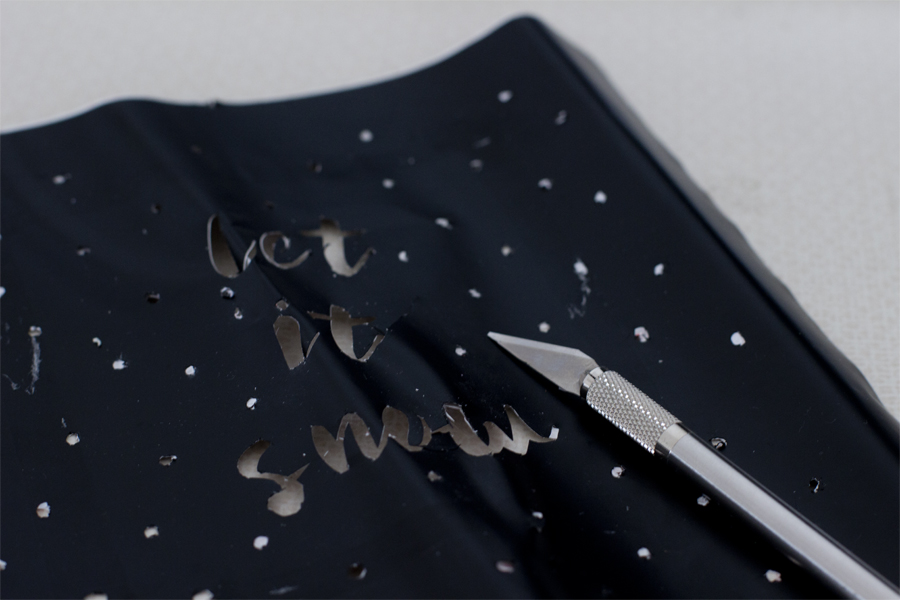
Cut out the letters and little dots around the quote (this will look like snow afterwards).
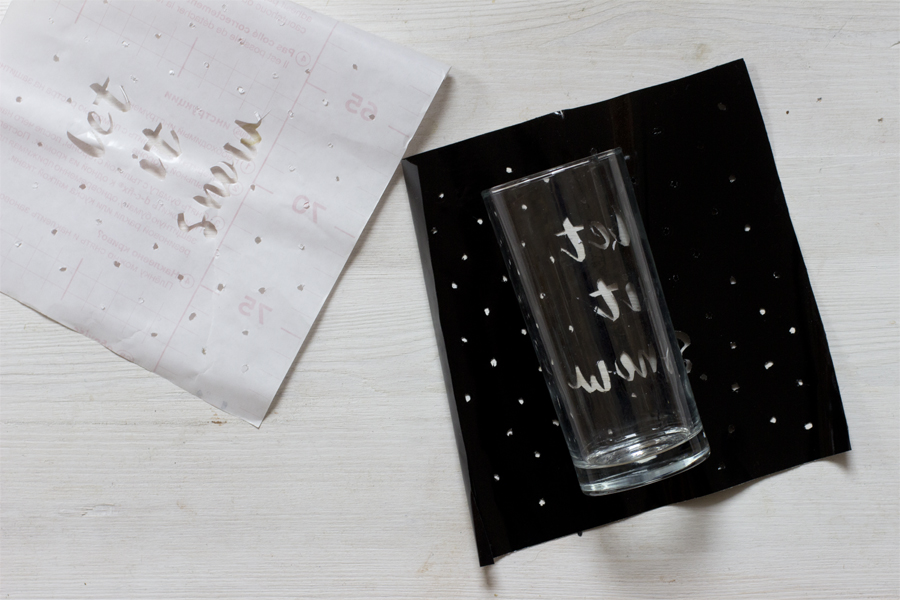
Stick the foil evenly on the glass. Make sure that the glass is completely clean for this and the next steps.
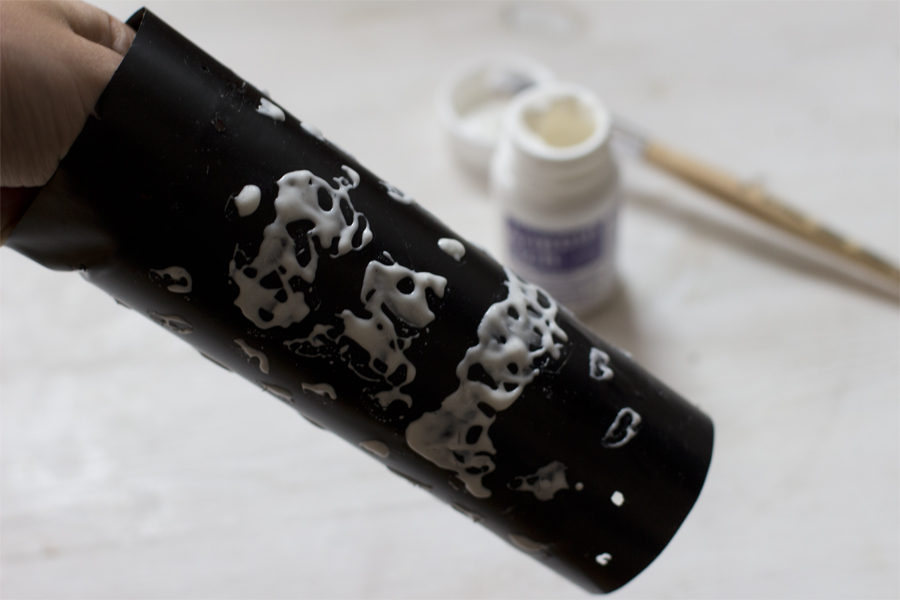
Make sure that the template sticks perfectly and generously put the armour etch on the glass. It will have little splints in it. Don’t worry that has to do with the chemistry of the cream. Let it infuse for 15 mins and wash the etching cream off with clear water.
Tipps:
- Wear rubber gloves or be extra careful not to get armour etch on your skin.
- After a few minutes stir the cream a little, to make sure that the crystals don’t affect the result.
- A second layer won’t help with the visibility of the etching. So make sure that the first round is perfect.
- After you washed it off, it might look a little light but after drying the etched areas it will darken a little.
Pull off the adhesive foil and voilá! You’re done.
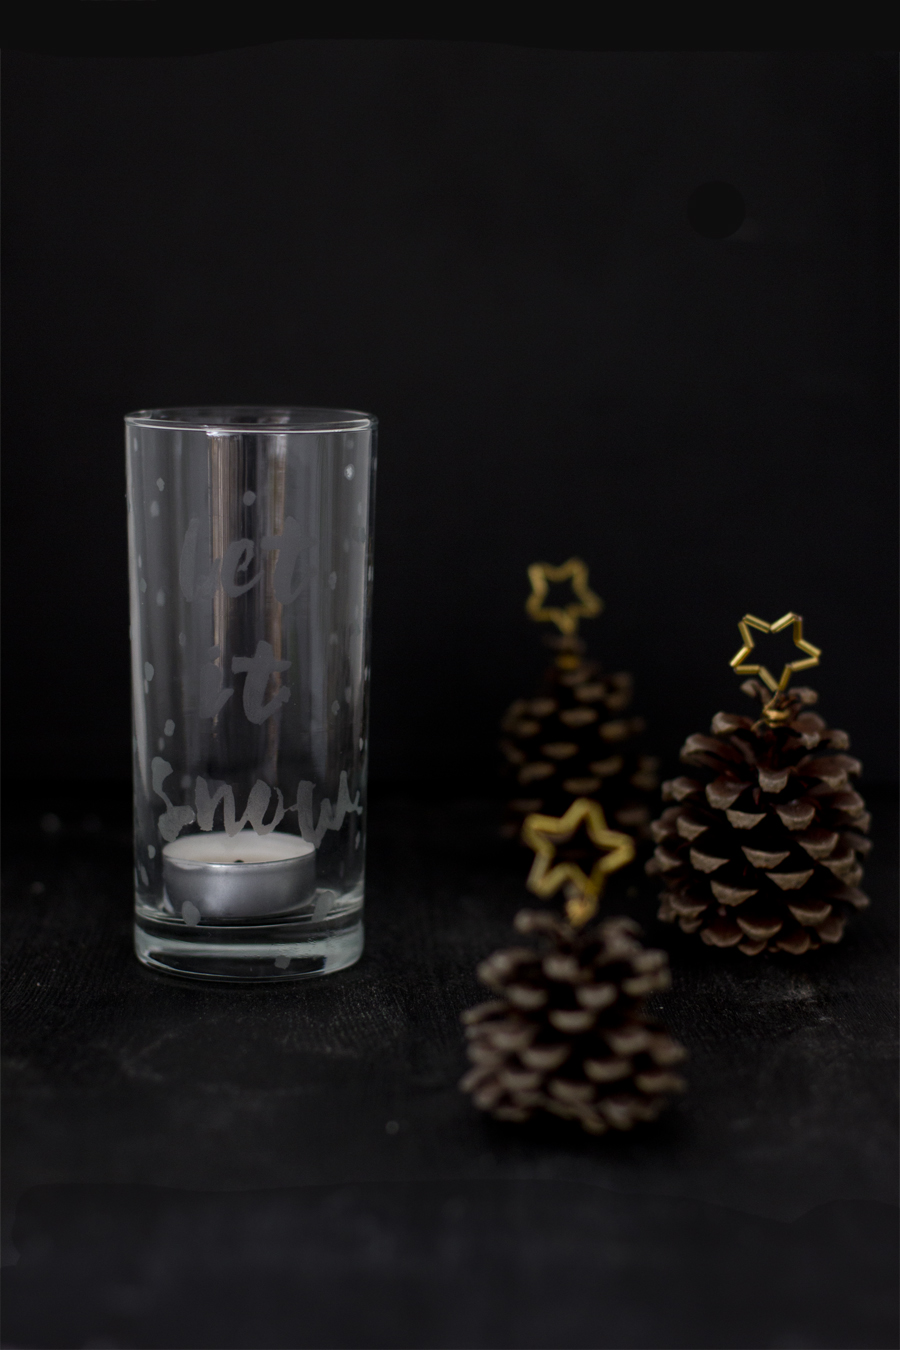
Of course I had to decorate with the pine cone trees I made before. As you can see they don’t only make great place cards.
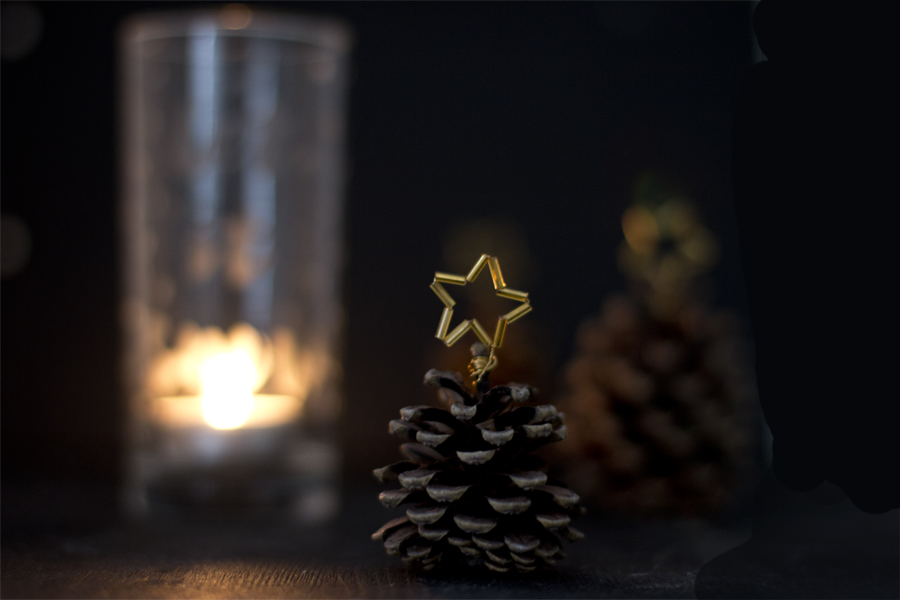
I thought that you might can read it a little better with some colorful paper on the inside which diffuses the light of candle a little. However I didn’t have any at hand, so I left it like that.
Next time I use a bigger glass (maybe something like here), so I can make one to put on the porch.
Now. Carry on!


That is beautiful but the “don’t get on skin” part is a little scary because inevitably I will!
If you handle it with care (and put on rubber gloves) it’s not to worry! Good luck!
Das sieht echt super schön aus. Wir versuchen es nachzumachen ^^
nur mit der ätz-creme aufpassen! dann ist’s ganz leicht. 😊