I only like to work when it’s tidy. Which is kind of funny considering that crafting and creating is sometimes a quite messy business. I don’t shy away to get my fingers dirty and go full force. More often than not I am creating on the floor with enough space to surround myself with anything I might need. My desk is mainly used for little crafting, writing and photo editing. Maybe that’s why I like all it to be in order. My last task for the day is always tidying the whole thing to get me motivated in the morning. What’s your ritual to finish your day’s work?
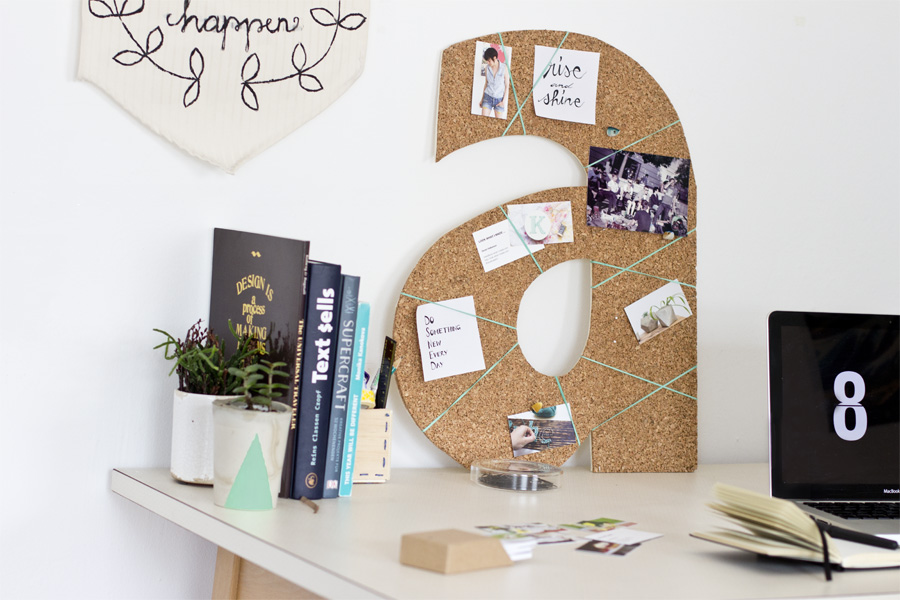
Because I keep a lot of little post-its and notes with things I need to remember, I created this cork pinboard DIY. It’s my perfect organizer buddy for now and it looks really pretty too. Win. win.
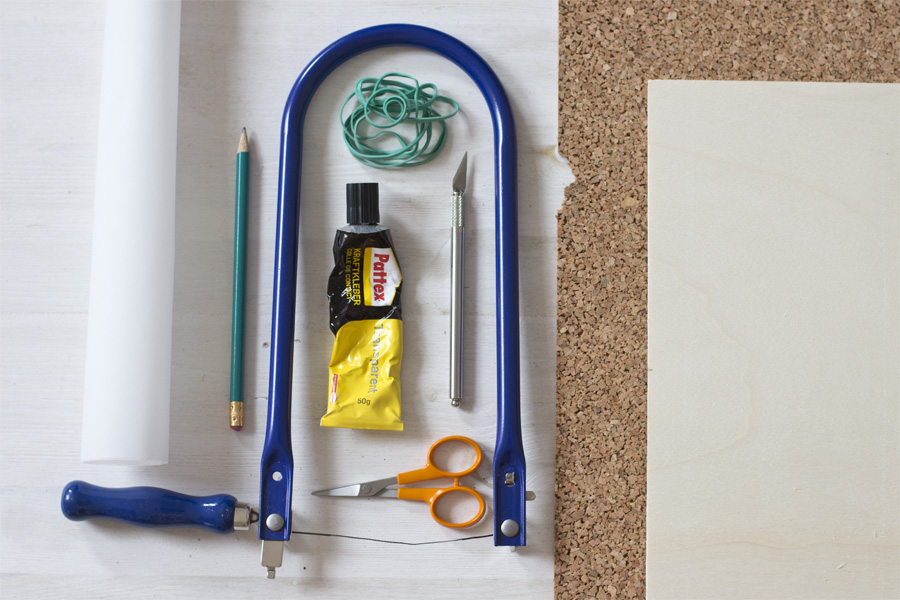
All you need is:
– see-through paper
– a pen
– craft wood
– cork
– rubbers
– a jigsaw
– a scalpel
– strong glue
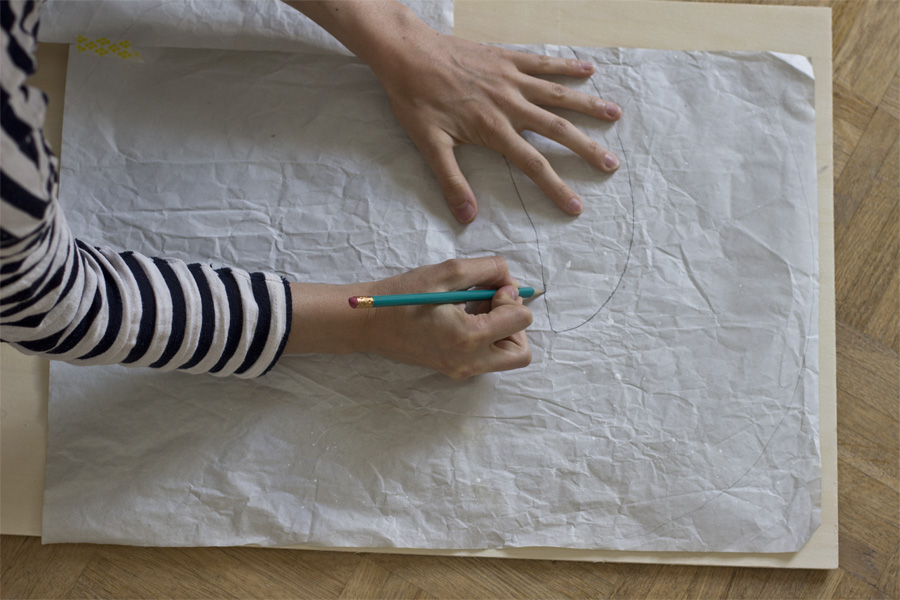
First of all you need to draft the letter you want to create on the paper. I wrote the a in the font Abadi MT Condensed Extra Bold in 800 px in Word and resized the page to 500 %. That’s what I roughly scetched on the paper. Now take your template and put it on the wood. Copy the lines with the pencil and a little pressure.
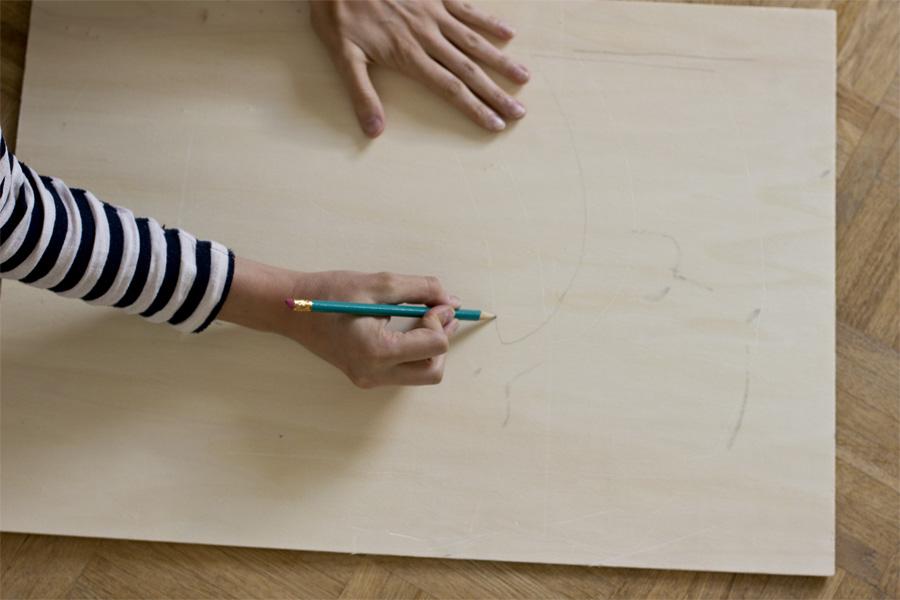
Follow the thin lines with the pencils to make it more visible.
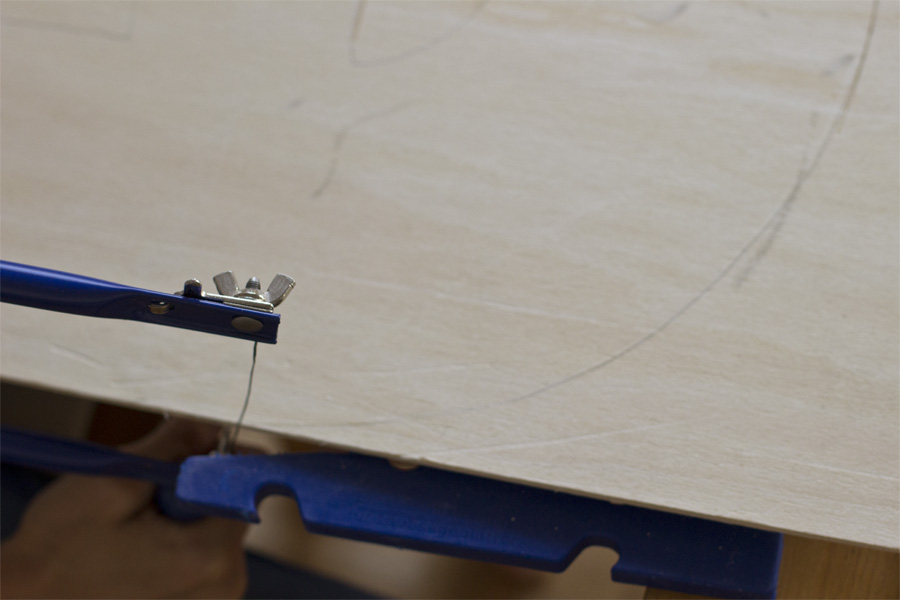
Cut it out with the jigsaw and the scalpel. I found that the jigsaw isn’t handy – especially with the hole, so I took the scalpel and carved the lines. However this took some time.
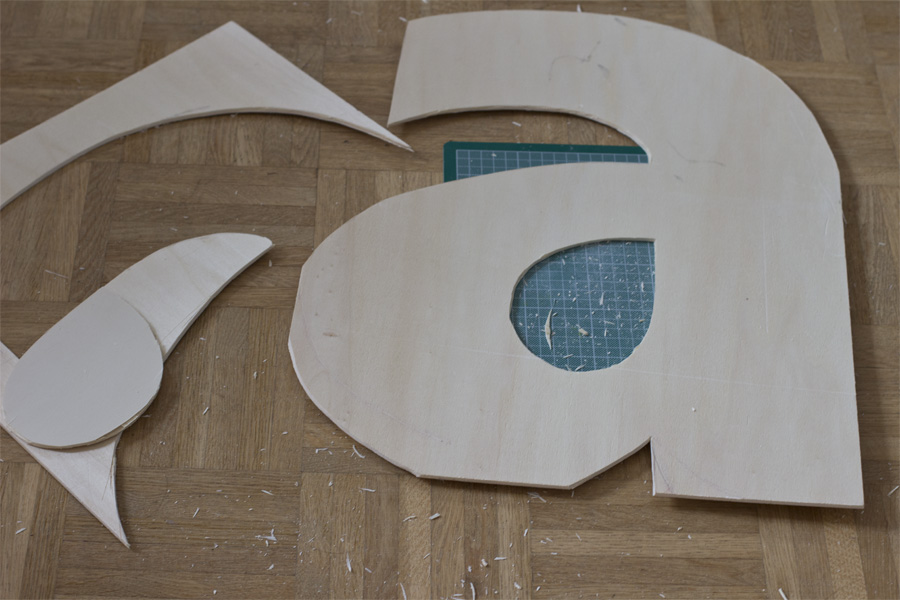
Voilá! You’re two thirds there!
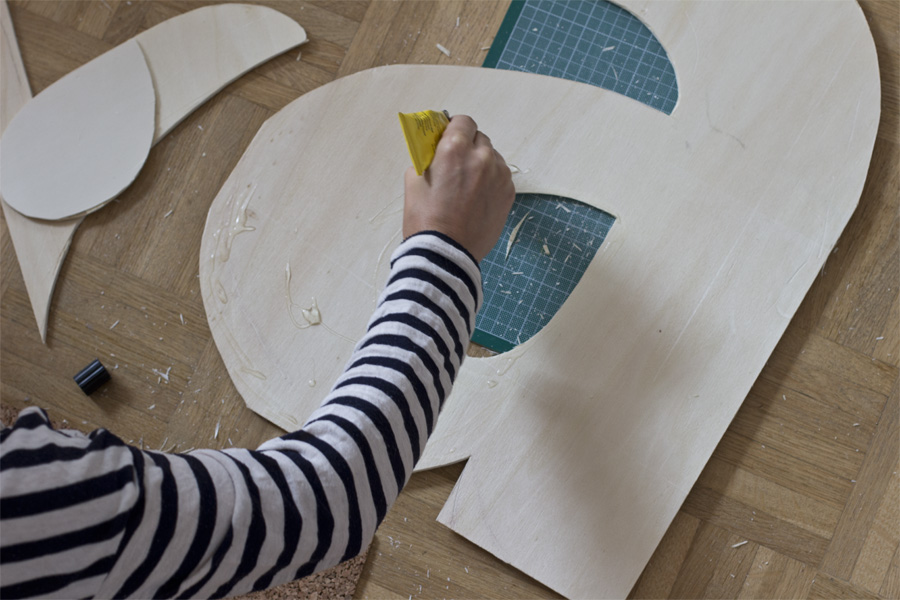
Put glue on the front of the wooden letter (don’t be shy – it should stick in the end!).

Take the cork and put the letter on it with the glued side to the back. Press it down.
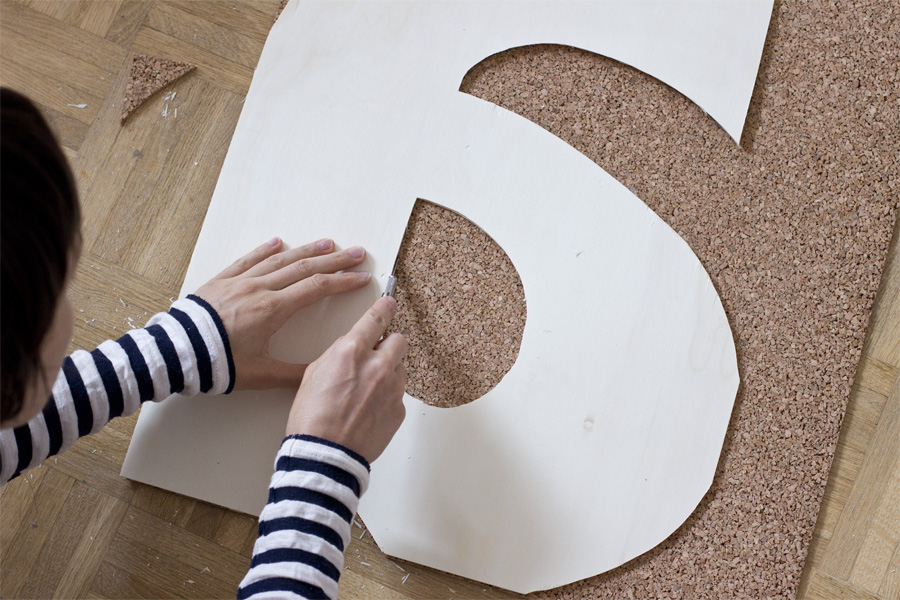
Cut around the edges. And all there’s left to do is to apply the rubbers. If you want them to go through the hole, just cut them open and tie them back together at the back.
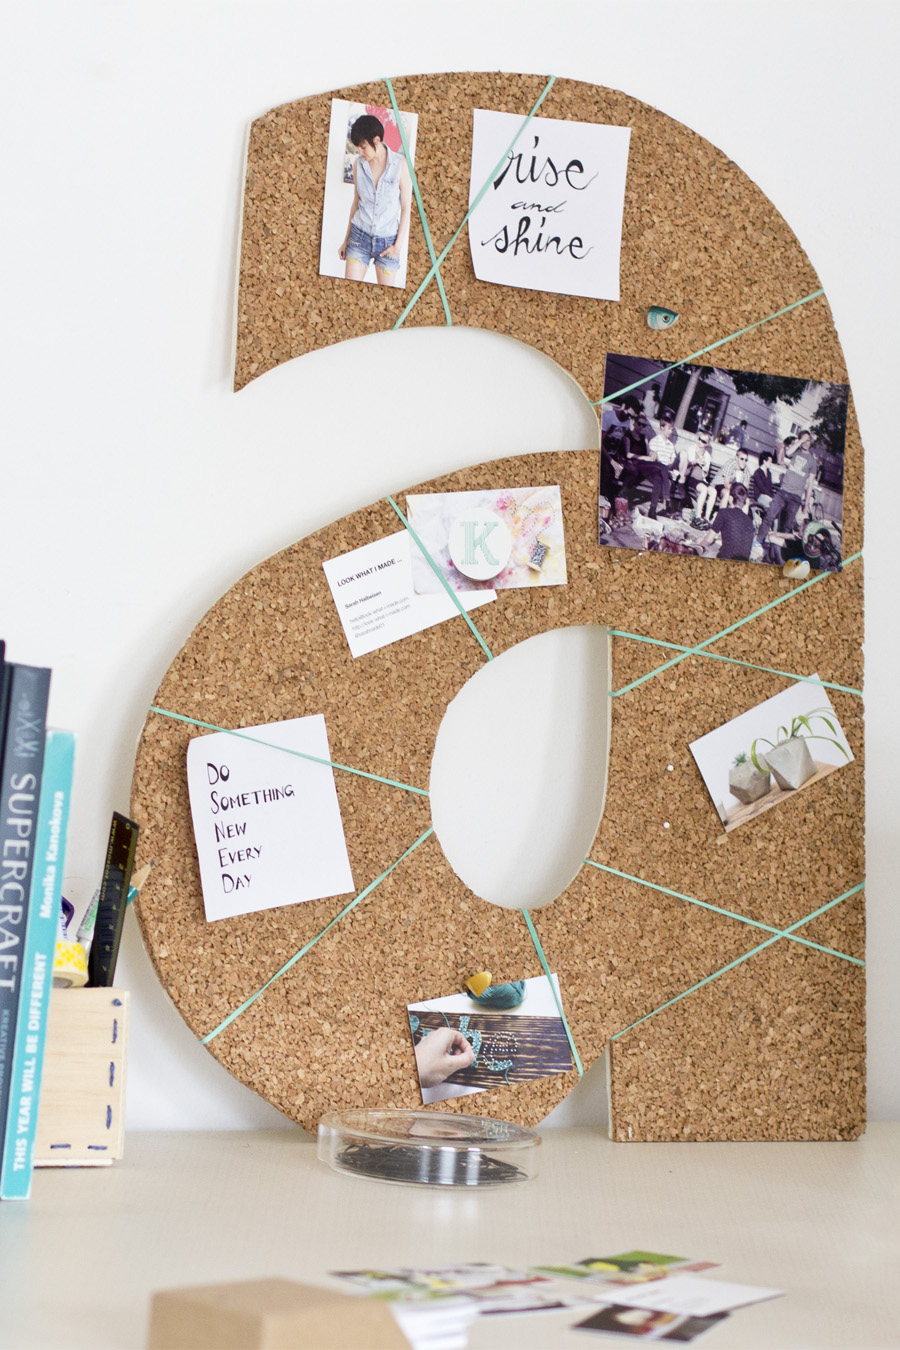
So if you ever wondered what my work place looks like: this is it. I also have a second screen for photo editing and there’s always a cup of tea, coffee or syrup nearby but basically that’s it.
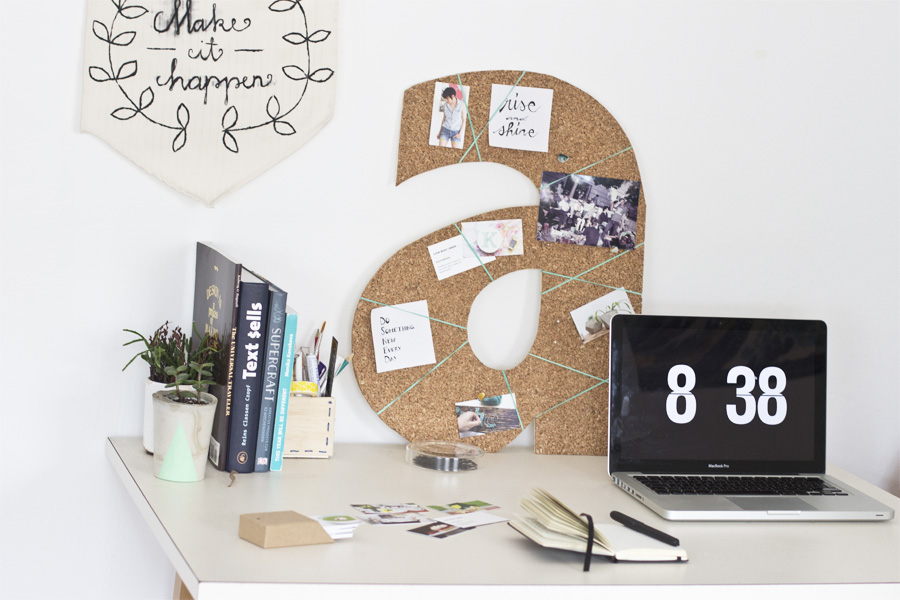
Remember this stitched wooden box? I ended up using it as a pencil cup instead of a wooden planter.
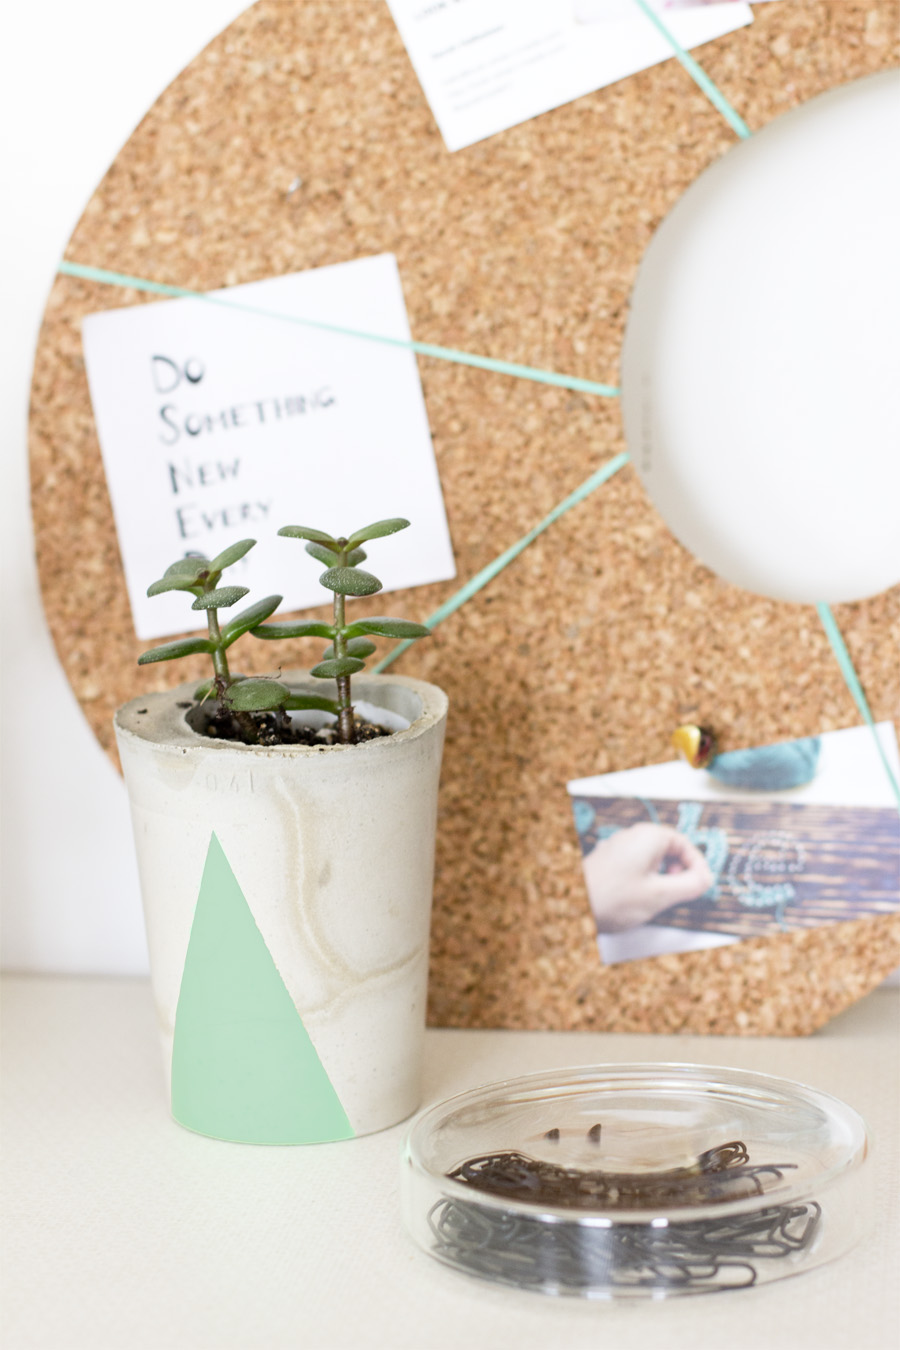
I have already so many of these handmade planters (like this cement planter) that it’s more useful to me this way.
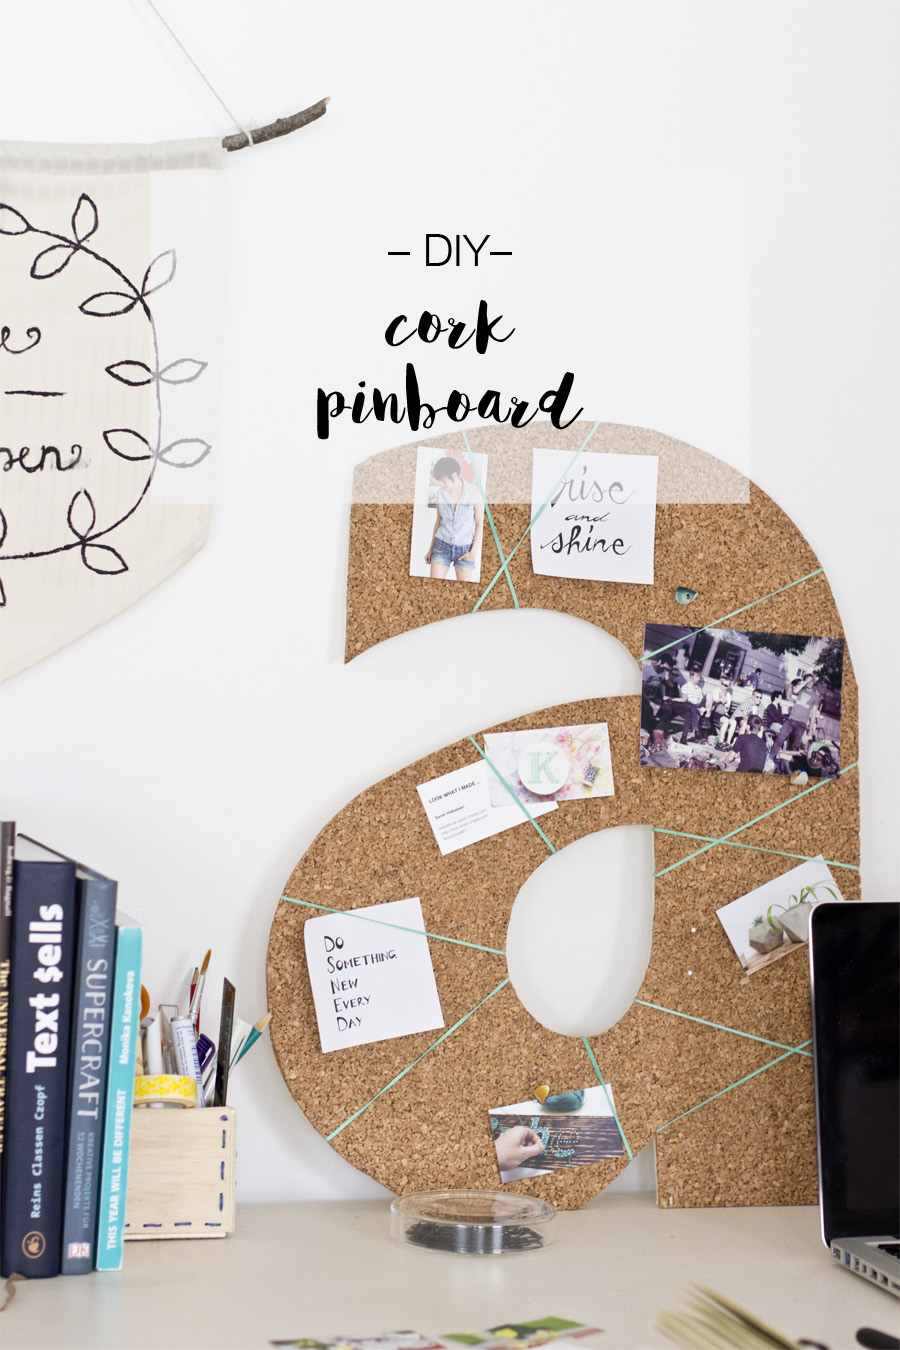
What does your work place look like? I’m so curious. Even if you’re not working from home I would love to see what you surround yourself with. If you share a picture online please use the hashtag #lookwhereIwork for me to see it. Can you do that for me? You’re the best!

Now. Carry on!


[…] might remember this DIY pinboard I made just a few weeks ago. It’s now at my sister’s place. I gave it to her for her […]
[…] This cork pinboard is in the shape of a letter, making it the perfect finishing touch for any office or command center. You’ll need a cork sheet, some wood and some cord in a bright color… and you’ll be well on your way to making one of these super stylish monograms pinboards by Look What I Made. […]
[…] Look What I Made […]
[…] with brightly-colored cord, so you can display snapshots and keepsakes. Make your way over to Look What I Made to find out exactly how to create your own customized letter cork […]
[…] Look What I Made. […]
[…] 3. Monogram Pinboard : Look What I Made […]
[…] From ‘Look What I Made‘ […]
[…] Look What I Made‘s is pretty special. The alphabetical corkboard is ideal for keeping all your notes, to-do lists and photos tidy, with the added bonus of looking completely delightful. […]
[…] might remember this DIY pinboard I made just a few weeks ago. It’s now at my sister’s place. I gave it to her for her […]
[…] This cork pinboard is in the shape of a letter, making it the perfect finishing touch for any office or command center. You’ll need a cork sheet, some wood and some cord in a bright color… and you’ll be well on your way to making one of these super stylish monograms pinboards by Look What I Made. […]
[…] a letter pinboard & use rubber bands to gather all of your […]
[…] tone… and you'll be well headed to making one of these overly in vogue monograms pinboards by Look What I Made. […]
[…] just now, let’s see how you can make a custom one out of cork. It’s all described in detail onlook-what-i-made. The list of supplies needed for the project includes see-through paper, craft wood, cork, a […]
[…] Tutorial […]
[…] Pour les petites choses comme les rappels ou les petites photos que vous voulez garder près de vous lorsque vous travaillez, vous pouvez utiliser un tableau de broches. Une belle idée est de fabriquer un tableau de broches en forme de lettre. De cette façon, vous pourrez également le personnaliser. Les fournitures nécessaires à ce projet comprennent du liège, du bois d’artisanat, de la colle, du papier transparent et un stylo. [trouvé sur look-what-i-made]. […]