I blame my mother that I see (potentially) useful stuff where others see trash. I’m such a lucky girl that I have such an understanding boyfriend. Really. Every time he’s about to throw something away, he comes first to me and asks: “Can you use this or can I throw it away?” It’s like in this joke: Is this art or can it be removed? The good thing for him (or more for me): I know immediately if I still need it in my life or not. Yes or no. Without hesitation and (almost) no second thoughts.
The only problem with this is that not only my boyfriend but other people (which know me this well like friends and family) do the same. What’s the problem you ask? Well, say “no” to somebody that just dragged a heavy bag of weird wood pieces through the city home to show them to me as a potential project. I end up carrying them all the way to my home without an idea of what to do. Like I said: I know immediately if it’s worth keeping or not.
However what I do use a lot is packaging. Like the Whiskey tins or Wine box. For this DIY I used 2 packages: a very strong cardboard box that I stored somewhere for more than a year now and the GoPro packaging. My boyfriend got one of these great cameras and he was like: “yeah, I got a GoPro!” and I was like “yeah! Can I have the packaging?”
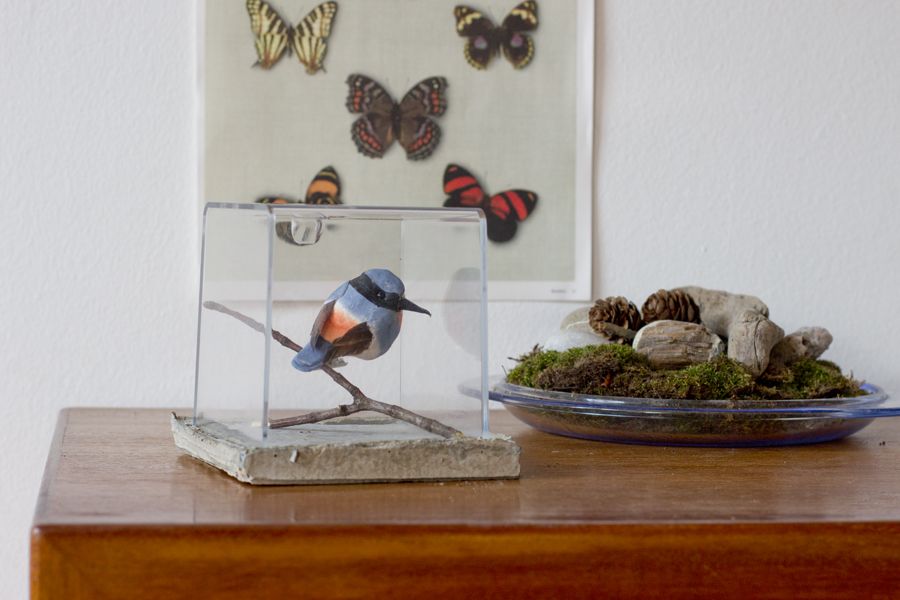
This sweet terrarium is made out of cement and the plastic cube that comes with the GoPro. Can you believe that?
All you need is:
– cement
– water
– cardboard box
– a vessel to mix the cement
– a scissor and tape
– plastic or glass cube
– a small branch
– a bird like this
1. Build a box that makes the base for the terrarium. If you have one that has the exact measurements – lucky you! I made one out of a cardboard box. Just make sure that it’s about 1 cm wider than the plastic cube you use as top.
2. Mix the cement as it says on the packaging.
3. Fill the cardboard box with the cement and let it dry a little. When the surface is set a little (not hard!), take the cube and press it into the cement. This gives you a groove to hold the cube in place on the finished product. I cut away the cardboard once it’s all a little hardened that I can dry more easily.
4. Remove the cardboard box completely once totally set. The bottom is probably still a little moist – I let it dry on a cake grid until completely dry. Decorate with the branch and bird.
I’m a sucker for this nature/science look lately. What do you think? I predict it’s going to be a trend now in autumn. Well it least in my living room and that’s where it counts. For me. Anyway.
Look what a sweet DIY concrete display terrarium I made!
If you’re looking for another cement project, you might want to check out my cement and copper lamp.
Now. Carry on!


Great idea. I love the taxidermy look. Thanks for sharing.
[…] || []).push({}); No. 1 Make a cute terrarium for your home | Look What I Made No. 2 – Recycle old jeans into a cute new denim bowl | Henry Happened No. 3 – […]
[…] Repin Like Learn to make your own cement base for a cute terrarium by taking a look at this how-to. […]
[…] might remember my bird cement display from here. I like it so much that I haven’t changed it […]
[…] Cushion with built in headphones 2| Terrarium 3| Tea shelf out of a wine box 4| Personlized wall art 5 |Handmade friendship […]
[…] made some snowflakes with a punch and decorated the terrarium I upcycled a while ago. My own (black and) white […]
[…] ability to craft / cook / create unique projects. One of my favourites ever was this amazing bird terrarium. Her blog is interesting, informative and always amusing. Plus, she’s based in Vienna, which […]