As part of my 2-month sabbatical I recapped what I wanted to do with this blog. The answer was mainly: more of the same but also explore new fields. Things I know or can do but have never shared. Some might be because I never thought it would interest you. But how do I know unless I tried it?! Right?

So today I share some wisdom about writing DIY tutorials that I accumulated over the years. If you do write blogposts yourself there might be something in it for you.
1| Write an introduction.
Lead into the topic and give an insight about your inspiration, tips and give some behind the scenes information. I always love to read how people came up with an idea and maybe what purpose the craft had been made for.
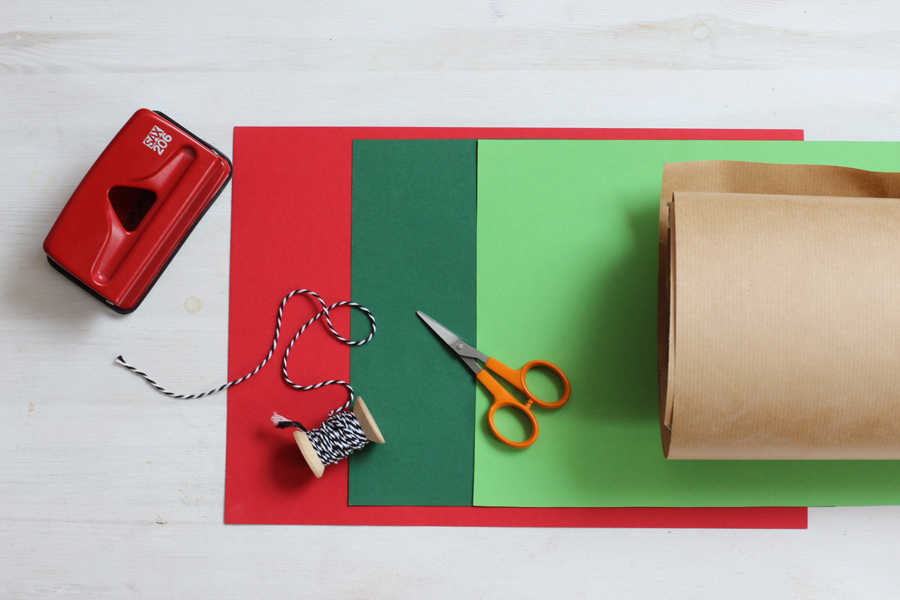
 2| List your supplies.
I always try to take a picture of all the supplies I use for a craft because an image says more than 1000 words. So they say.
However it can be that I can’t list all of them because they’re either to big for the picture (like a sewing machine) or I end up using more/different materials and tools that I haven’t thought of in the beginning.
In terms of SEO it’s also relevant to put all the “ingredients” into writing. If someone is searching for “what to do with zpagetti”, they should find your super-awesome, creative and very unique project too.
3| Make detailed instructions.
People come to your website for inspiration and instructions. Make this the hero of your blogpost. It’s very important that the technique is explained in all detail. Combine text with images if it’s a tricky step.
I like to include something like “turn the paper upside down and fold the right corner to the middle like in the picture above”.
Sometimes it’s very tricky to explain something only using words, however also an image can’t necessarily tell the whole story. Try to put yourself in the shoes of your readers. Think of one person that you’d like it to explain it to. Someone who’s not savvy with the technique you’re showing and reread the instructions as it was the first time you hear of this. This gives you a sense of how it might be perceived.
It should be like a good recipe: short enough to understand and detailed enough to be easily followed.
4| Give tips.
I always think of myself as a tester. I try new techniques and materials, so you can learn from my experience. I’m fairly clumsy and impatient: If I can do it, you can too! This is the goal.
– Is there something unique to your project that you do?
– Did something go wrong and you had to fix it?
– How is it to work with material XY or tool Z?
– How can the product be used differently?
Try to answer one or more of this questions in your instructions or below.

5| Connect with your readers.
Although this is not an essential part to make a good tutorial, try to incorporate questions for your readers. I’d like to spark a conversation not only because every comment I get, makes my day but because I’m geniuinly interested in what you think and what you’re up to. The blog might not be the right place – it works better on Social Media, but it’s a good exercise too to think about your audience.
Do you write any tutorials? What’s your experience? Anything to add to this list?
Now. Carry on!


