It’s been a few weeks since we finally moved into our own new place and it has been awesome. Through moving I also got rid off a few DIYs that I didn’t really love that much. My boyfriend reassured every decision with the words: “Look at it this way: now you can make new stuff.” I’m sure by now he regrets what he spoke so lightly. So many white walls and places to put stuff. It’s a dream!
I start with a DIY that I began in my old flat – which is why here you’ll see images from my old and new bathroom. What a step up! In every room we have now a window – the bathroom being no exception. I had to get used to the gruesome bright light. Now I see that artificial lights had its advantages when standing really close to a mirror.
One of the best things about the new bathroom and the real highlight of the room is the shower. We opted for a no-tiles-bathroom. Smooth, seamless and easy to clean all the way. We didn’t consider though that we have very chalky water and together with the dark surface it’s not a good match. Let’s just say: it’s good that the coating is easy to clean.
Three paragraphs already and haven’t even started talking about this DIY! I’m a horrible DIY blogger and every SEO expert will throw his or her arms into the air and shake his or her head with disbelief. Good thing, I don’t write for them but for you. Ha! Just stay with me, I’m getting there. I promise.
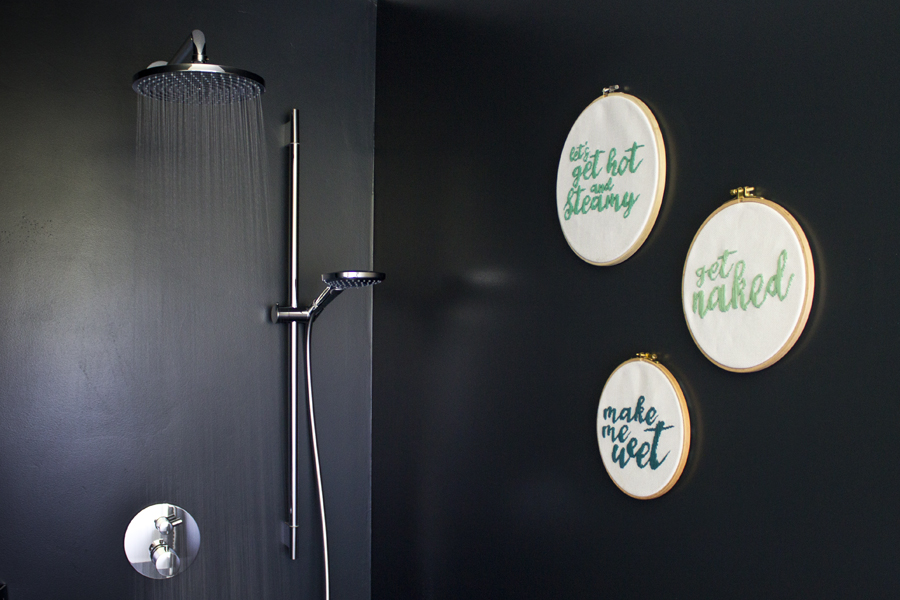
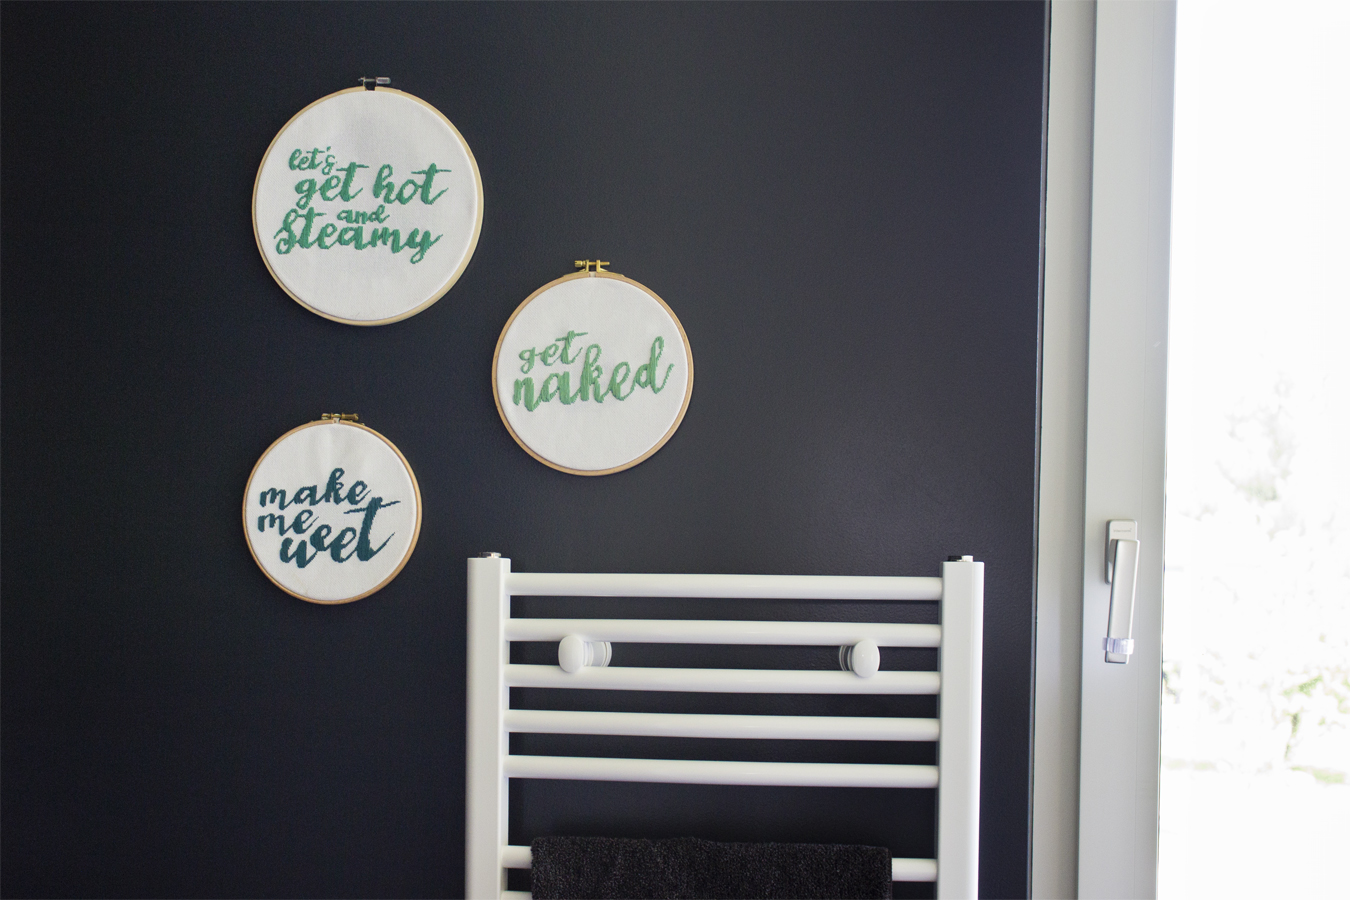
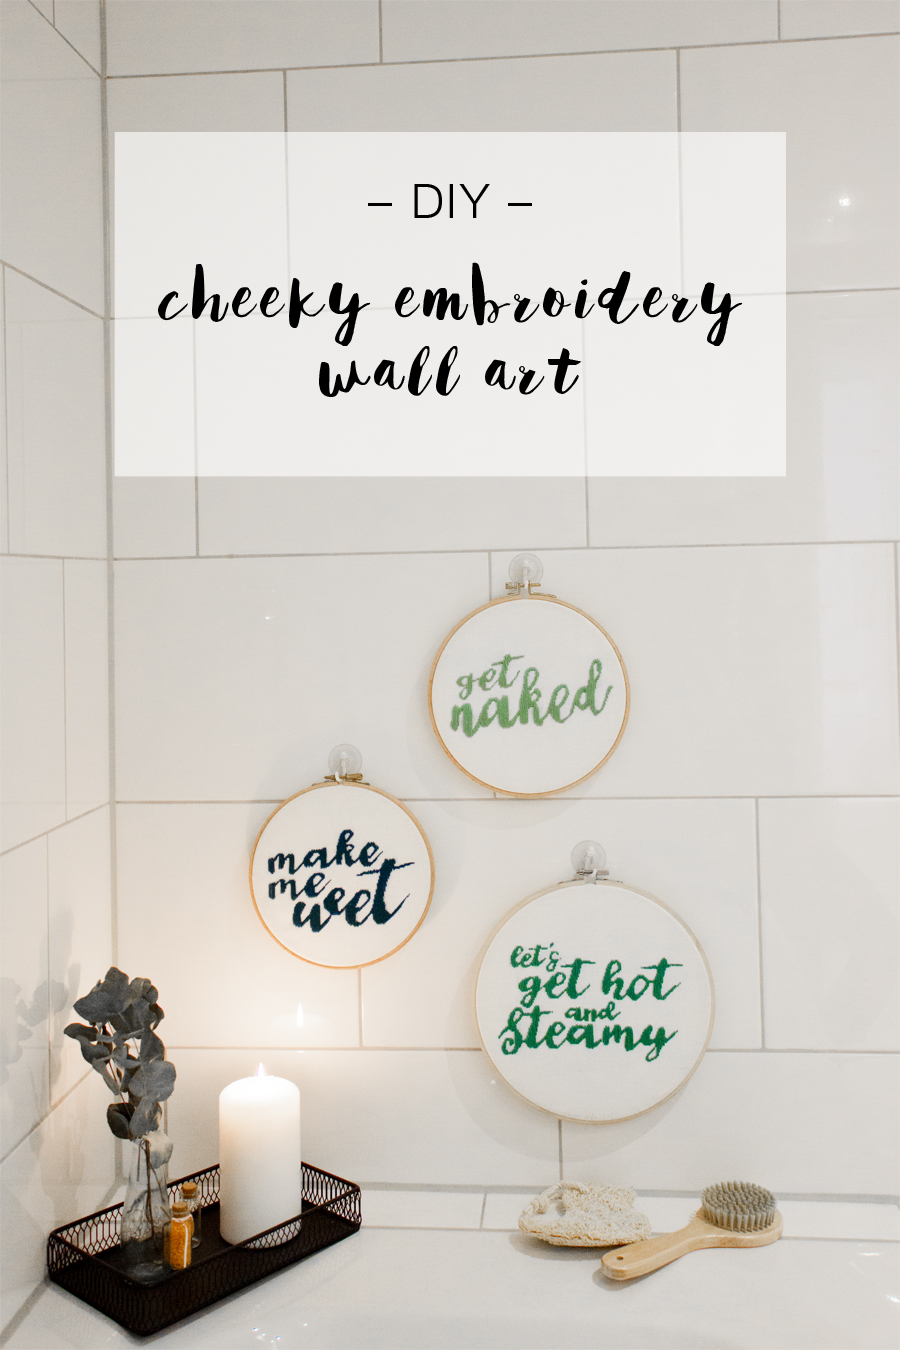
Everybody who knows me personally knows that I have a dirty mind. I can turn almost every conversation into the direction of sex. Not that I talk openly but my word choice and puns definitely lead us there. You don’t have to do much. With a simple “That’s what she said”, I’m already using what’s been said and there’s no steering back from there. So it was only a matter of time until I create a cheeky embroidery DIY. And I finally did! It’s very harmless considering but I like the ambiguity of this embroidery. Totally my sense of humor.
All you need (and forgive me, I totally forgot to take a picture of my craft supplies here – I blame it on the stress of moving):
- embroidery hoops
- embroidery fabric
- yarn in the color of choice
- a template (you can download mine here and here and here)
- a embroidery needle
- a magic marker
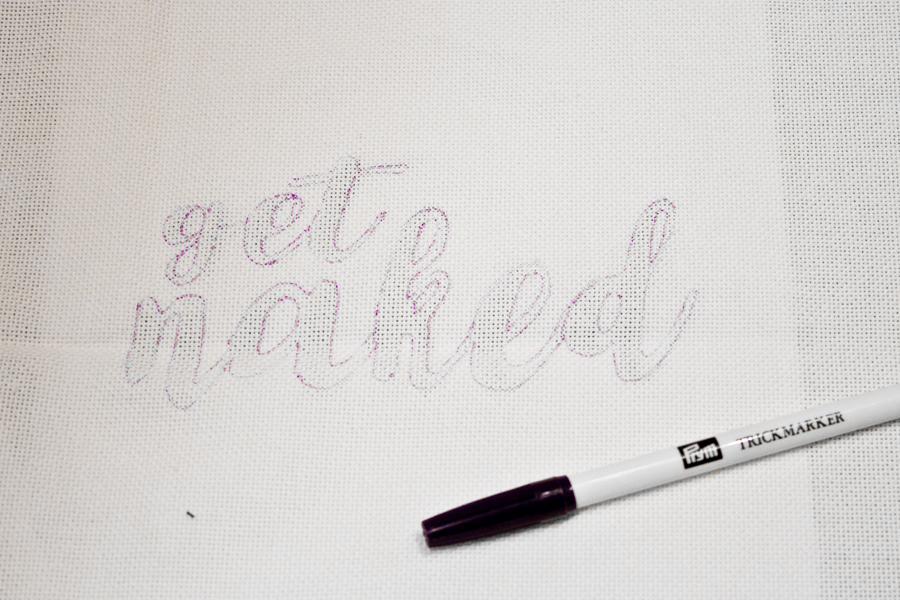
First you need to draw the outline from the template onto the fabric. Use the magic marker for this. If you don’t know what a magic marker is, let me enlighten you with one of my favorite tools when stitching: it’s a pen that disappears over time. No washing or cleaning needed!
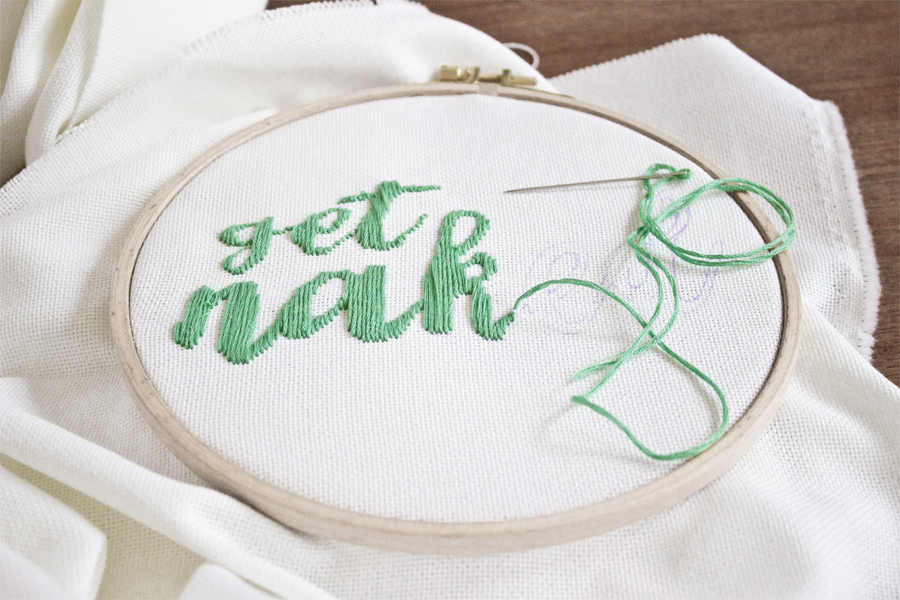
Tighten the fabric into the embroidery hoop.
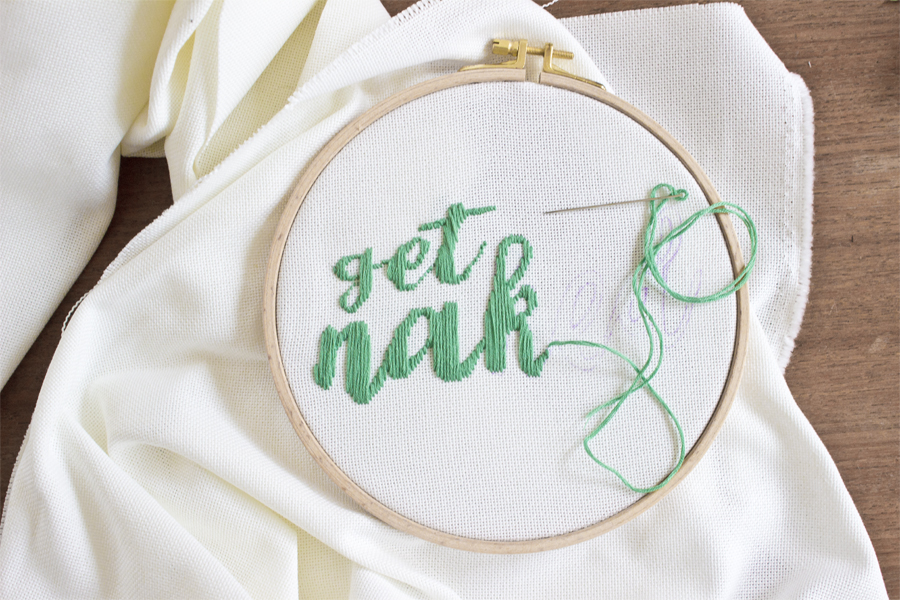
Then start stitching the outline. I used a very easy stitch: just up and down along the inner area of the letters.
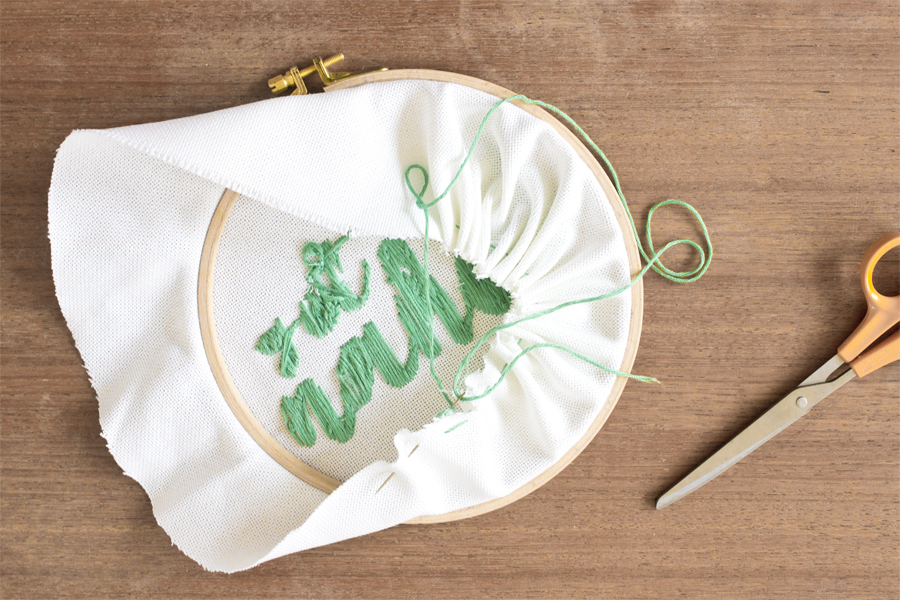
Once finished cut the fabric in the back in a wide circle. Take some leftover yarn, make a knot on one side and thread it through in wide stitches.
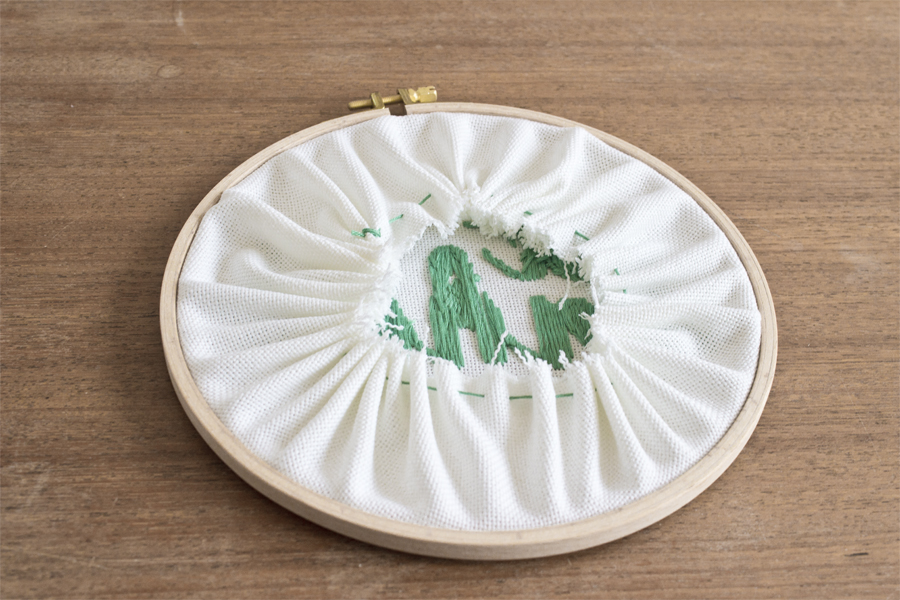
Pull tight and it will close in the back. Make another knot so it won’t open again.

In my old bathroom I had a bath tub and I attached it with hooks on suckers on the tiles. So this bathroom DIY is also rental-friendly. Now in the new bathroom, we have an open shower and I stuck it with some sticky putty to the wall. Now, can you see why I spent 3 paragraphs at the top about our new bathroom, the light and the coating…
Don’t worry though: normally they’re not that close to the shower (and therefore the water). However if I hung them where they normally hang, they seemed kilometers away and you couldn’t tell on the pictures that they’re with the shower. What you do as a stylist…
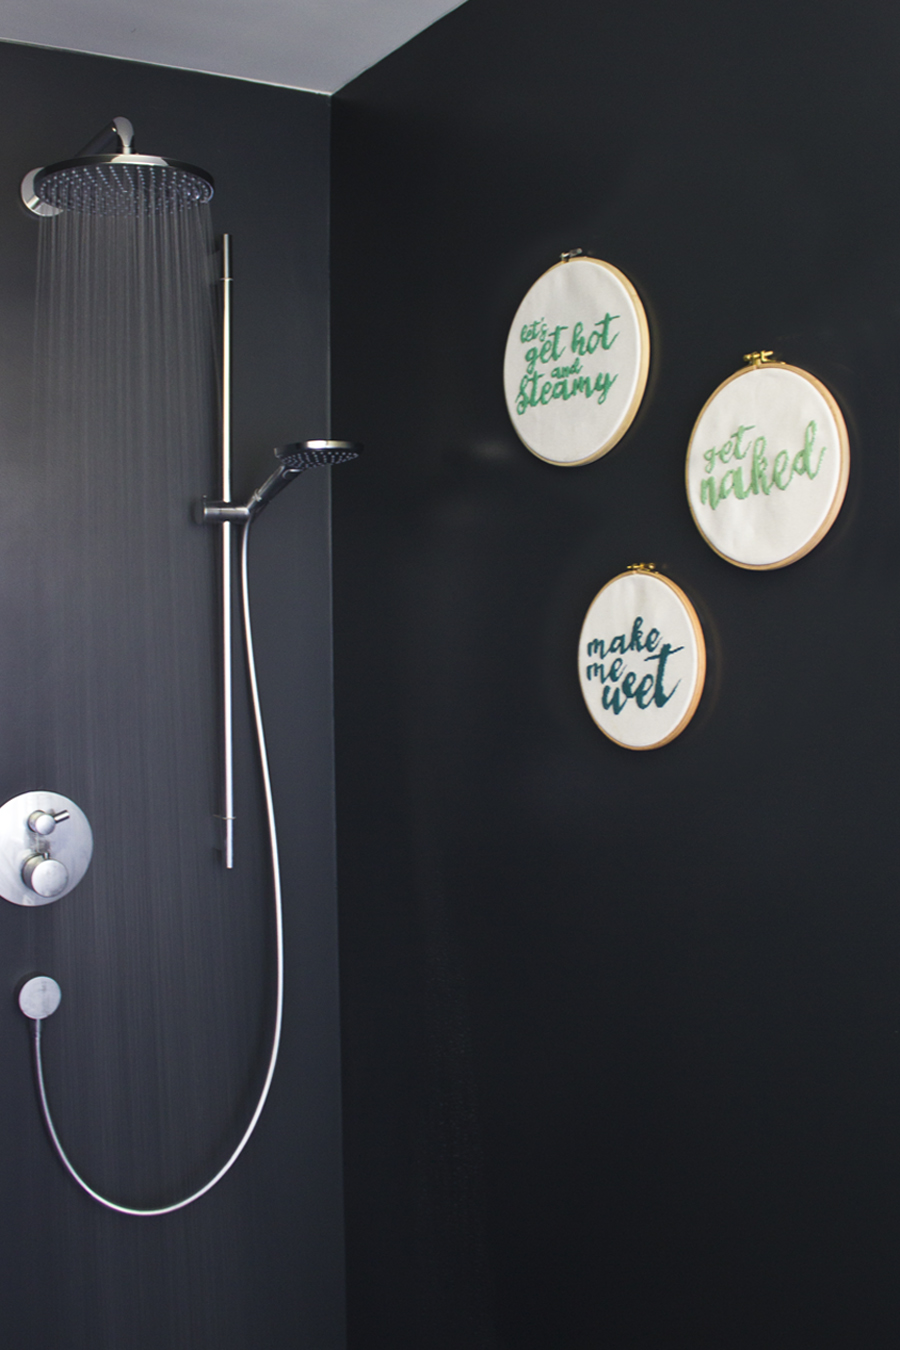
I love the cheeky message of this embroidery wall art. I hid it though, the one time the boss of my boyfriend stayed over. I’m not sure how he would receive it… How do you like it?
Are you into cheeky messages? Do you even have a (slightly) dirty mind?! Let me know! I’d love to hear silly jokes and puns!
Now. Carry on!


