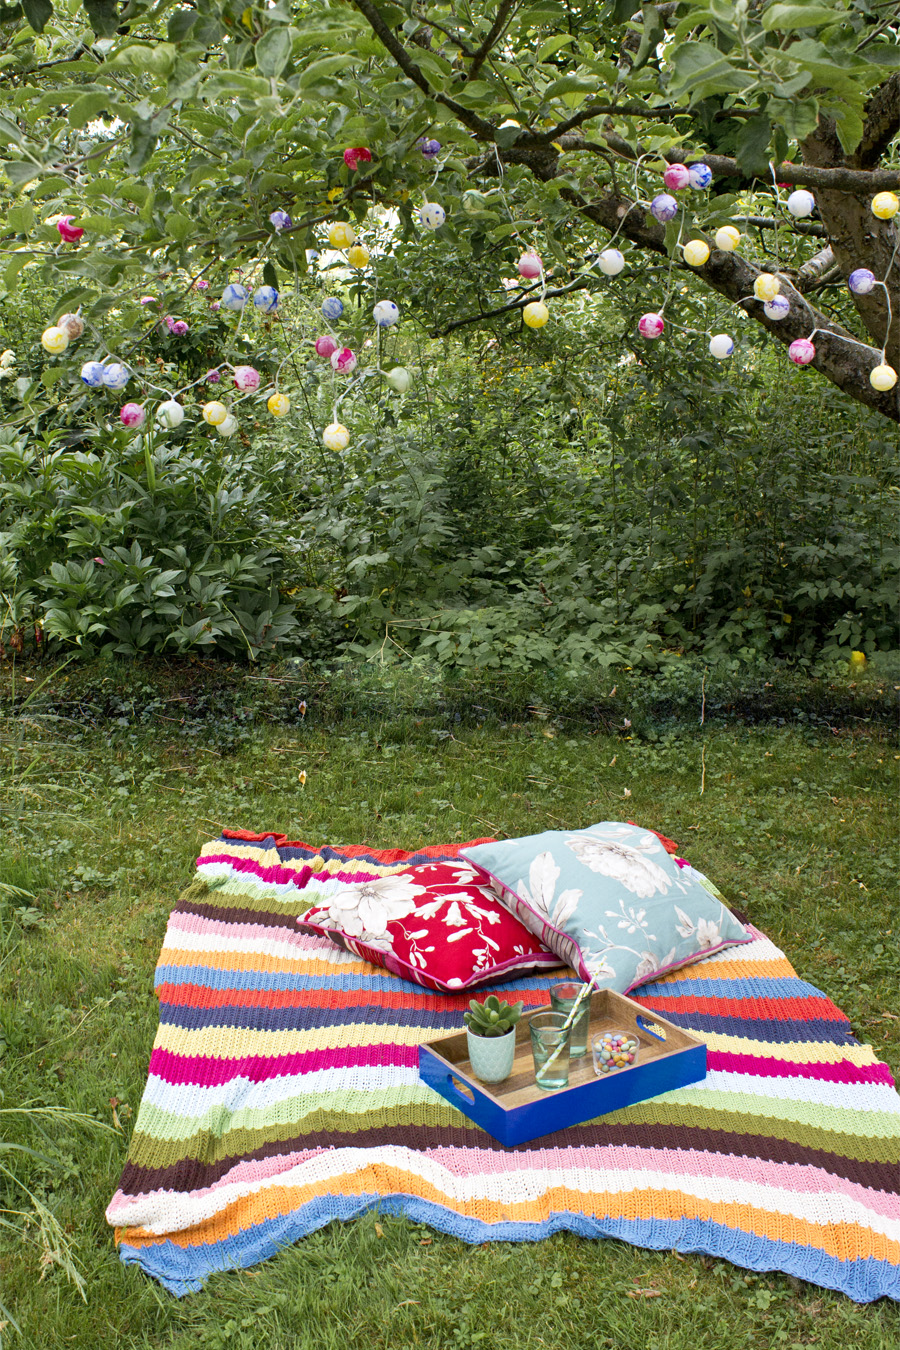
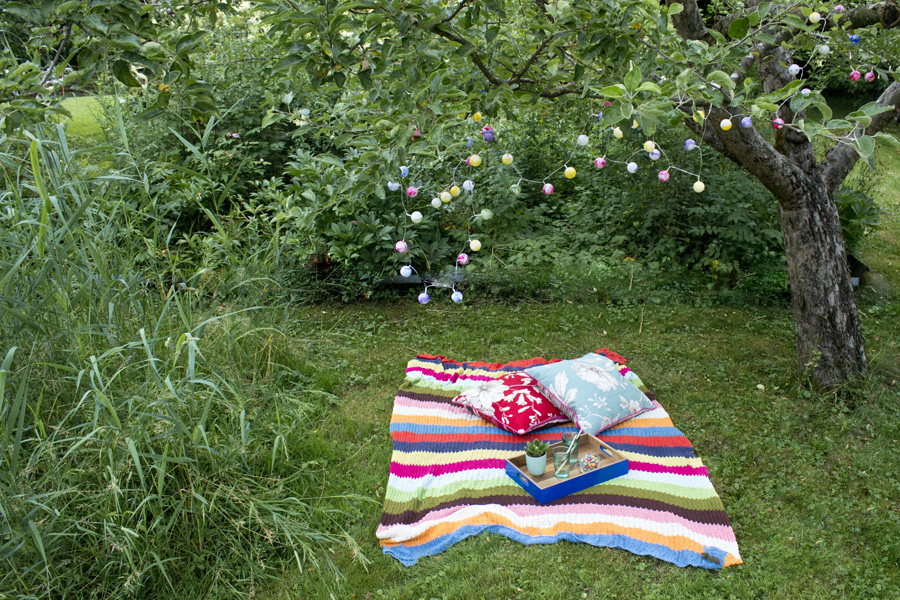
Who’s working like me during those warm days? It can be a drag to be glued to a desk all day but the warm weather and long days have one big advantage: even if you’re working, you can still enjoy the after-work hours to the fullest. I meet up with friends, have a picnic and go for walks. It’s like there’s another day after I finished work.

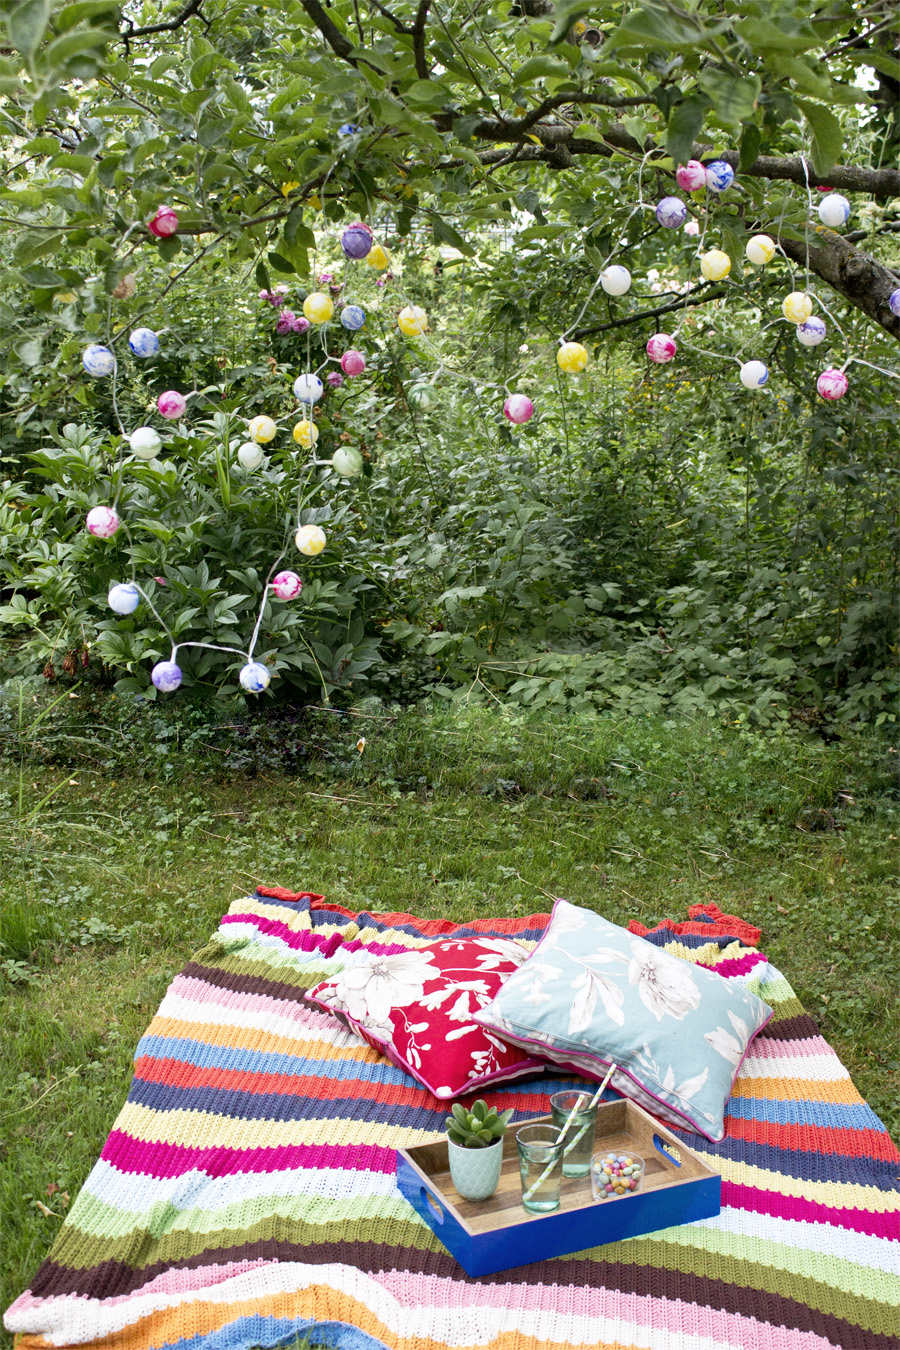
However if it does get dark then, it’s such a shame that I have to go inside with the temperature still being so nice. This was a problem I wanted to address when I made this nail polish marbled fairy light chain. The best thing about it: it’s powered by batteries and suitable for the outdoors. So when I want to have a picnic in a park, I can take it with me and when it – by chance – starts to rain, I don’t have to worry about health issues while I enjoy the warm summer rain.
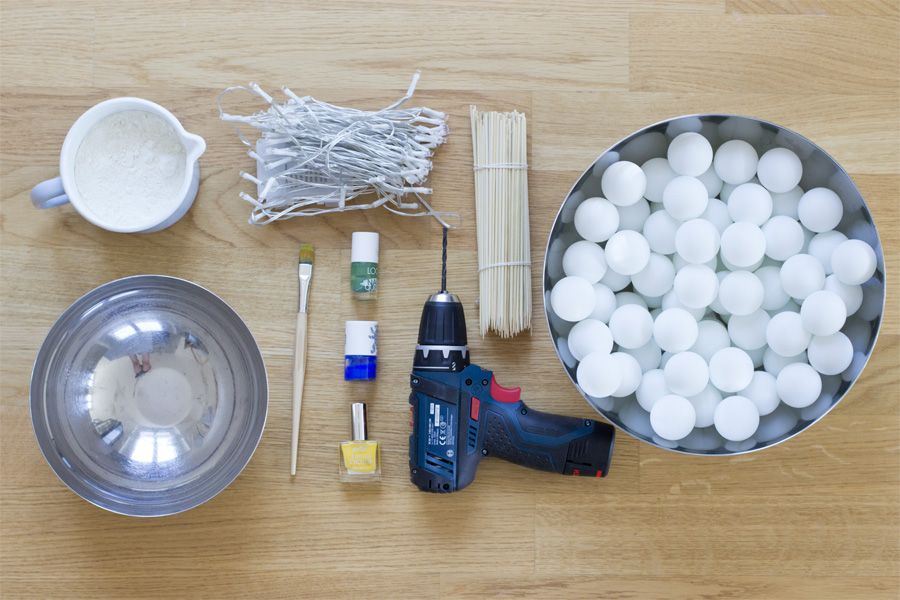
All you need for the nail polish marbled fairy light chain:
- table tennis balls
- a screw drill with a drill of the size of the fairy lights
- wooden sticks
- various (old) nail polish
- fairy lights on a string
- a bowl with water
- some cups filled with sand or flour
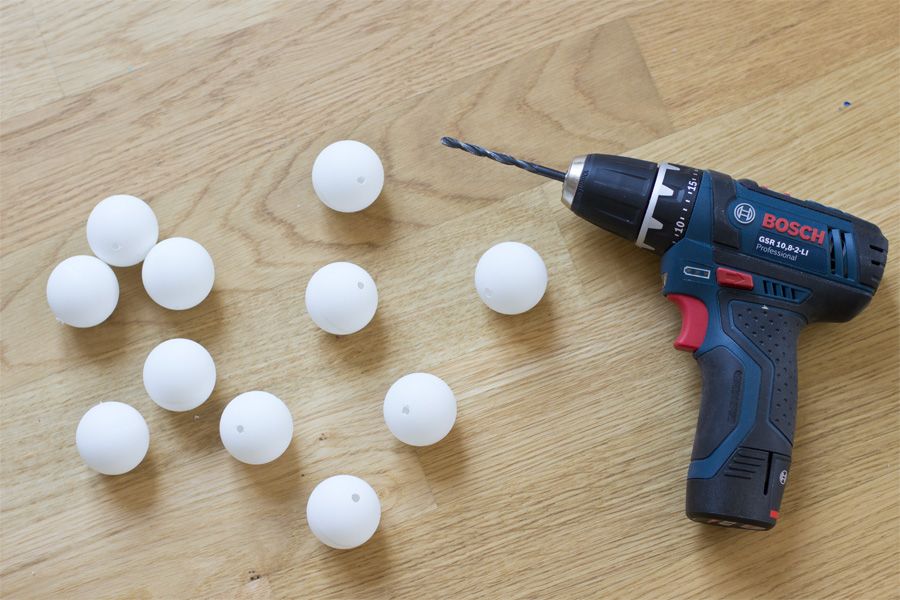
Take the balls and drill a holes in each of them. Make sure you can fit the tips of the fairy lights into them and they’re not to loose.

Get the bowl with water ready. Pour some nail polish on the water. Take a wooden stick and dip some table tennis balls into the color. This will get a marbled look.

Follow this step for the other colors of nail polish and all the balls. Once they’re colored, stick them into the pot with sand to let them dry.
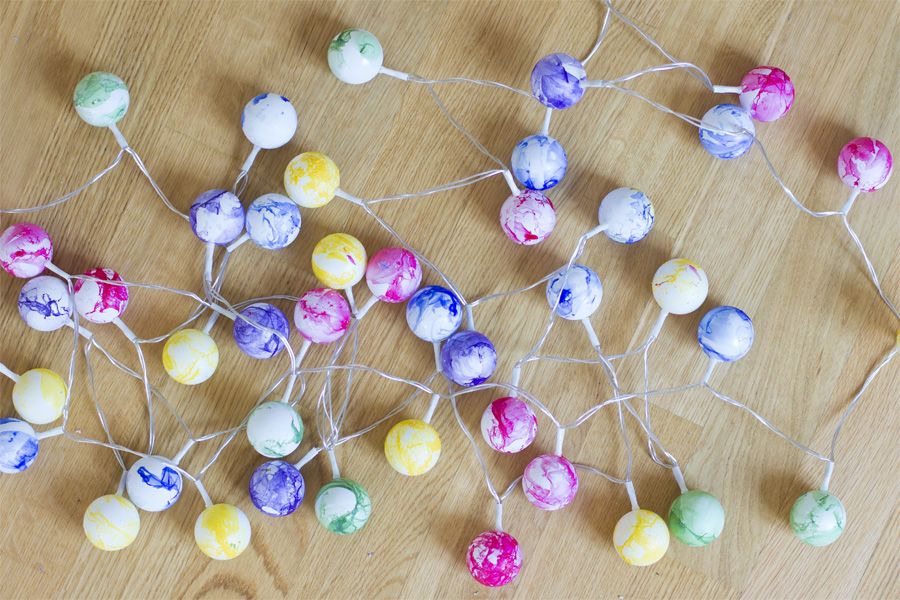
Once all are dry, stick the fairy lights through the holes and voilá! Your nail polished marbled fairy lights is done.
If you want to make your own, the whole tutorial is on Otto Magazin with lots of pictures that guide you though.
I actually took this pictures while there was a storm approaching. I took the fairy lights down. It started to rain so heavily that I was glad, I didn’t put them to the test right then.
Fun fact about this fairy light chain: did you know that it’s nearly impossible to buy any in the local hardware stores in summer?! Apparently it’s a winter-and-christmas-thing. How stupid is that?! I hope someone responsible for the assortment at Austrian hardware stores reads this and agrees with me. We want fairy lights for summer! Who’s with me?
No wonder people go online and order more! That’s what they get from looking at me blankly while I ask in 3 different stores for some “outdoor lighting with LED lights”. Pah!
Before I rant some more, let me get some snacks and drinks, fetch my fairy light chain, my summer basket and go outside. Happy weekend, guys!
Now. Carry on!

