I’m a plant lady. There. I said it. I might need to join a self-help group just because of that. I’m a sucker for little succulents and cactus – and not everybody likes my passion. When I asked my sister to look after my plants when I was away, she didn’t know what she signed up for. It was only after my trip that I heard all this complaining about my selection of tiny pots and planters filled with my little treasures.
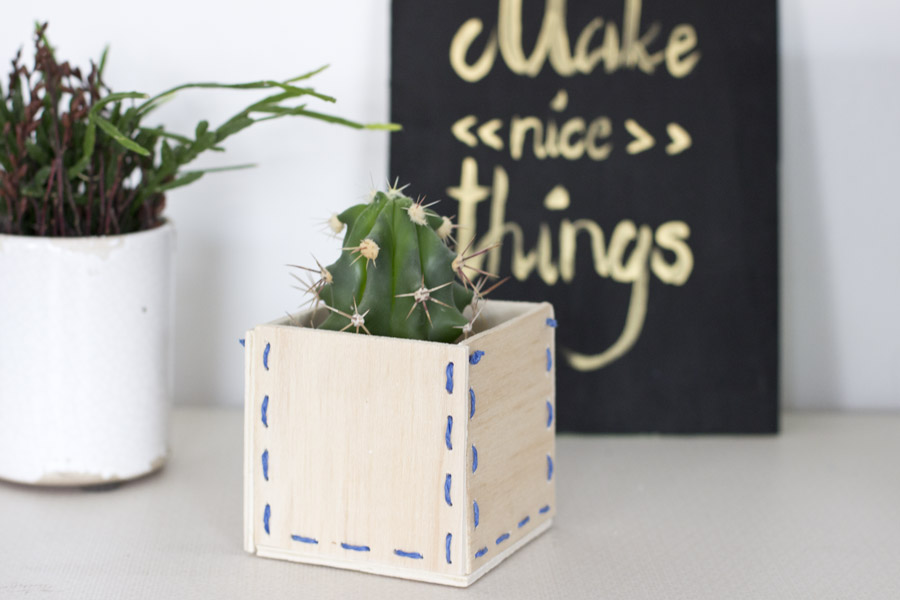
I know, you, being a good friend, not only understand my hobby but are also all over this little beauties. Right? I knew it. Brilliant minds think alike.
So to give one of them a very special place to live, I made this wooden stitched planter.
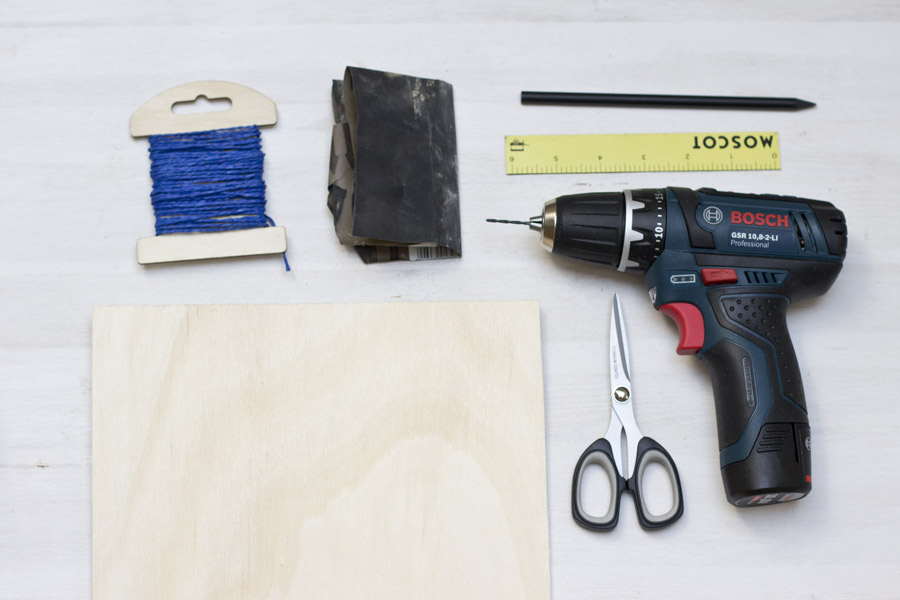
All you need is:
– 1 piece of crafting wood (a thin board)
– a saw
– a drill
– yarn
– needle
– a ruler
– a pencil
– scissors
– abrasive paper
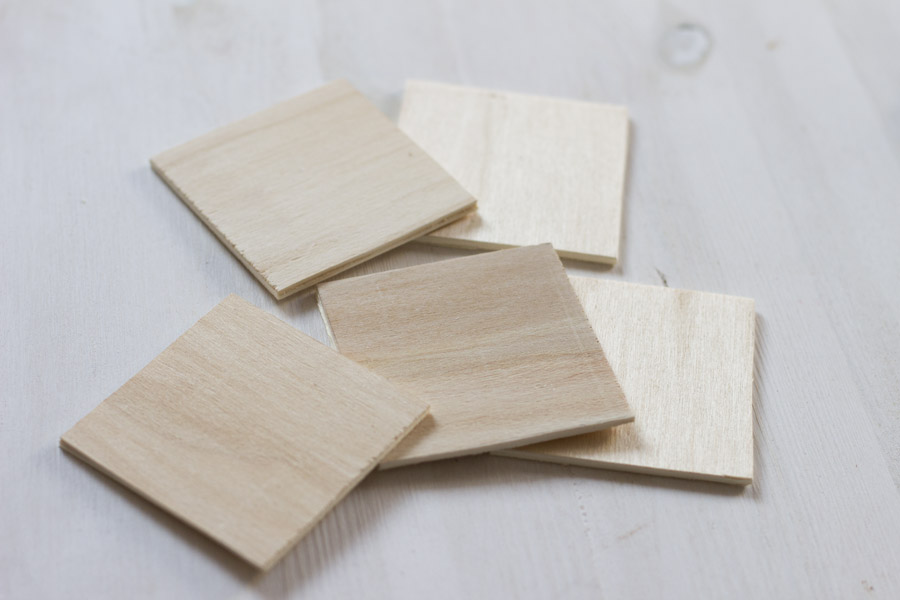
Take the wood and cut out 5 squares of equal measurements. If you’re clever enough to do that at the hardware store, where you can buy the crafting wood, you just won a prize. The prize of endless respect from my side. I forgot that so I had to cut them by hand. It took a while.
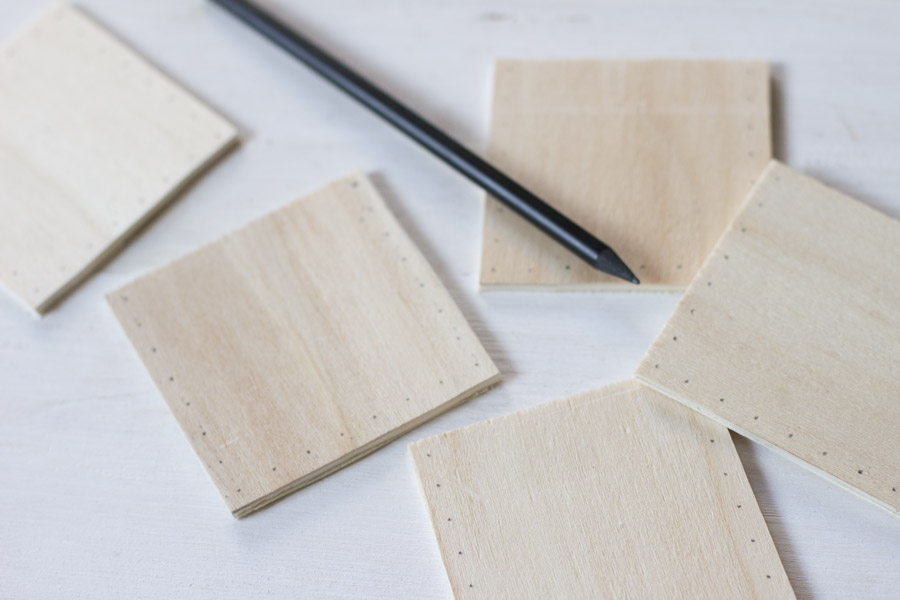
My pieces are 8 cm on each side. I made marks where I want to drill the holes with the pencil and ruler. Do this on 4 plaques on 3 sides and on the one being the bottom of the planter on all 4 sides.
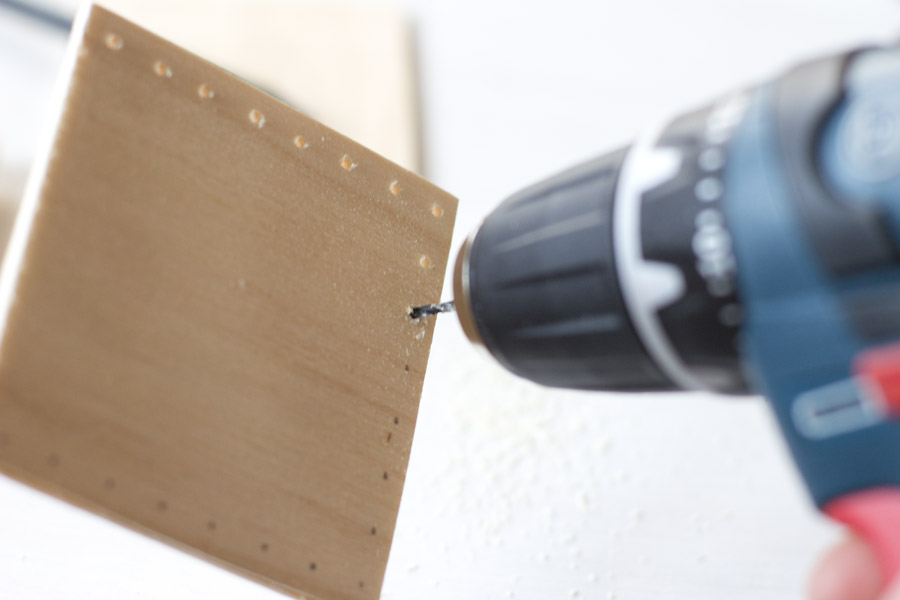
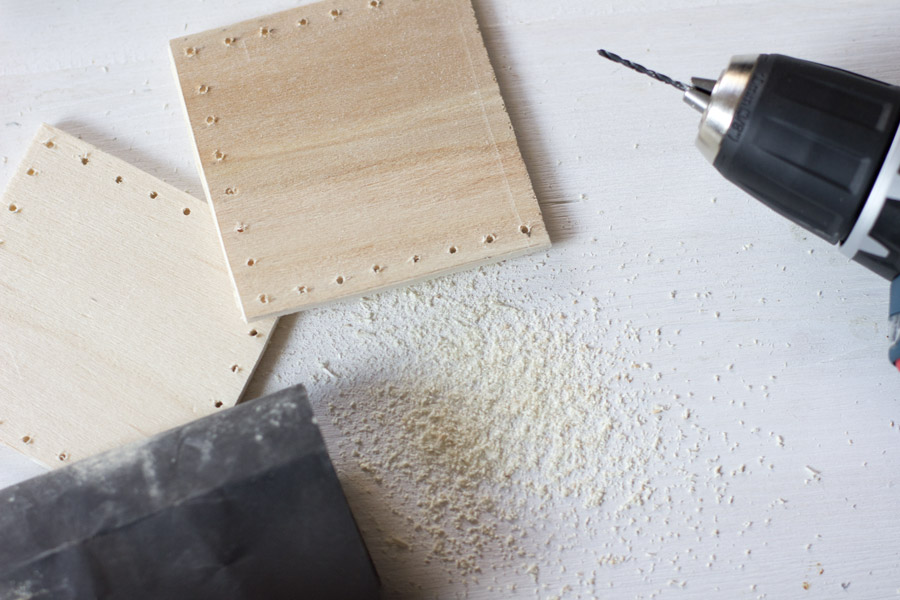
Now drill the holes with a small drill and get rid of any splints or sharp edges.
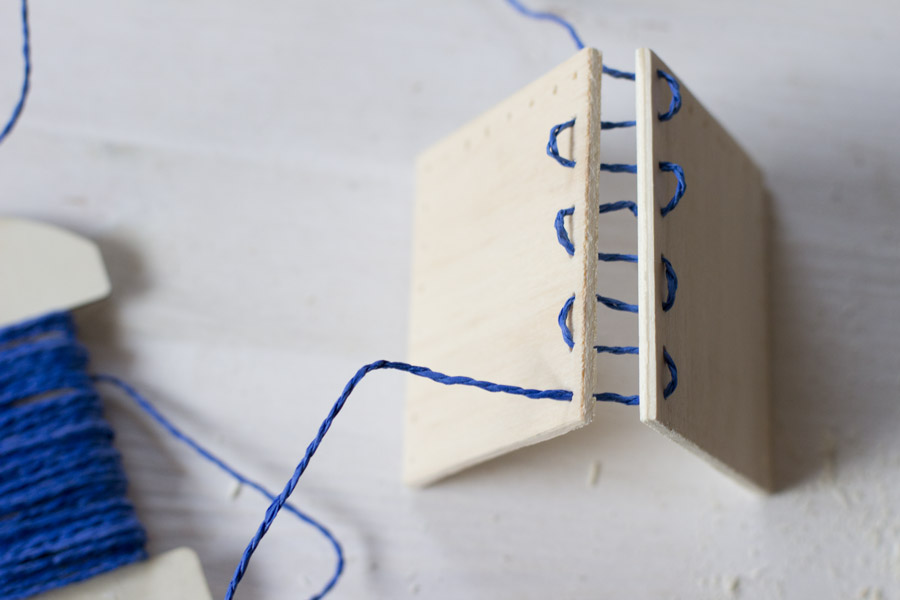
Now thread the yarn through the holes like in the picture above. Make sure that it looks like a box. Make knots at the loose ends.
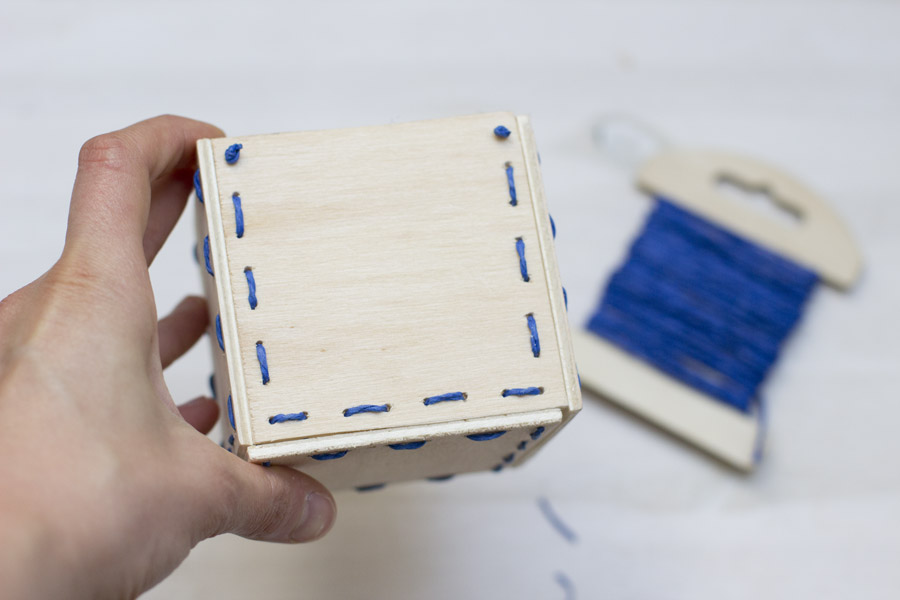
Voilá! You just build a tiny little box. You should be really proud of yourself. I know, I am.
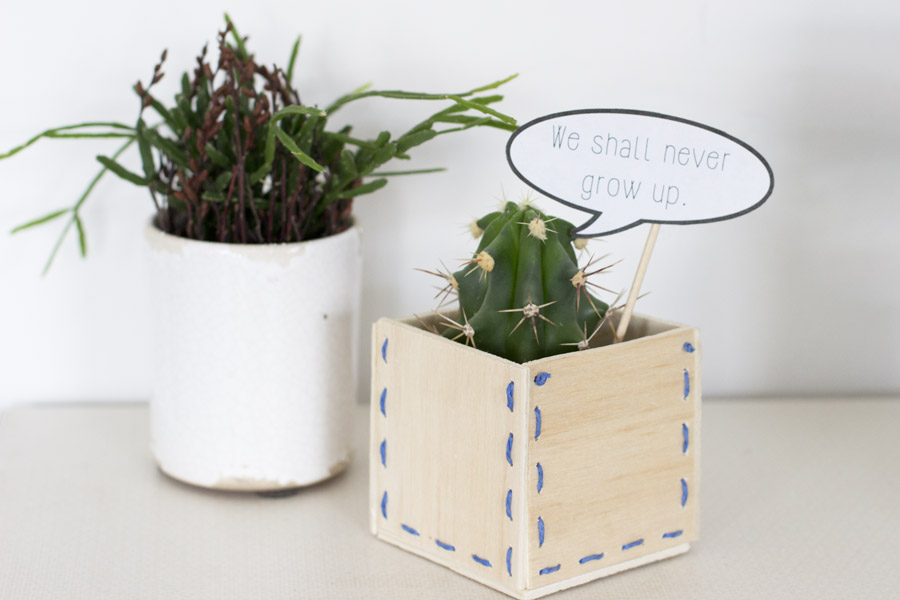
I just put a tiny little cactus into the box (with a waterproof pot on the inside, I don’t want my wooden stitched box to turn ugly because of flooding – I might also overthink how I treat my plants right there).
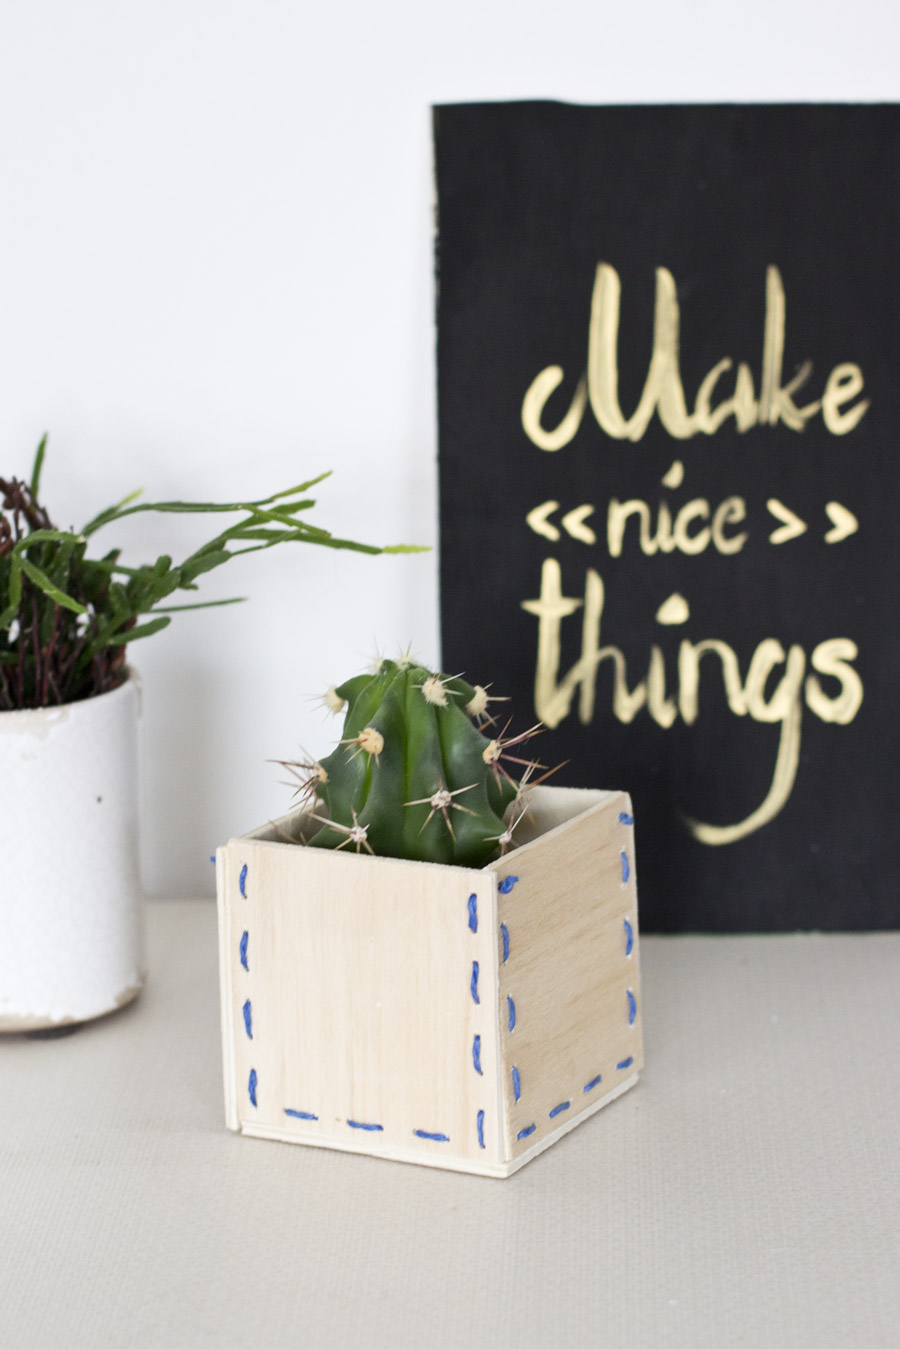
What do you think? So cute, right? Of course you can use the box for every other storage as well. I’m thinking of pens or beauty brushes or… the possibilities are endless. I might just need another one.
You might remember the sign in the background from this DIY tutorial. I just like to work with wood.
Now. Carry on!


[…] this stitched wooden box? I ended up using it as a pencil cup instead of a wooden […]
[…] This awesome wooden planter looks so cool – it’s stitched! To make one you’ll need 1 piece of crafting wood (a thin board), a saw, a drill, yarn, a needle, a ruler, a pencil, scissors and abrasive paper. Take the wood and cut out 5 squares of equal measurements. If you’re clever enough to do that at the hardware store, where you can buy the crafting wood, you just won a prize. Make marks where you want to drill the holes with a pencil and ruler. Do this on 4 plaques on 3 sides and on the one being the bottom of the planter on all 4 sides. Now drill the holes with a small drill and get rid of any splints or sharp edges. Keep reading the tutorial at look-what-i-made.com. […]
[…] Check out the full DIY tutorial HERE […]
[…] look-what-i-made […]
[…] look-what-i-made […]
[…] adorable little planter is made from a thin sheet of plywood, but don’t be so quick to try and shove a needle […]
[…] this stitched wooden box? I ended up using it as a pencil cup instead of a wooden […]
[…] look what i made look what i made […]
[…] look what i made look what i made […]
[…] Tutorial/ Image look-what-i-made […]
[…] look-what-i-made […]
[…] Source […]
[…] Source […]