I hate throwing stuff away. Not in a messy-kind-of-way. More like: this is pretty, I’m sure I can make something out of it. Which is basically the whole idea of upcycling. When I found out that the kitchenroll brand Plenty started a campaign called „Restlos Genießen“ (which means basically „enjoy completely“) I was immediatly convinced that I wanted to be part of it. An excuse to participate in a collection of DIY upcycling projects?! Count me in! They share some great DIY’s there. This is one of my favorite.
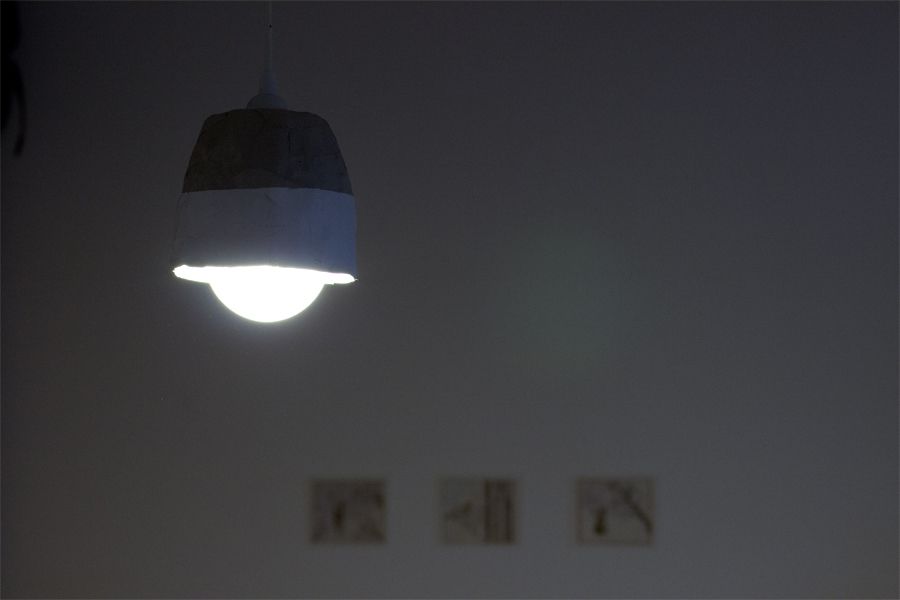
I collected quite a lot of cardboard rolls from all the kitchenrolls I used over the past months, so this is the perfect opportunity to use some of them. I thought hard and long for about 5 mins to come up with a brilliant idea (yeah, humble me): a lampshade out of cardboard!
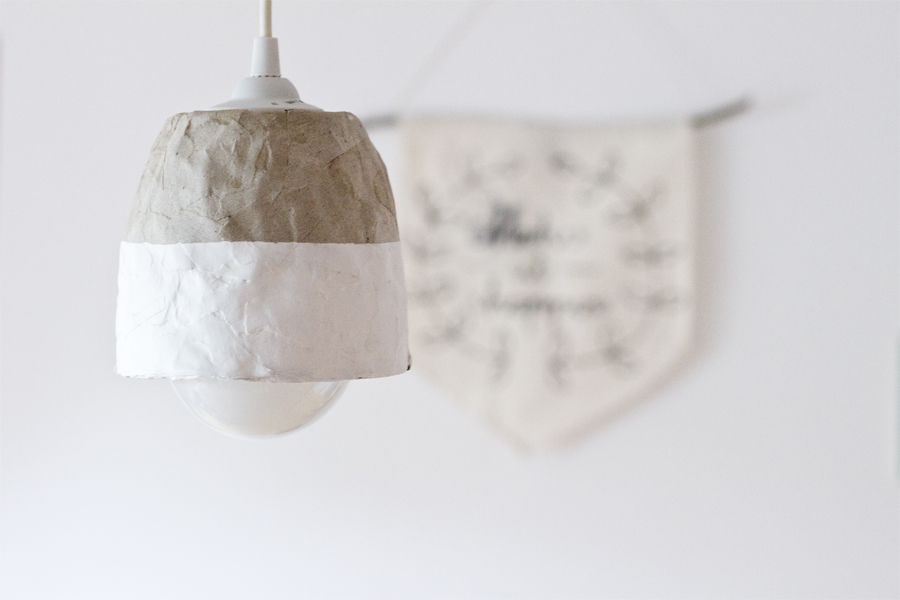
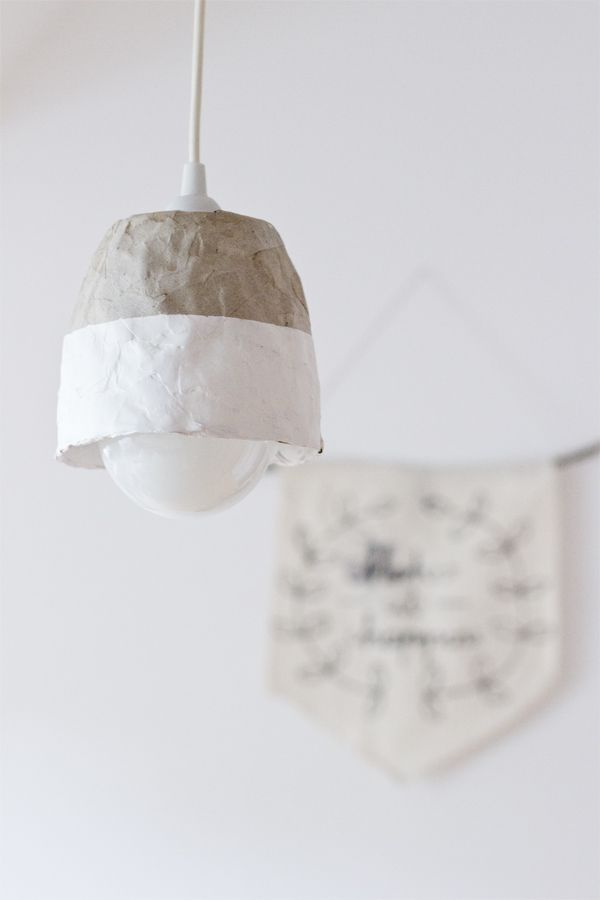
Doesn’t it look a bit like it’s made out of concrete? I’m totally smitten with the result and it’s now my new bedroom lampshade.
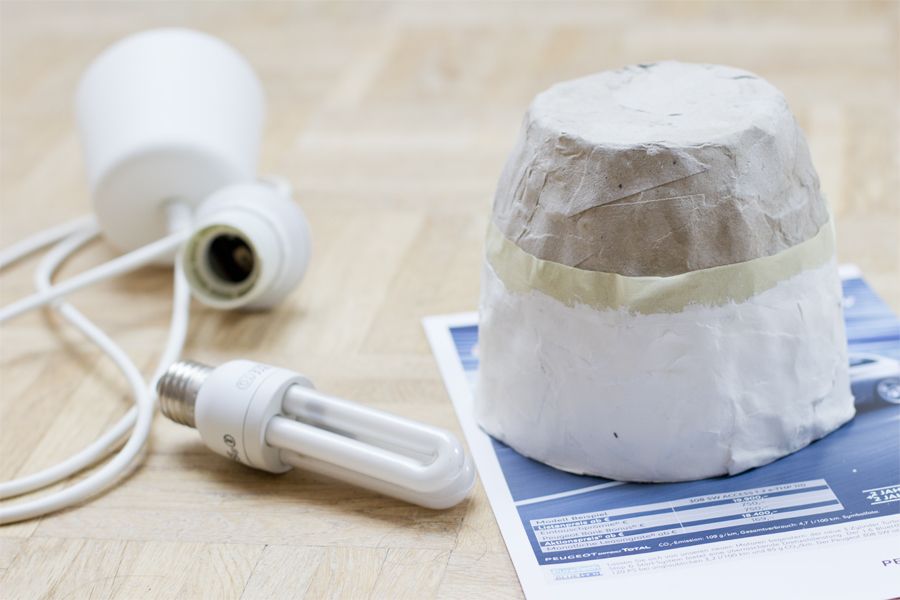
All you need is:
– A lamp cable with a socket (mine’s from Ikea)
– A light bulb (make sure it’s a LED lightbulb as these don’t become hot)
– goo
– a pencil
– a cutter
– painter’s tape
– white paint
– a brush
– an old flowerpot of the size you want the lampshade to be
– 6 Plenty kitchen rolls– the cardboard rolls only
Additionally: water and a bowl to stir the goo, news- and baking paper to let it dry
For the DIY lampshade rip 5 of the 6 rolls into pieces and stir the goo (according to the instructions on the packaging). Dip the carboard pieces into the goo mixture. Put the flowerpot on some newspaper with the hole at the bottom.
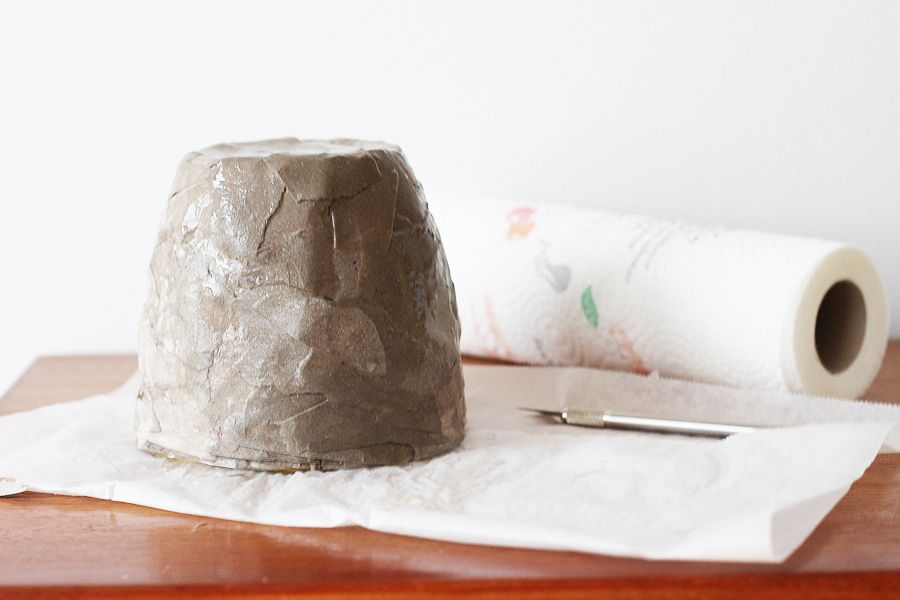
Spread the pieces all over the flowerpot, so it’s totally covered from the bottom to the top – at least 4 times! Put the pot on the baking paper. The baking paper lets the goo dry without sticking to it. Don’t throw out the rest of the goo, you will need it later on.
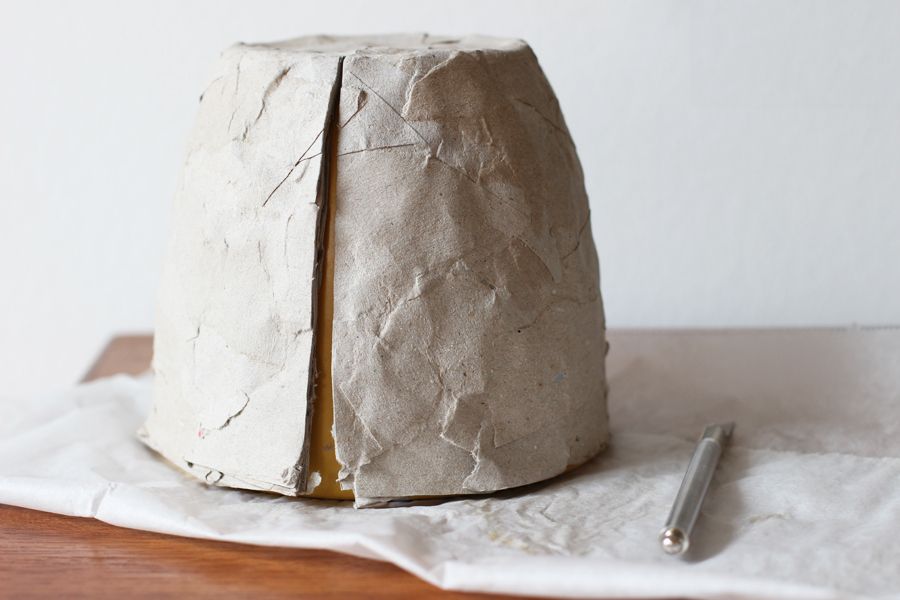
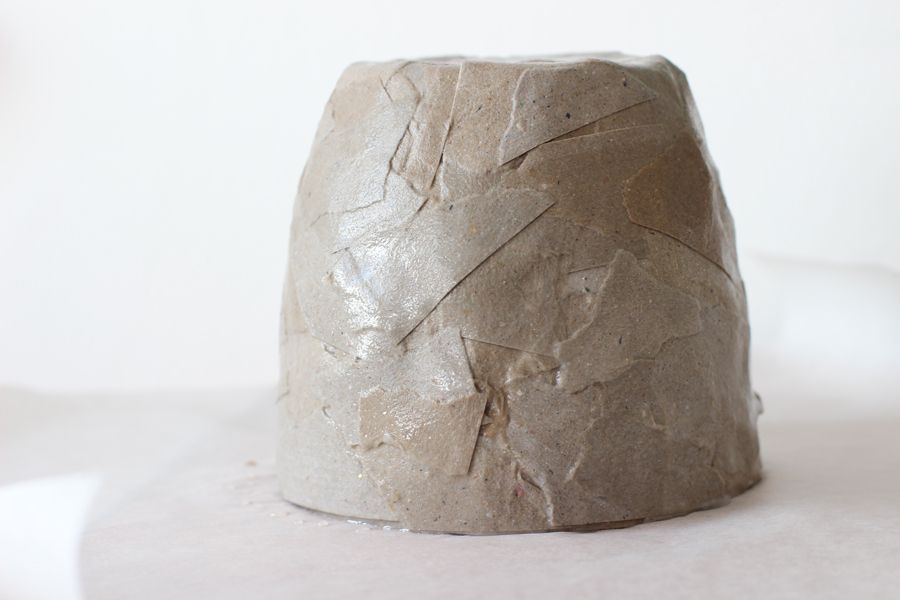 After 48 h the pot should be completely dry. Now make a cut from the top to the bottom and seperate the cardboard from the flowerpot.
Rip the last paper towels roll into pieces and stick it over the cut with the rest of the goo. Let this dry over night.
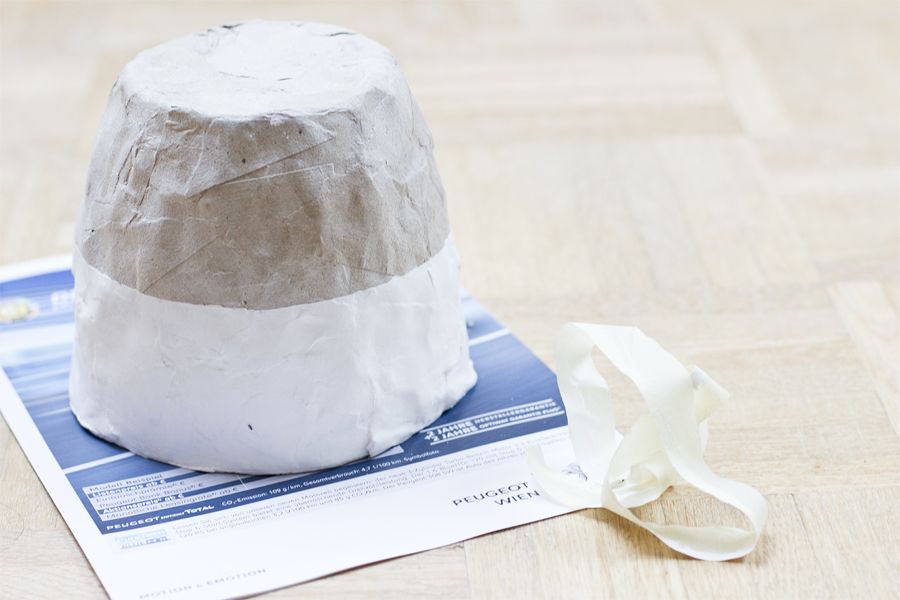
Now paint the inside of the lampshade with the white paint and stick the painter’s tape across half of the pot and paint the bottom half as well.
Let the paint dry completely.
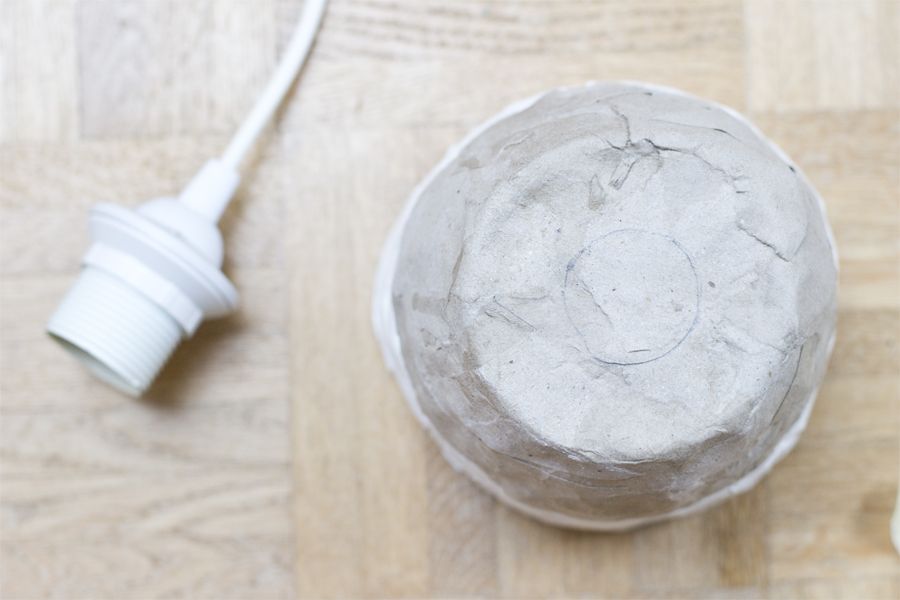
Now we need to add the cable and socket. For this draw a circle at the top at the size of the socket and cut a hole.
Press the socket through and secure the socket to the lampshade.
Now you only need to hang your lampshade at the desired place and voilá! Look, you just made yourself a lamp out of paper towels rolls.
Mine hangs now in the bedroom and shines bright and lovely.
This is a sponsored post. All ideas, words and opinions are mine. Now. Carry on!







Brilliant! This is pinned on my to do list 🙂
[…] https://look-what-i-made.com/2014/08/14/plenty-upcycling-kitchen-towels-rolls/ […]
Total schöne Idee und Upcycling finde ich eh total klasse. Sieht wirklich ein bisschen aus wie Beton! 🙂
Liebste Grüße
Eva
Love love love this … I’ve included it in a feature on upcycling cardboard tubes/rolls. Thanks for the inspiring work! http://www.refabdiaries.com/2014/08/upcycle-classy-cardboard-tubes.html
So incredibly clever!! Love it!
Wow! This is just amazing 🙂 Good job! i think I’ll try making one for my self!
I can’t wait to see the results! Will you show me?
If you need any assistance, let me know.
[…] love upcycling. As I have shown on various occasions like here, here and here. What do you think of these DIY pasta storage […]
[…] call this a hack. Well I do and who wants to argue with me? Yeah, thought so. (By now I also used a lamp from ikea to make a great upcycling project if you’d like to see […]
[…] Fotos e instrucciones completas: Look what I made […]
[…] 35. Upcycled Pendant Shade from Look What I Made […]
[…] guess you know by now how much I love making lamps (like here and here and here). Maybe also because I get to ask my boyfriend to help me. He attached the plug, […]
[…] ένα σωρό ρολλά από χαρτιά κουζίνας και αυτή η ιδέα για φωτιστικό από ρολλά είναι ότι πρέπει για Κυριακάτικο […]
[…] via look-what-i-made.com […]
[…] via look-what-i-made.com […]