It actually seems like I have to much time on my hands. I’m constantly doing something and you’ll be surprised how many blogposts will go live this week. It’s just that at the moment I seem to have to much energy. I have this regularly a few times a year and I can’t do enough to cope with it. I do sports, meet with friends, create DIY projects, bake, make and clean. Thousand ideas fly around my head and although my days are filled with hundreds activities, I still burst with energy. I know this can be exhausting for the people around me. However I try all kinds of stuff to keep me sitting still for a few hours minutes. Like origami. This helps (most of the time). I don’t know what it is about paper but it calms me working with it. Since I bought the greatest selection of black and white paper squares from supercraft I felt inspired anyway. So I made some 3D paper christmas trees to hang in the flat.
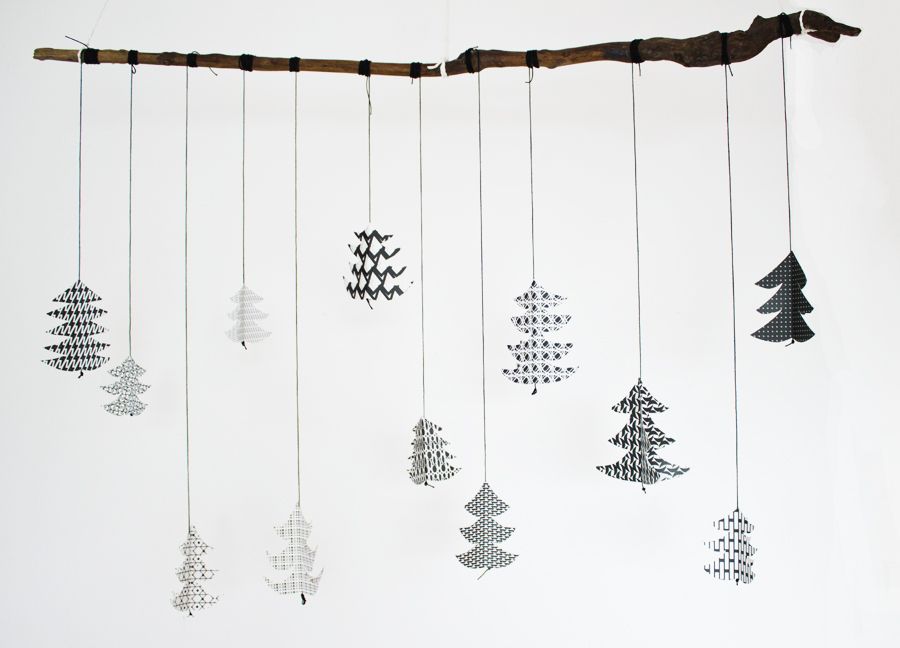
Aren’t those trees cute? I always try to decorate with black and white because I love how it looks but always end up using some colour somewhere. I just seem to never be able to stick to such a limited colour range. However this time it worked! All black and white (and a little wood).
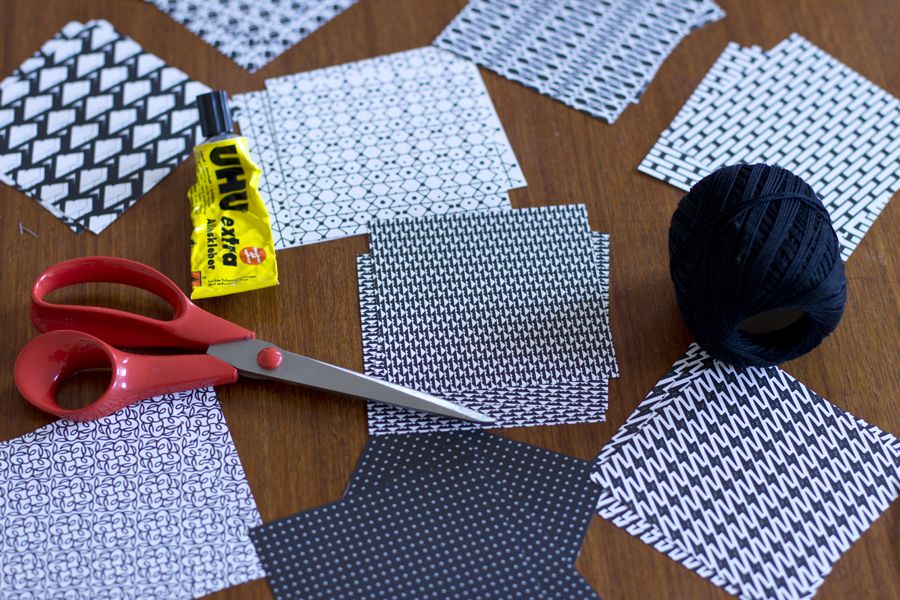
All you need is:
– paper (I ordered mine here)
– a pencil
– scissors
– glue
– black thread
– an old branch to hang the finished trees (optional)
Take 3 pieces of paper with the same pattern and fold the paper (stacked onto each other) into half. Then draw half of a Christmas tree on it. Cut it out and it should give you three tree-shaped pieces of paper that look completely the same. Repeat with all the paper.
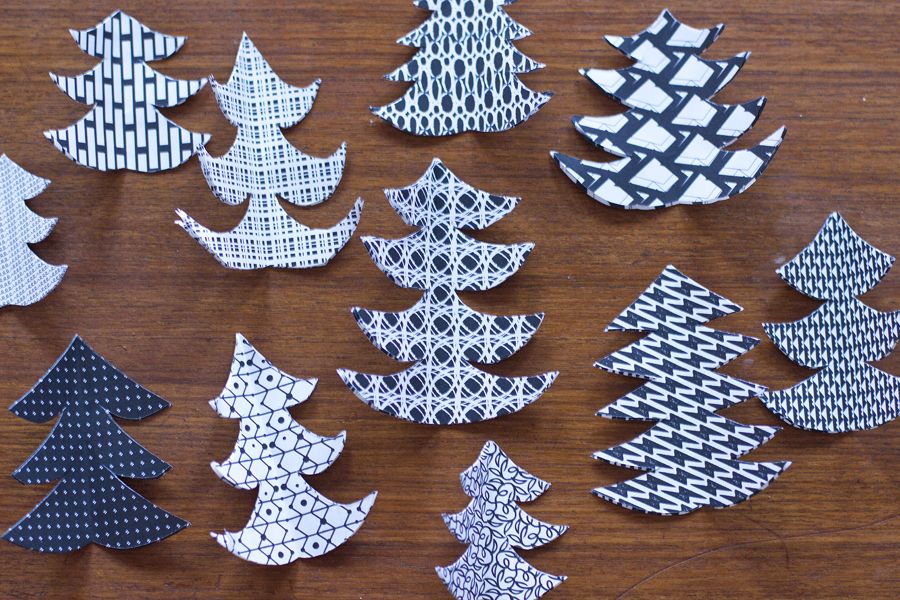
Put some glue on the (white) back of the paper and glue them side to side together. Due to the fact that we used 3 shapes and not only 2 it will create a nice 3D-effect.
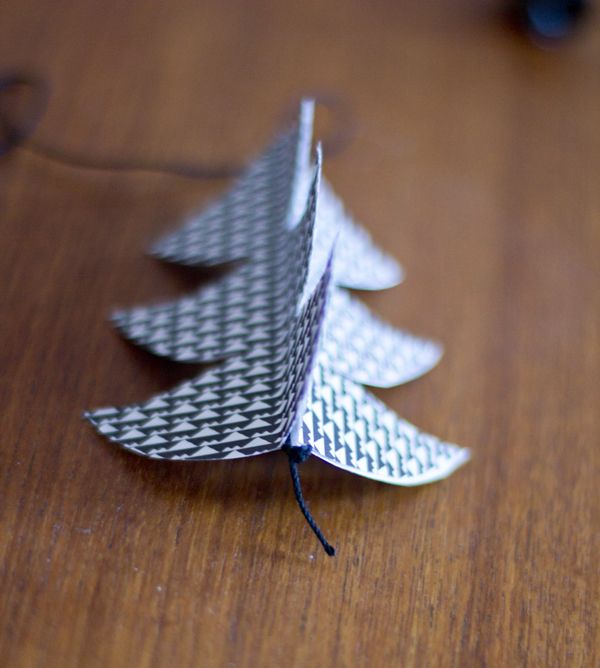
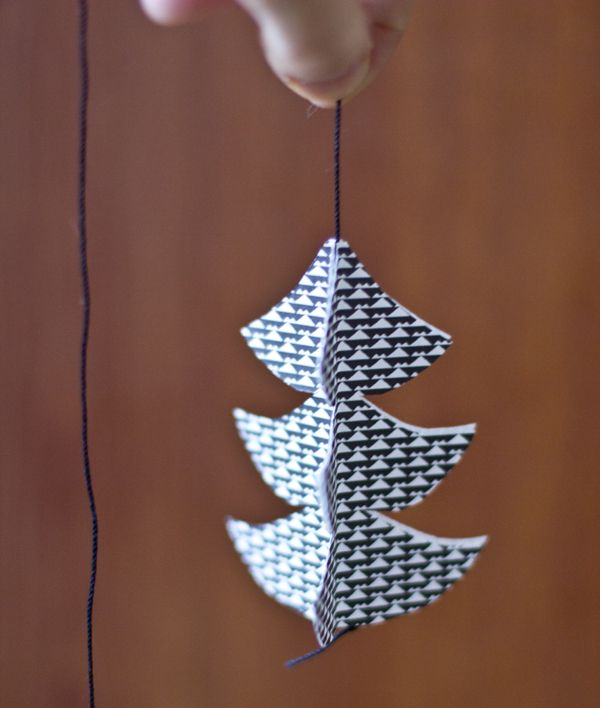
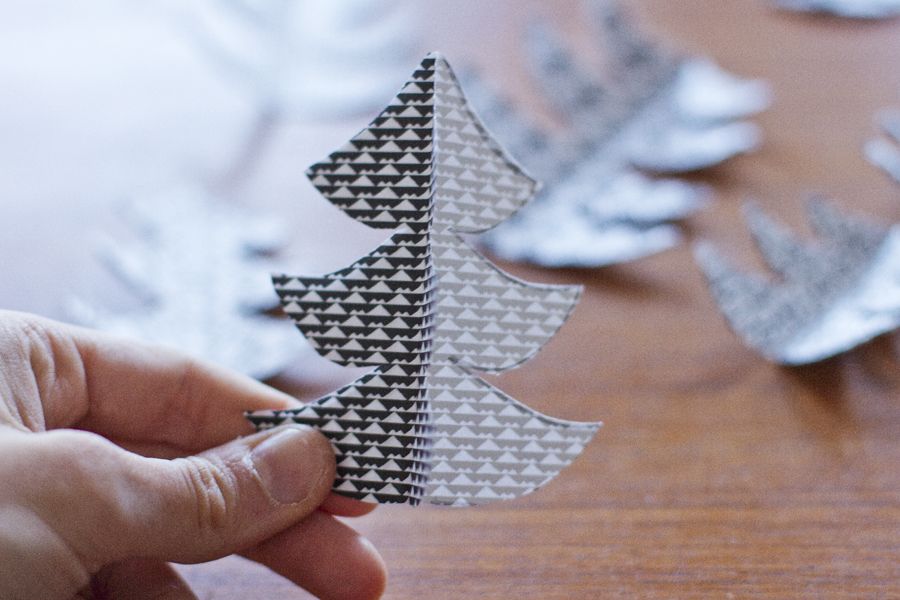 Before glueing the last piece of paper together: Make a knot into the black thread and put it in the middle of the tree. Then glue it all together and you’re done!
I bind them to the branch and hanged them on the ceiling. It brings me so much joy looking at this Christmas themed mobile!
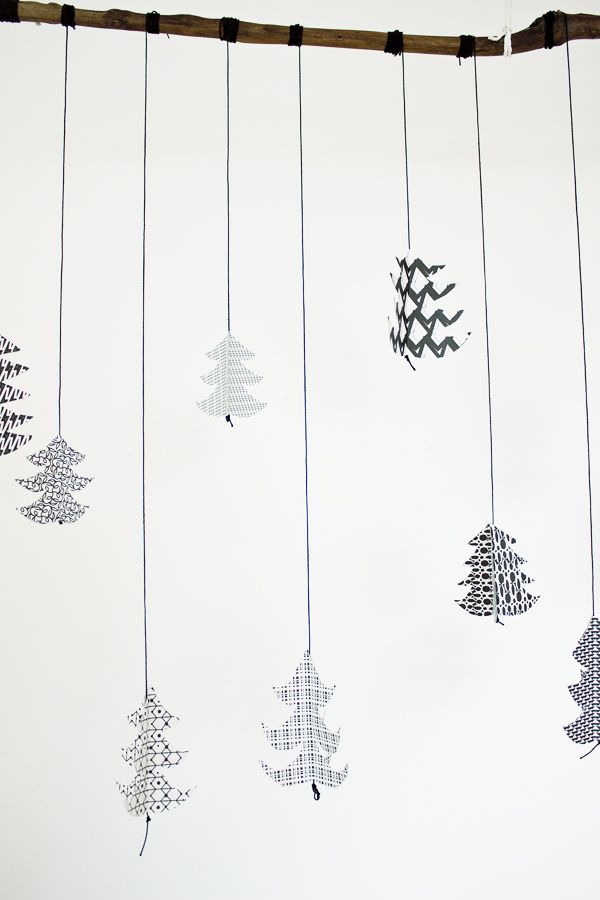
Did I ever tell you that I live in a roof-top flat? It’s nice, bright and sunny (and especially warm in summer). I love it. What I don’t love (besides having no balcony) is the fact that the roof is pitched. I have literally no window sills to decorate. Which limits me a lot. But i also get creative. I have a lot hanging around.
I had a hard time taking pictures of the mobile. Not only because it gets dark so early (I do use a flash sometimes) but because it looks horrible on pictures. I tried it from (almost) every angle and it just looks sad.
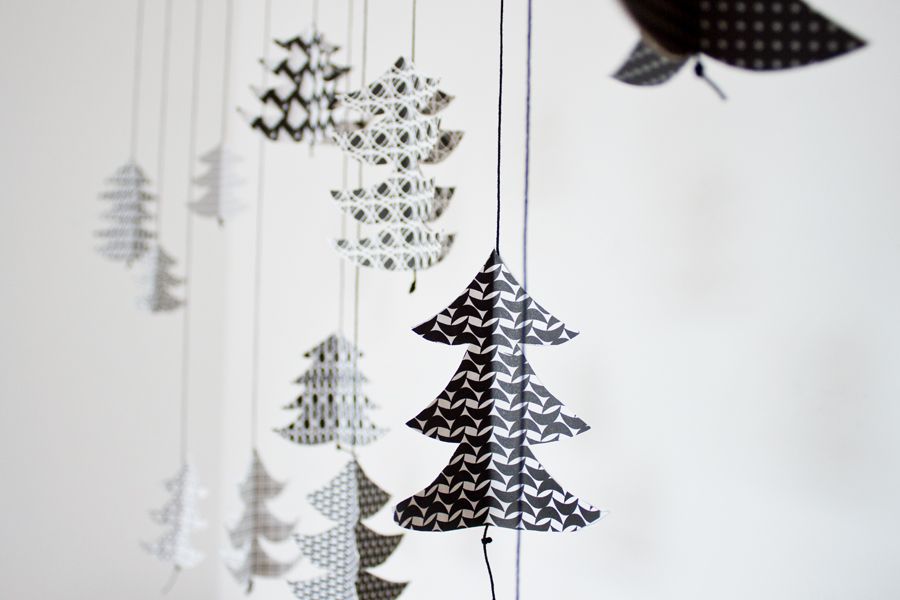
Trust me that in reality it looks much nicer and definitely not this “empty”.
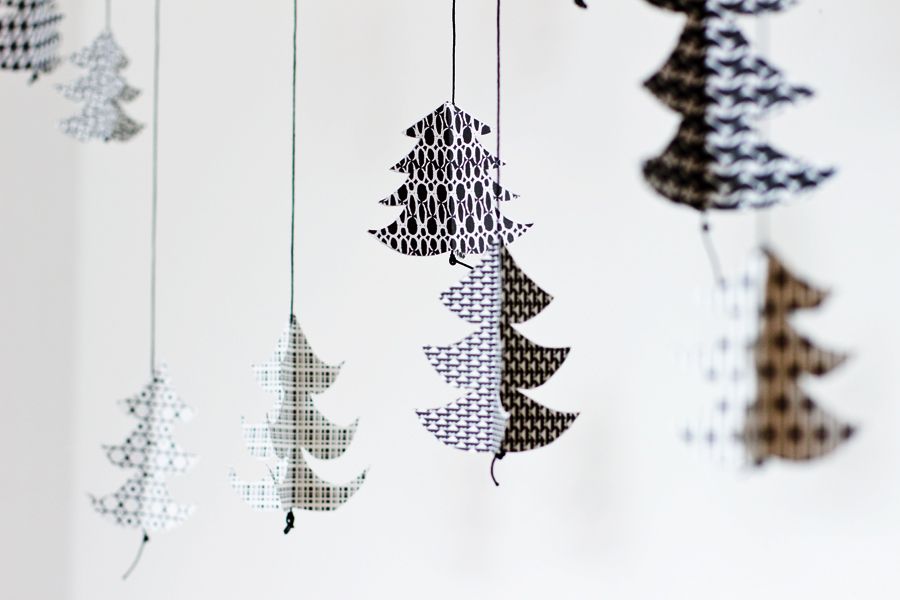
Well anyway, I’m happy with it and that’s all that counts, right?
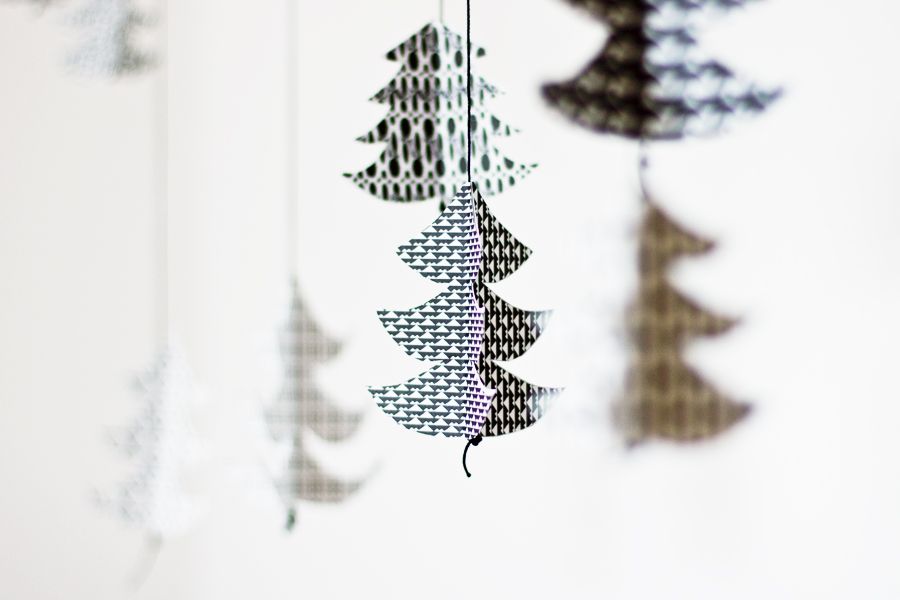
Now. Carry on!


Doesn’t really look empty in my opinion. It’s a nice idea
Thank you. However in real life it does look better. Maybe that’s why I’m not fully happy. You’ll see tonight some better photos of those trees – in a different setting. Much better in my humble opinion.
Gorgeous! Love it, and am definitely going to try a few myself…
this is so simple and so pretty, i love it!
I used to make paper ornaments a similar way, but it involved a stamped image. Very cute idea. 🙂
[…] like how the orange goes with my black and white christmas tree decoration that I folded out of paper. The little forest I created with the pine trees is still one of my […]
[…] rowe 2. Holiday Shopping List by design eat repeat 3. Printable Holiday Gift Wrap by poppy talk 4. Hanging Paper Trees by look what i made 5. Christmas Gift Tags by visual heart 6. Paper Christmas Trees by tell love […]
[…] HERE SOURCE HERE SOURCE HERE SOURCE HERE SOURCE HERE SOURCE HERE SOURCE HERE SOURCE HERE SOURCE HERE SOURCE HERE SOURCE HERE BONUS: PINTEREST SOURCE […]
[…] Decorazione di alberelli sospesi […]
[…] Look what I made […]
[…] Idea and tutorial from Sarah at Look What I Made. […]