It’s funny how the time flies and at the same time it’s really slow. I’m looking forward to the weekend all week and suddenly it’s Friday and I’m like: oh, nice. This was fast. It’s a little scary to be honest. There will also be the time change from summer to winter time this weekend. One hour more to sleep that’s nice. But it will be darker earlier. That’s a real bummer. Taking pictures for the blog will become a real challenge. I do have a flash but I’m just not as experienced with it. I like daylight. Maybe I get up earlier to use the morning light. Ha! That was a good joke. Probably not. Sorry. Not even for you. Well then I do have to work my way around the flash. Or do all the projects on the weekend. Speaking of which: This weekend I’ll make a few things. Beginning of November I’m on holiday for 2 weeks and I don’t like you to miss me too much. So I will create a few projects beforehand but still write the blogpost on that exact day. We’ll see how that goes. (A lot to see in the future around here, right?)

Whatever! Let’s go back to the purpose of this post: my DIY project. I’m quite proud of this one as I had it envisioned in my mind for quite some time and it turned out to be as easy as I thought (unfortunately not always the case) and even nicer! Now look what I made: (drumroll) concrete letters!
If you rather follow a video tutorial, check out my Skillshare Class on how to make these concrete letters – from making molds to the finished product.
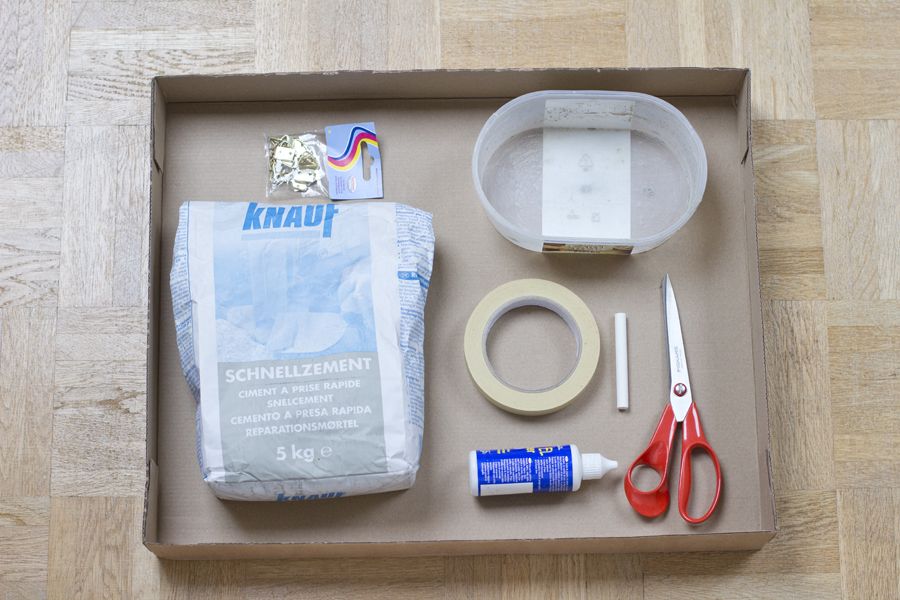
All you need is:
– cardboard
– a scissor
– painting tape
– chalk
– cement
– a bowl (to mix the cement)
– water
– picture frame hooks
– glue
Draw on the cardboard the design of the letters you want to create and cut them out (use the sides of the box the best you can to make them 3 dimensional – this will save you time and work). Cut walls out of the cardboard and make a mold using the painting tape.
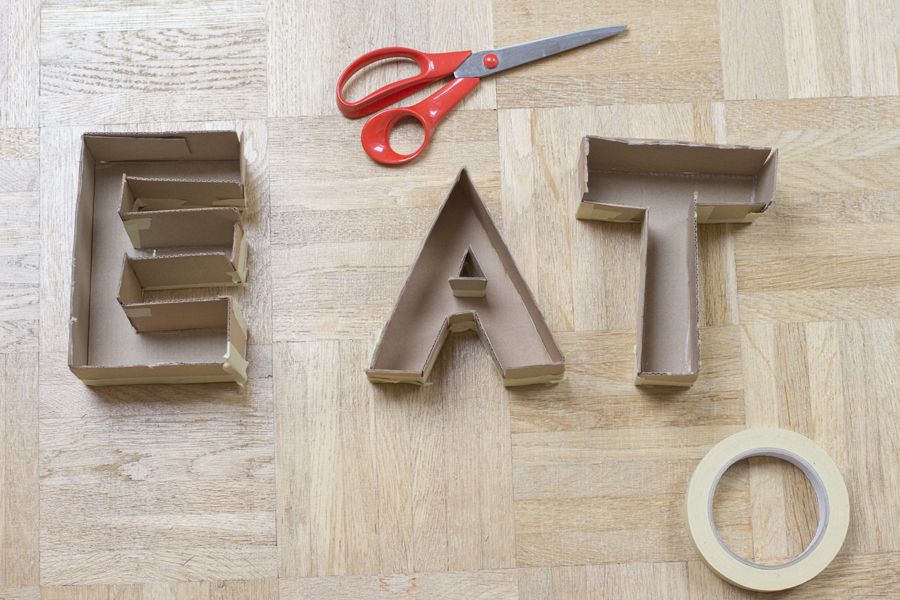
Mix the cement like it says on the packaging and pour the mixture into the letter forms. Let it sit until it has hardened enough to hold it’s shape.
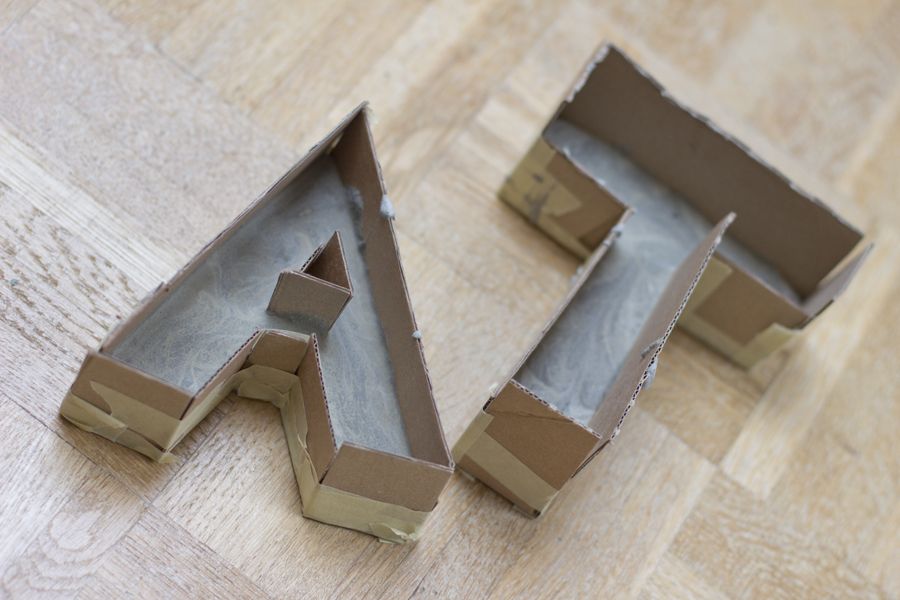
Peel off the cardboard (it will have gone soft because of the moisture).
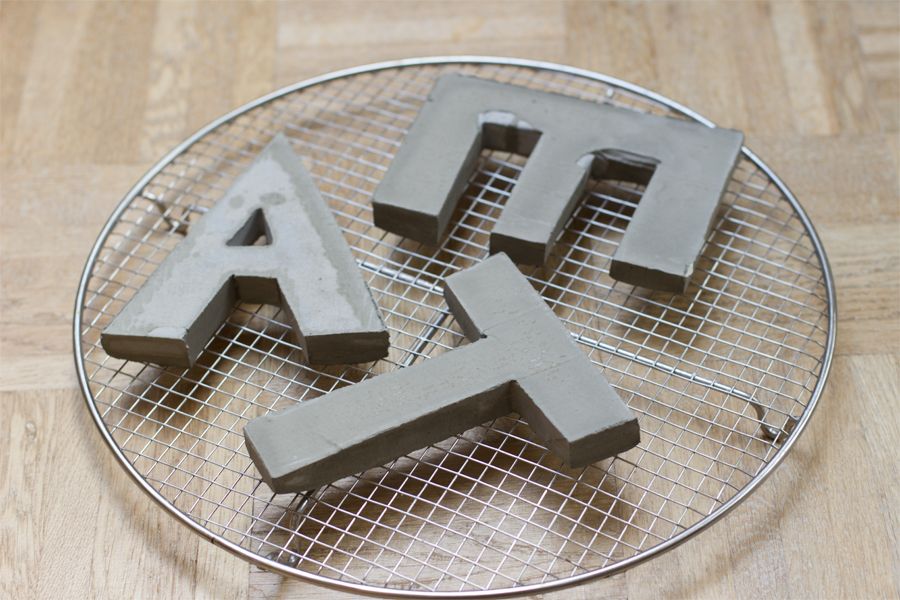
Put it on a cooling rack and let it dry completely for at least 24 h.
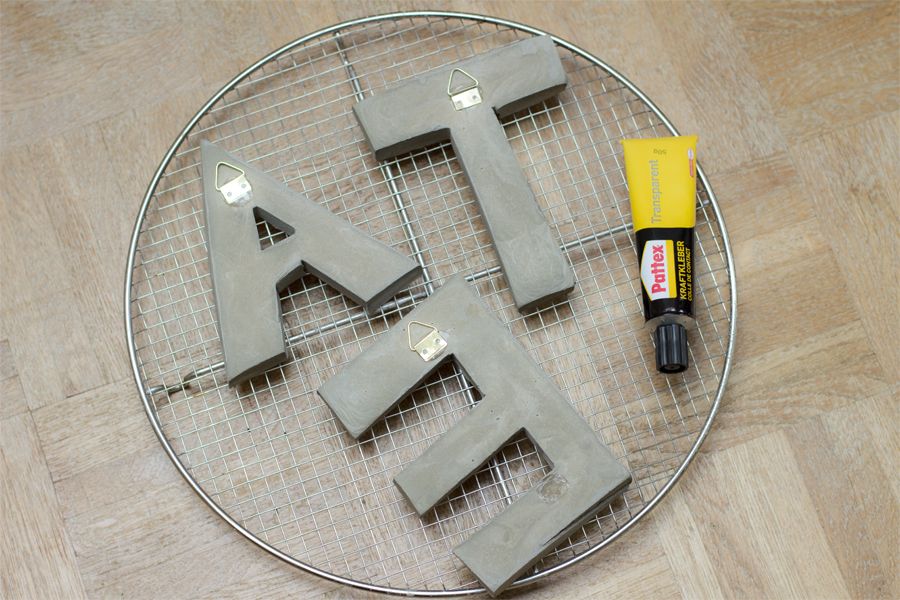
Stick the picture frame hooks to the back of the letters and you’re done!
First I wanted to create the word “eat” as it hangs right at our dining table but my boyfriend said: “It spells the word tea, right? Everything else wouldn’t make sense.” And I (very humbled and quiet): “What about eat?” And he: “Don’t be silly!” And I’m like: “Yeah, the word tea is totally what I wanted to make!”

It goes perfect with the shelf that hangs right next to it that holds a lot of our tea supplies (we are quite the tea-fans as you might can tell).

I’ve been thinking about this blog lately quite a lot and where I want to take it (first year and 100th blogpost and all) and I will create a new series where I will show you how I decorate our flat. With the upcoming winter I feel more and more the urge to redecorate our flat (at least a little) and that’s what I’m going to show. I don’t know yet how many blogposts that will be but I will start this week with the tea shelf that you’ll see in the picture above.
Also I heard the controversial words of Martha Stewart (who hasn’t?!) about bloggers and read the fantastic blogpost of Holly about this. This got me thinking that the readers that don’t know me personally, probably don’t know me at all. So I will dedicate a few blogposts in November around me. A Mevember if you will. Or so. Anyway. If you have questions regarding my person or my blog or whatever, please just post them in the comments, send me an e-mail or Facebook, Twitter, etc.
Now. Carry on!


I love this! Nice job! I wonder though, how does the picture frame hook hold on the back? Did you push it in the still wet concrete and then have it harden?
I just glued it on like discriped. I bought a strong glue and its hanging until this day strong on the wall. I don’t think it will be this strong if you push it into the wet concrete. Also it is too flat for that. Hope this helps.
[…] Light Up Letter 2| Embroidered Cushion 3| Glass Dome 4| Concrete Letters 5 | Chest With Embroidered Arrows 6 | Cement Copper […]
What kind of shelves are those?!
Hi Scott, they are some kind of string shelves. I bought them on ebay a while ago. You can find similar if you search for the term string shelves.
[…] isn’t the first and last project I made with cement. Did you see my concrete letters to hang on the wall? Or the copper and concrete […]
[…] the last tutorial featuring concrete that you will see on this blog. I made some concrete letters here and a little stand with the foot of a broken wine glass here. Have you ever worked with this […]
[…] of DIY goals for 2014: I started working with cement creating these letters with no experience and they turned out so great that I made this lamp as well which was a big hit. […]
[…] en Look what I made, A beautiful […]
[…] su Look what I made, A beautiful […]
[…] em: Look what I made, A beautiful […]
[…] to decide if I should paint them. Now I just have to get started on planning a birthday party. DIY concrete letters. – Look what I made …LOOK WHAT I MADE […]
[…] DIY Concrete Letters from Look What I Made […]
[…] You can find the tutorial for the concrete letters here. […]
[…] Concrete Letters from look-what-i-made.com […]
[…] then use to spell out words. Just grab some cardboard and some tape to get started. Head on over to Look What I Made to check out the […]
[…] Adding letter art to your spaces never gets old for the home decor and here is how you can do it this time with the concrete version. YE instead of those wooden ones that cost a fortune you can make these concrete letters on your own and display them nicely over your walls for a magnificent display. Details here look-what-i-made […]
[…] DIY Concrete Letters from Look What I Made […]