In terms of creative it’s great that it’s fall. Now that I stay more time indoors, I’m also more motivated to craft again. That’s especially a good thing since I have a few projects for clients that I’m working on. These felt vegetables and embroidery wall decor for Otto Versand Magazin being just one of them.
I never ventured into felting because I always thought that the results look very … ahm … alternative. If you like that, that’s cool. But in my home I rather have something modern – minimalistic, surprising and cool. You can fight over taste, I know. But that’s just how I felt (pun intended!).
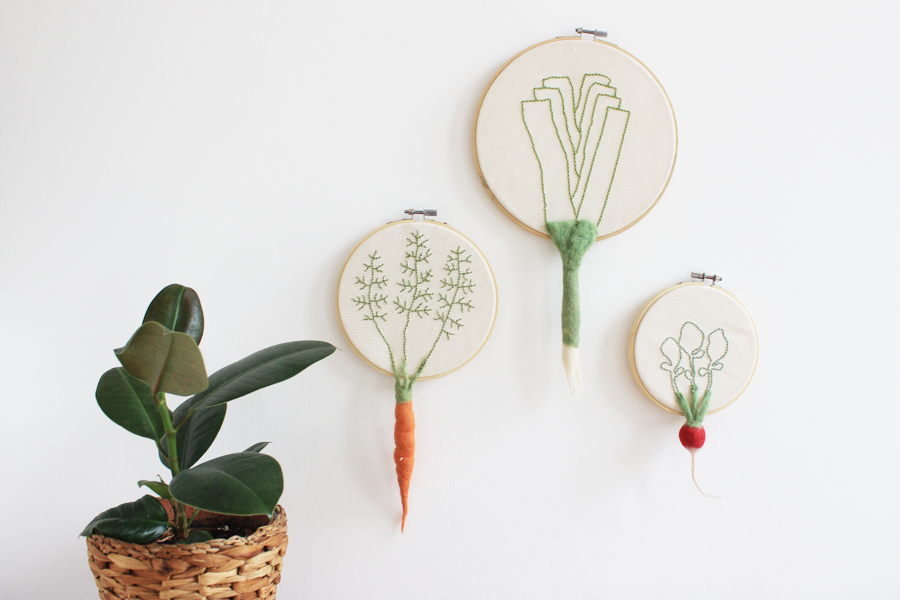
But a few month ago I saw felt vegetables and embroidery hoops where the embroidery “left” the picture. I combined this two ideas a while ago but just recently managed to finish the project. Now I see something like this more often. This just shows that ideas aren’t born in a vacuum but it’s important not to just plain steal and copy but at least make your own spin of it.
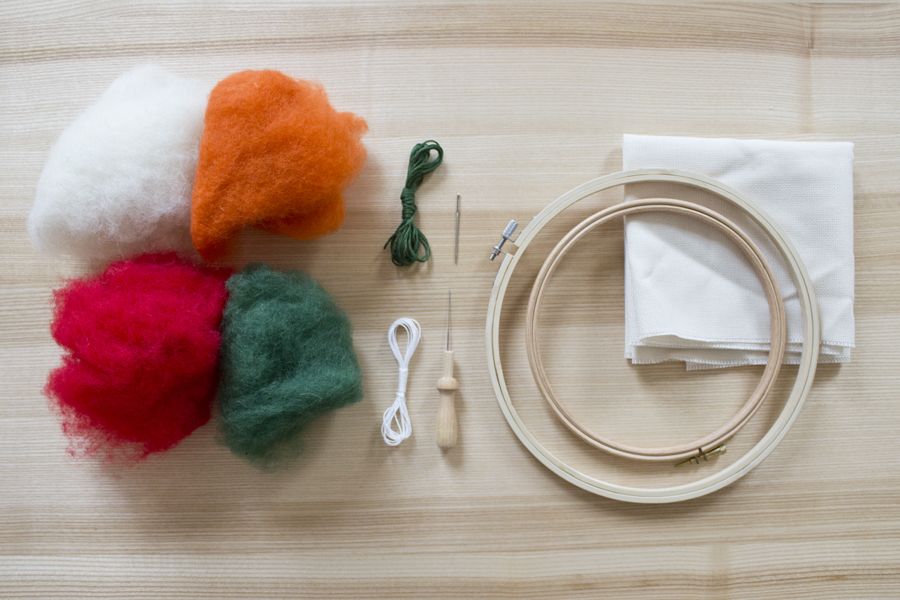
What you need:
- Felt in white, orange, red and green
- green yarn
- white yarn
- a felting needle
- embroidery hoops
- embroidery fabric
- embroidery needle
- scissors
- a jug with lubricating soap and water
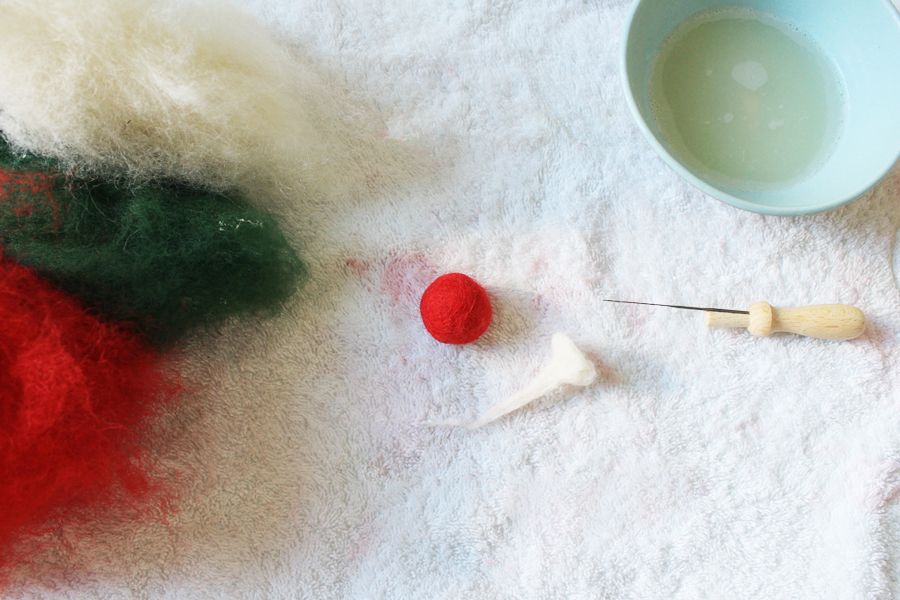
First we need to make a felt ball for the radish we’re creating (if you want to start with the leek or the carrot, start with a small sausage). Create a ball out of the red felt. Form it in your hands and roll it around with the soap water until it becomes firm.
Once you’re happy with the firmness and size, take some white felt and make a thin stripe with some kind of plate on top.
Take the felting needle, place the white felt on one side of the red ball and stab the white area into the ball like the crazy motherfucker you are and until it’s firmly attached.
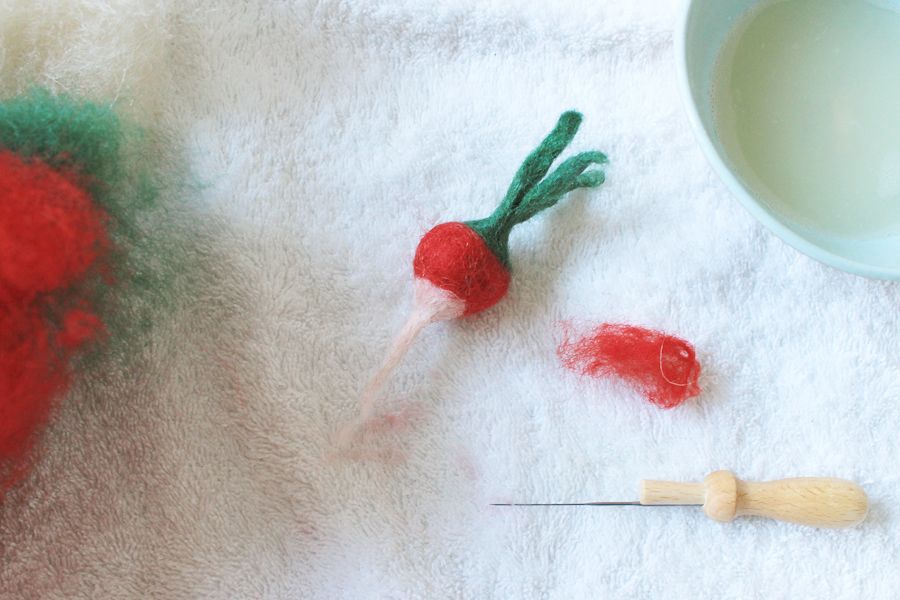
Follow this step with the green felt – just create three sticker strings on the other side of the red ball. Put it aside.
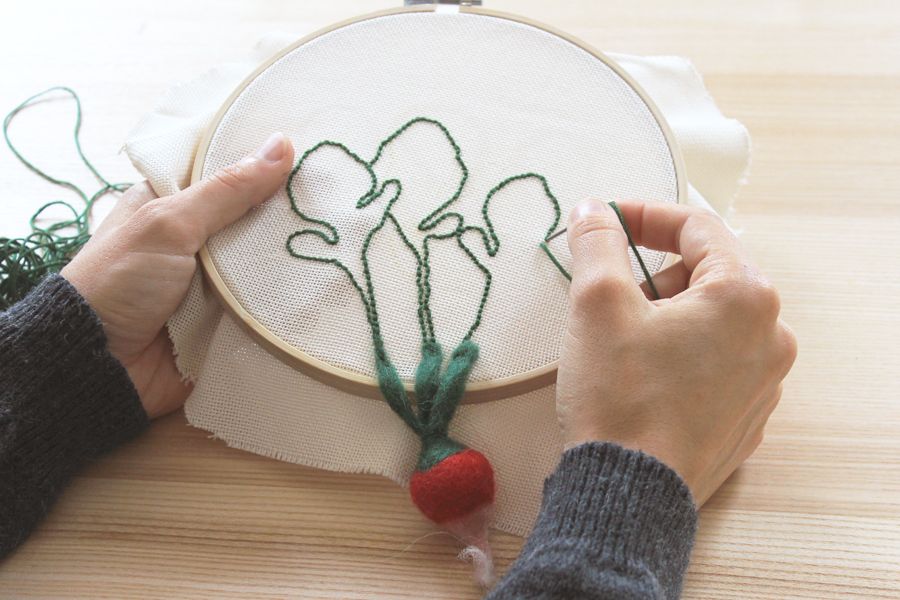
Tighten the embroidery fabric into the loop and embroider the leaves of the radish with a simple backstitch. Attach the felted vegetable at the bottom with a few stitches.
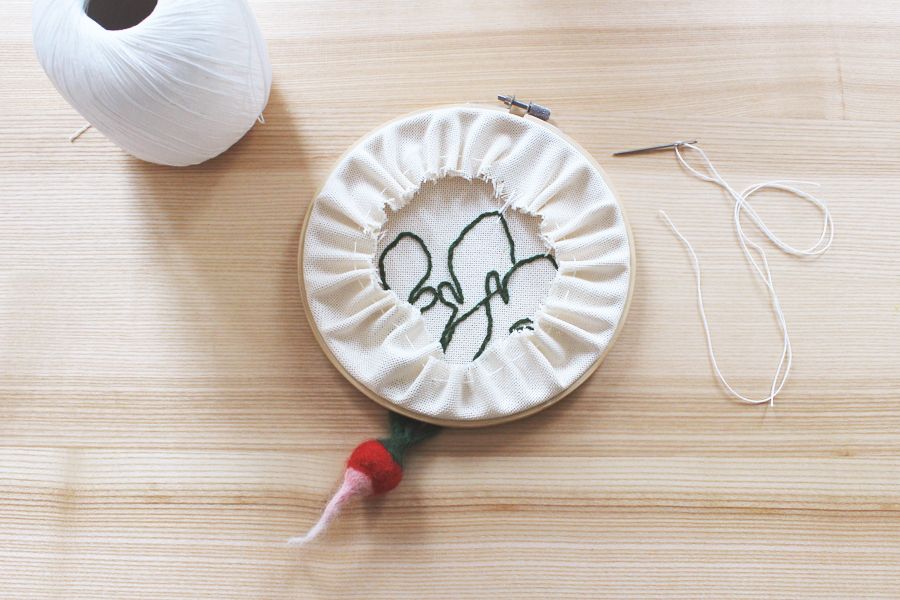
Turn the embroidery hoop to the backside and cut the fabric at about 5 cms longer than the hoop in a circle. Thread the white yarn through close to the edge and pull tight – until it looks like in the picture above. Don’t worry if it looks a bit wobbly like here on mine – this will be the backside and not be seen by anybody.
And voilá! You just made a 3D vegetable wall hanging!
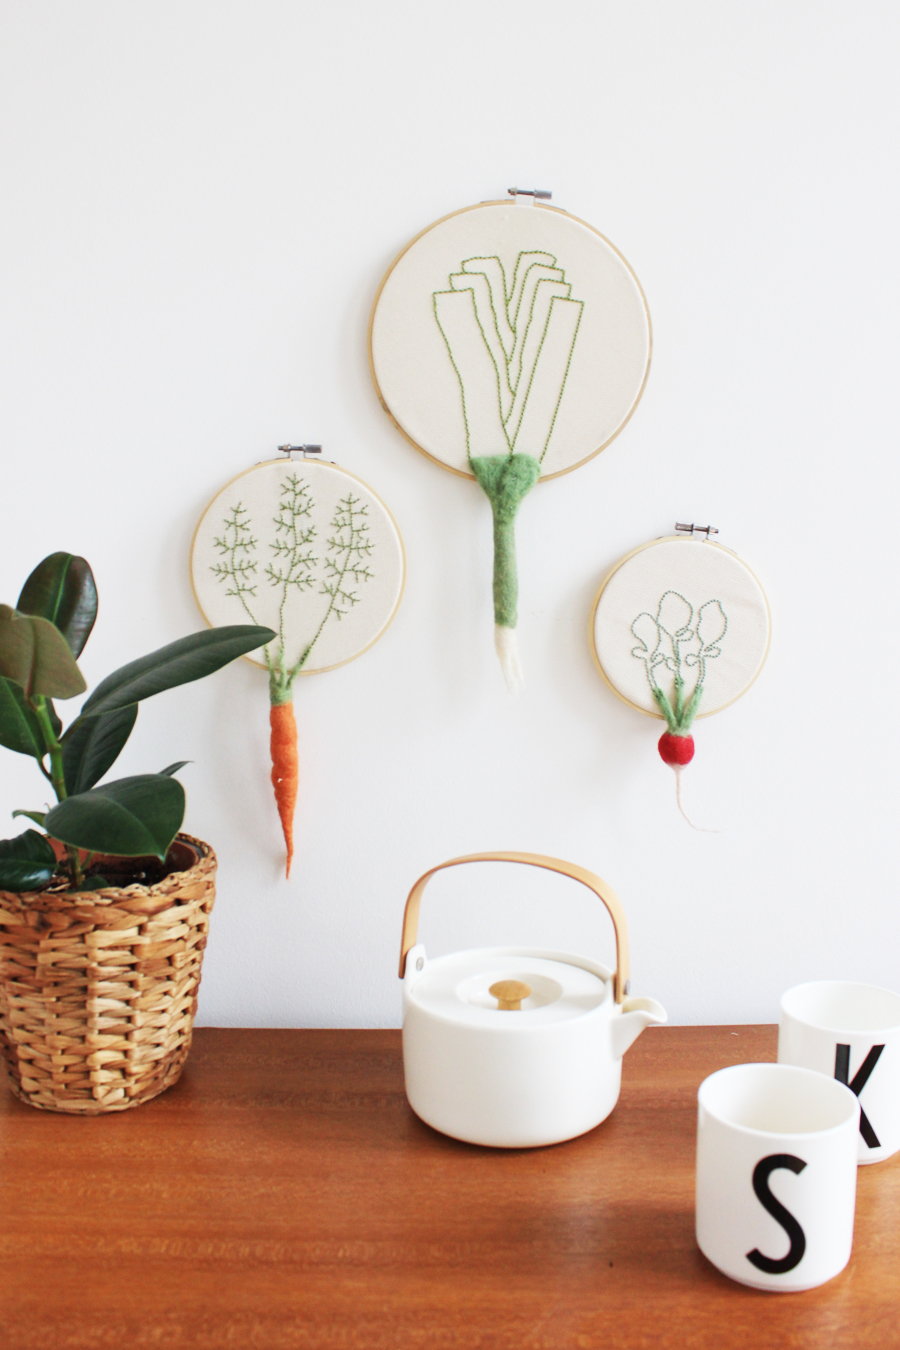
This project I created here is definitely for beginners too. If you’ve never worked with felting or embroidered nothing yet – you should totally try it and this is the project to start, trust me.
You can find the tutorial in German on Otto Magazin. Let me know if you copied the idea and show me how you decorate for fall. I’m just so curious!
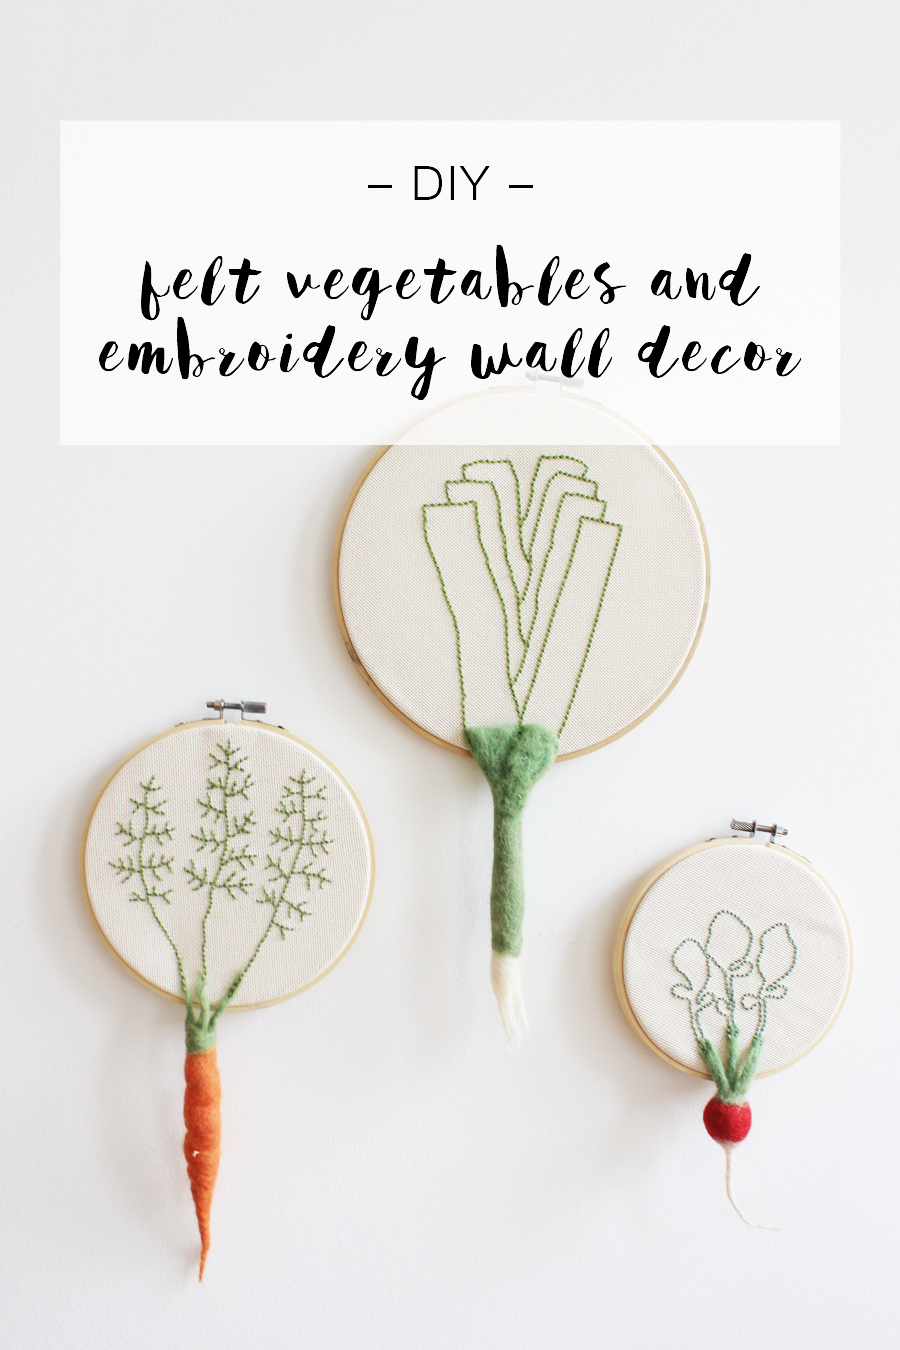
You can expect now more tutorials again and also recipes. I finally have the time for it and look forward to share some of the ideas with you.
But for now. Carry on!
Post sponsored by Otto Versand


