Mother’s Day always puts me under a lot of pressure. There’s this notion that every day should be Mother’s Day and therefore this day not any special and than there’s my mum, expecting a creative gift (handmade of course because she sees what I do here!). I mean, isn’t having me as her daughter not present enough?!
Apparently not. So I wreck my brain from just after Easter what I could make. And once I’m under so much pressure, you can be sure that nothing cool comes out of it. Until it does. When the spark of inspiration lights my brain – or I saw something on Pinterest that I’m like: hm, can’t you make it like this and change it there and than it would be perfect.
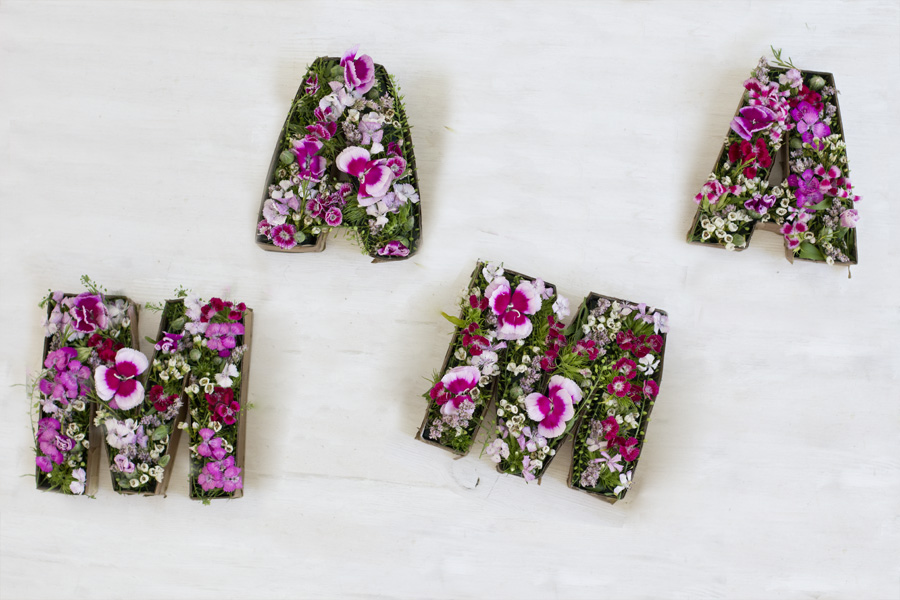
I have no idea where the idea for this flower letters came from. So sorry, if you or your craft or maybe just an image I saw was the final tip. But that’s the creative process.

I’m really smitten with the result and so was my mum (flowers don’t last that long, I had to give it to her already). Mother’s Day flower letters for the win!
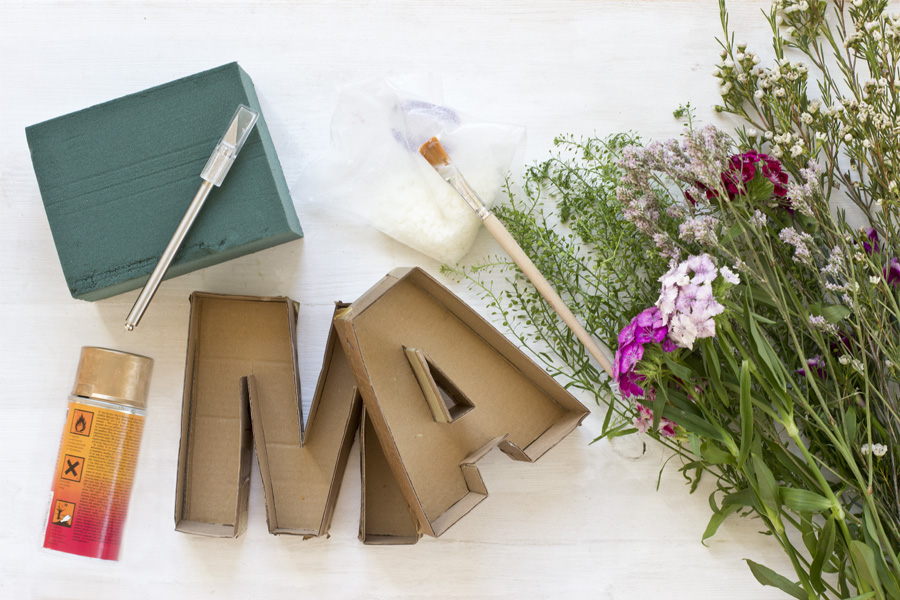
What you need for the Mother’s Day flower letters:
- Different flowers
- Cardboard letters (or cardboard and tape)
- Copper spray paint
- Wax (flakes or candle leftovers)
- Heatproof pot (to melt the wax)
- brush
- scissors for the flowers
If you – like me – don’t have access to cardboard letters and ordering them online would take too long, you can easily make them yourself.
Just cut the shape of the letters out of cardboard, make a wall of about 2 cm high around it and stick it all together with lot’s of tape. Don’t leave any gaps!

Spray the outside of the cardboard letters with the copper paint. Let it dry for a few minutes.
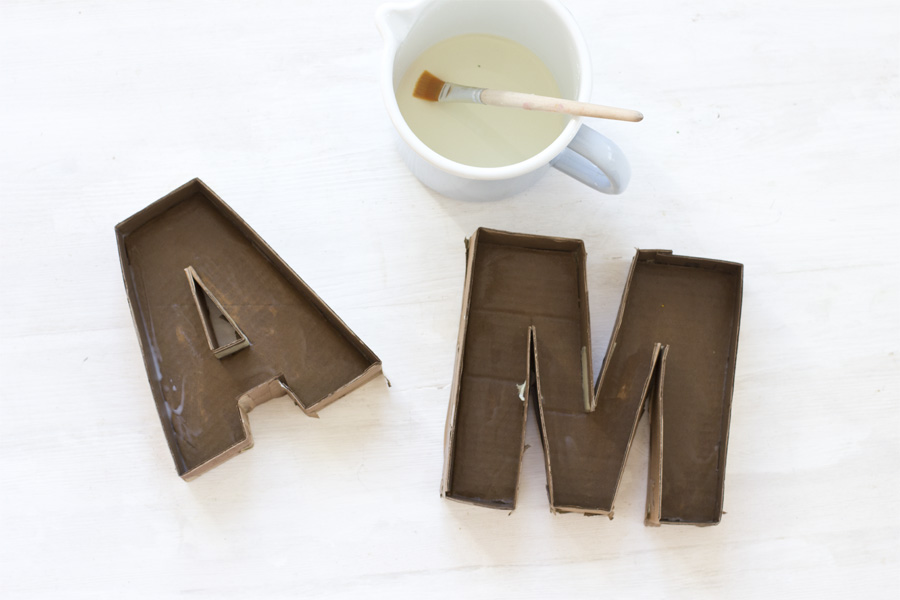
Meanwhile melt the wax in a pot. Take the cardboard letters and brush the insides with the molten wax to seal it for the moist inside that’s coming. Be generous applying the wax all over the inside.
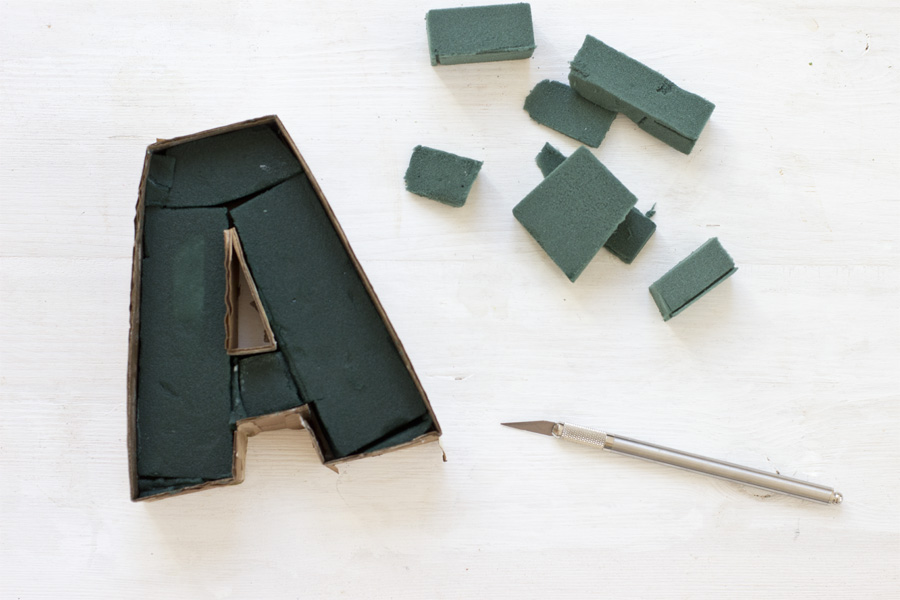
Cut the floristic sponge, so it fills the letters completely. Then fill a bowl with water and put the pieces in. Let them soak up as much moisture as it can. Then place it back in the letters.
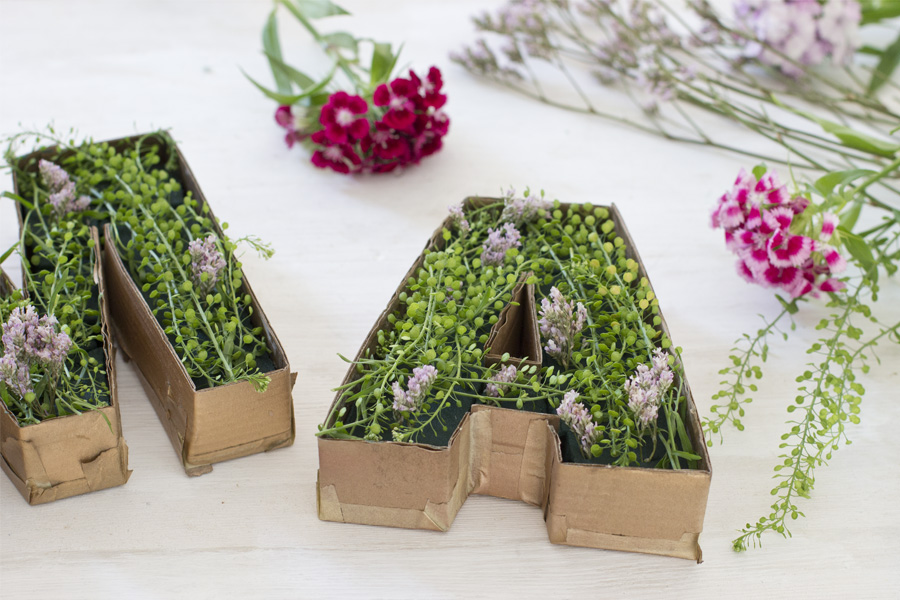
Now fill the letters with flowers. I used Sheperd’s Purse to fill the bottom and hide the sponge and then placed the other flowers in between.
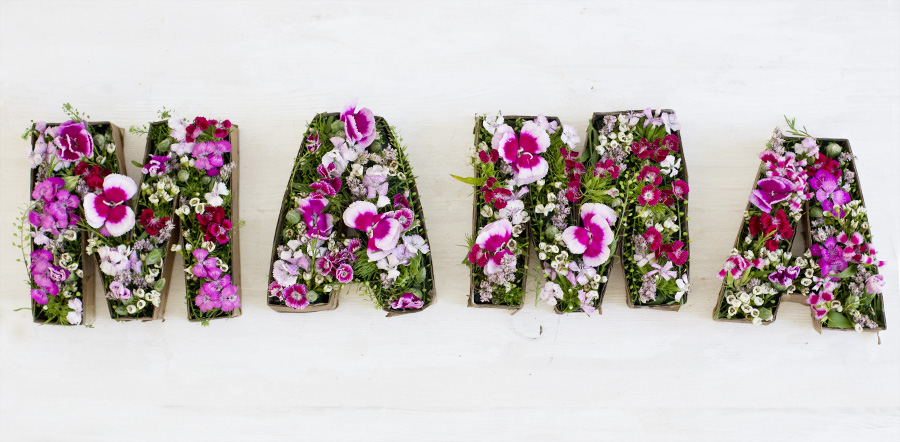
Once you used all the flowers or the arrangement looks perfect, you’re done with your creative Mother’s Day present.
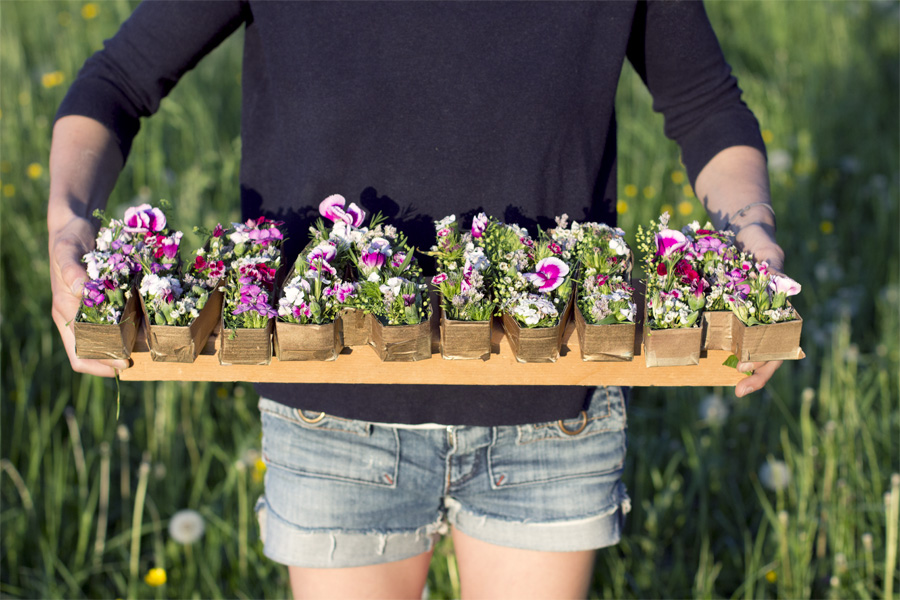
I carried it on a wooden board and it was perfect for the Mother’s Day table!
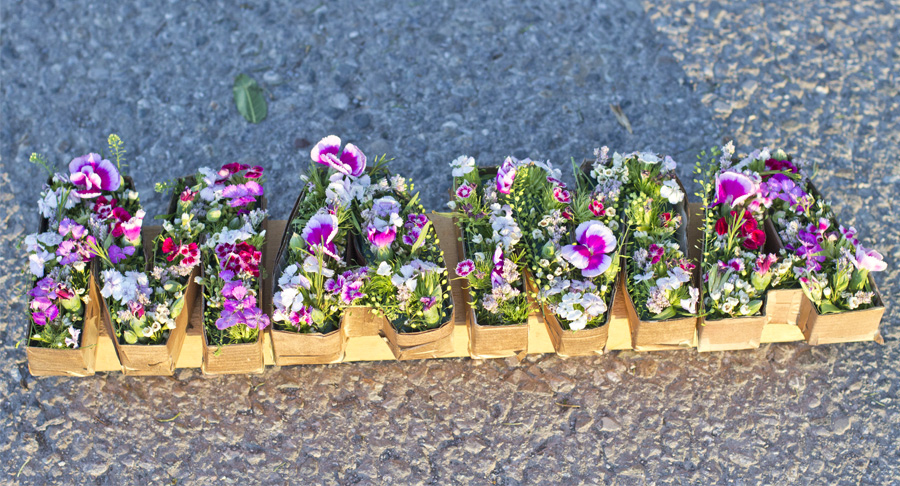
The flower arrangement is very easy to care for: just sprinkle a little water over the sponge once in a while. It will last up to a week in warm conditions aka inside and even longer if you leave it (at least overnight) outside.
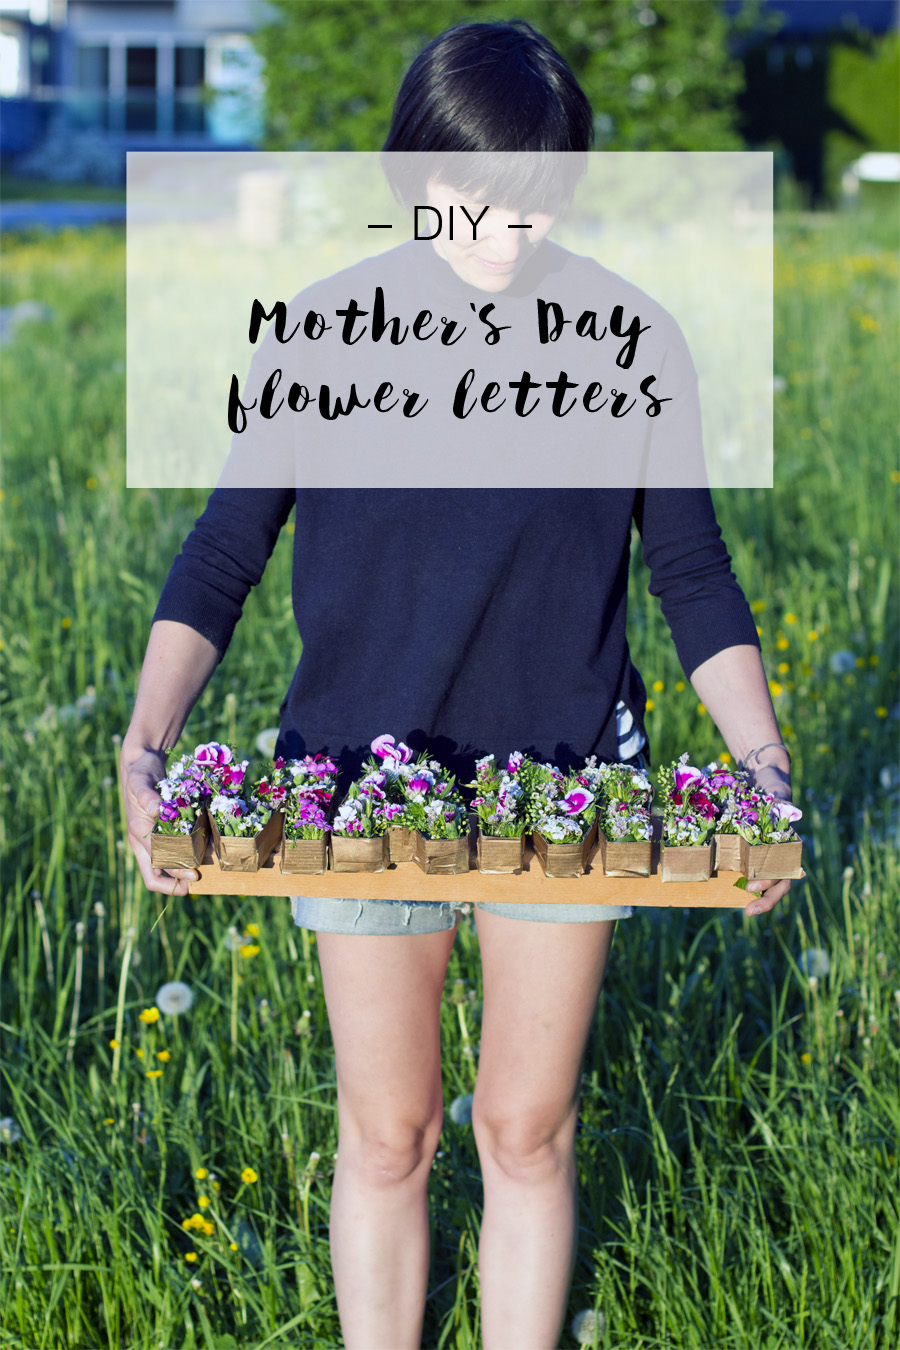
Now that’s what I call the perfect flower arrangement for mum!
Now. Carry on!


Einfach nur schön! Liebe Grüße Elsbeth
Danke, Elsbeth. Mama hat sich sehr gefreut! (Wurde schon letztes Jahr geschenkt.) 😉
I love, love this idea. Nice! Happy Mother’s Day
Thank you, Ivory, I hope you have a wonderful day too!
[…] I needed a Mother’s Day gift since the full tutorial with lots of pictures here in the OTTO Magazin where the present for last year. My mum is really demanding: wanting presents every year?! […]