It’s been over a year since I stumbled upon print-your-own-temporary-tattoo-paper. It was on some other blog (that I can’t remember, sorry!) and I found it to order on Amazon but you couldn’t just send it to Austria. So I had it delivered to a good friend (👋 Sandra!) in London who sent it back to me. That’s how much effort I put into this.
Then when I had it, I ran out of ideas. I mean, I could just scribble something, print it on the paper and put it on my skin. But first, I’m not that creative when it comes to drawings, I’m also not as talented as other people and third, that’s just not creative enough for this little blog. Or so I thought.
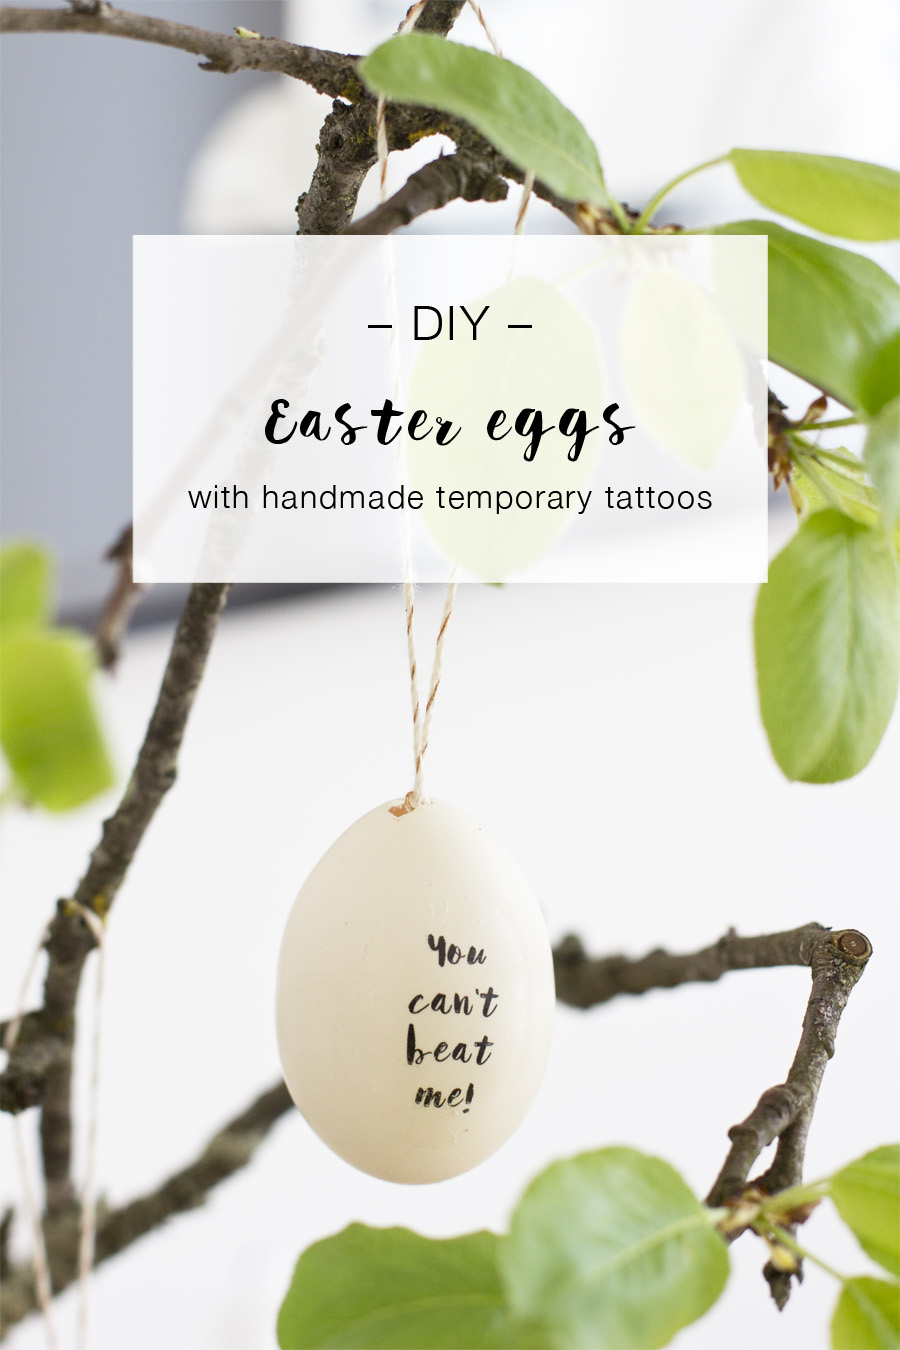
Don’t get me wrong: I love temporary tattoos and now that summer comes, I definitely wear them regularly but I was looking for another idea. That’s when I stumbled upon: decorating Easter eggs with handmade temporary tattoos. That was a big thing last year. So I thought for this year, I combine three passions of mine: puns, temporary tattoos and decorations. Yes, that sums this project up.
I love me some good puns and for this project I went wild on egg puns. I didn’t know that’s a thing until I googled it and once I got started, I came up with my own ideas and now I’m probably the biggest fan. I keep going back to this bunch of branches, picking out an egg and laughing at the words. I also hold them under my boyfriends nose and ask him if he’d read this one already because it’s hilarious.
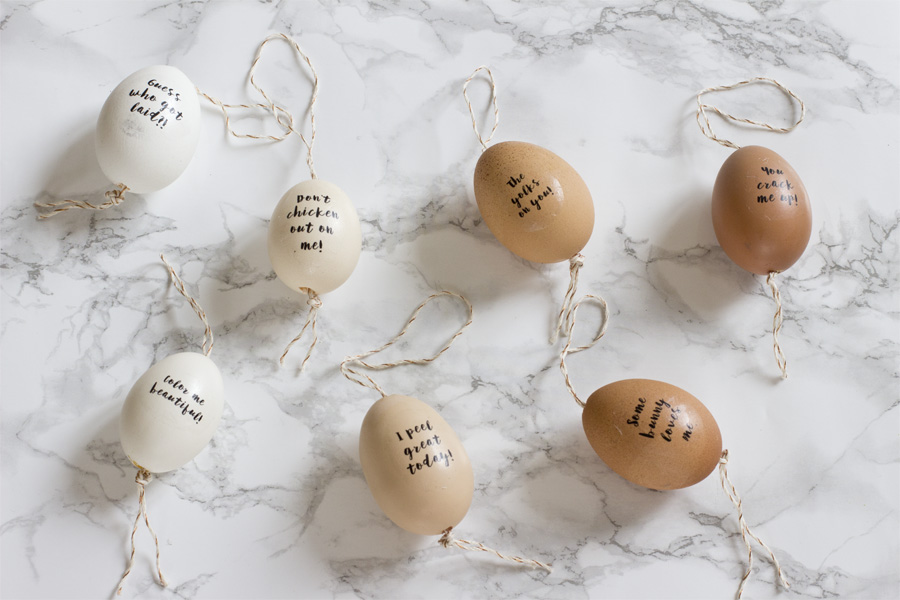
An egg saying “Guess who got laid?!”. I mean: who can keep a straight face?
Or: “I peel great today.” Muhahahaha.
Or one of my favorite: “Please don’t dye!” LMAO!
You can find all the puns in this egg puns template (pdf) and even if you don’t want to create your own eggs with handmade temporary tattoos, take a look and have a laugh.
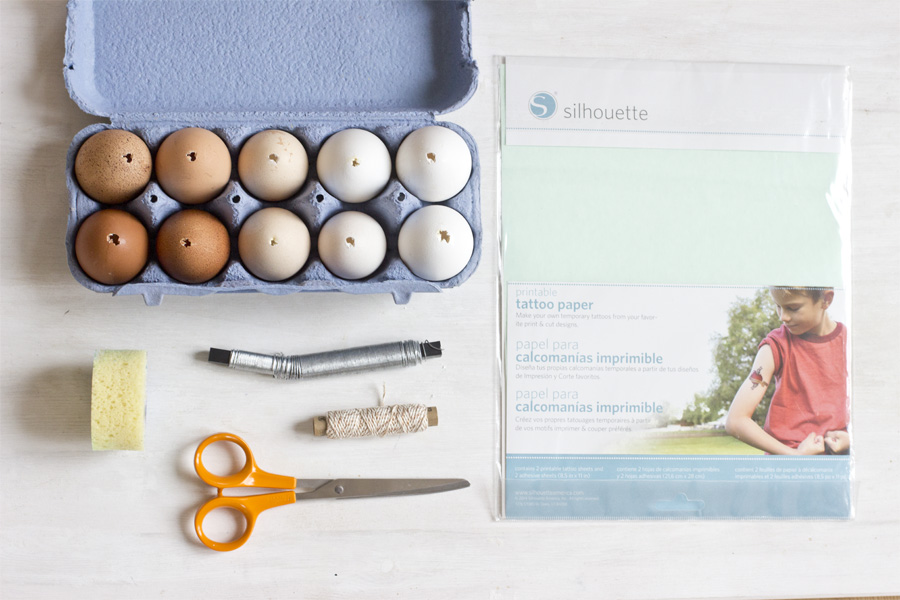
What you need for this Easter eggs with handmade temporary tattoos:
- blown out eggs
- tattoo paper
- a sponge
- scissors
- wire
- yarn
- this egg puns template (pdf)
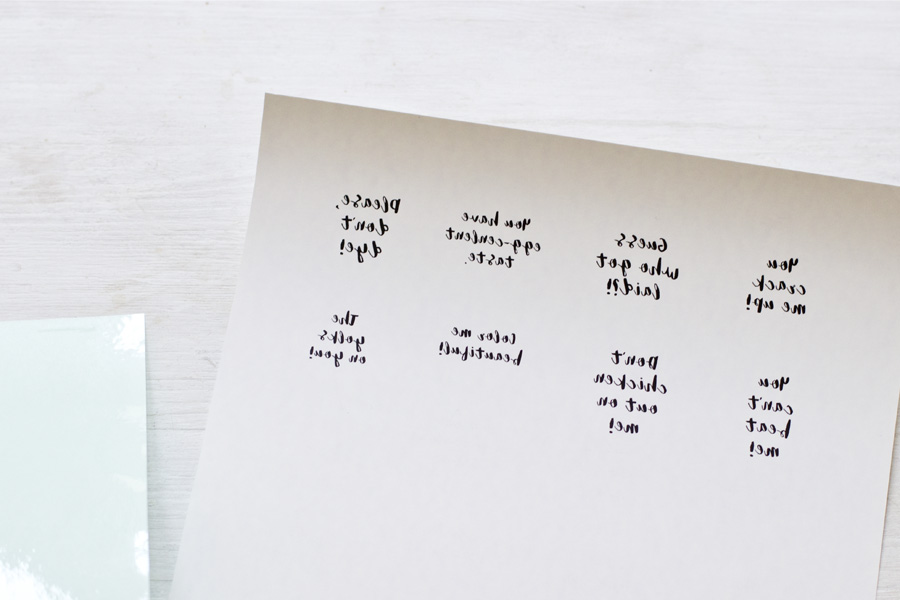
First print the template on the white paper that’s included in your temporary tattoo pack. Every ink printer will do the trick. These sneaky bastards of company made a weird format for their paper so at first I couldn’t load my printer with it (trying to get me to buy their printer) but not with me! I just cut it the the size A4 and printed it anyway! Ha!
If you make your own design, make sure to flip the design horizontally.
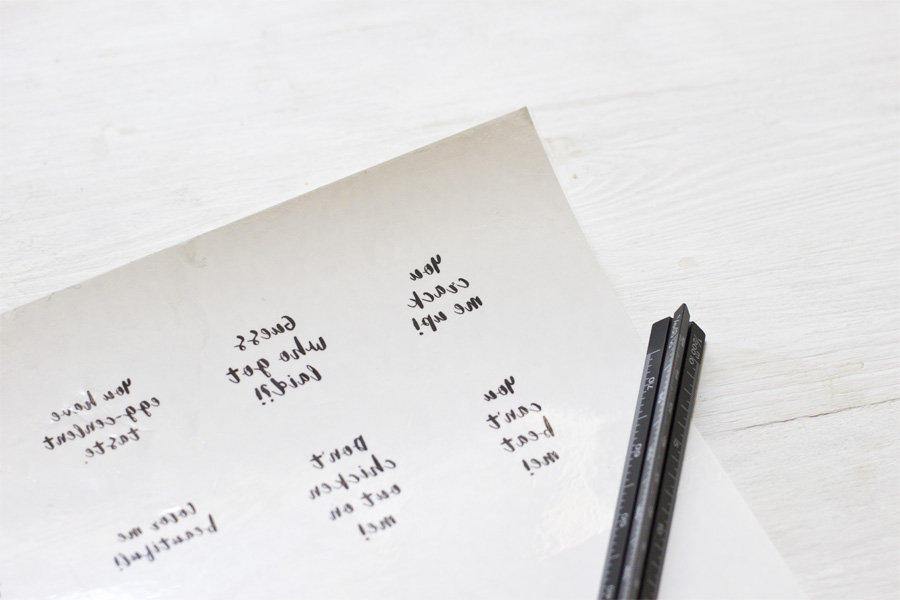
In the pack included is a green paper that has a adhesive clear sheet attached to it. Peel that adhesive clear sheet of an stick it on the white paper with the print. Make sure not to make have to many bubbles between both sheets.
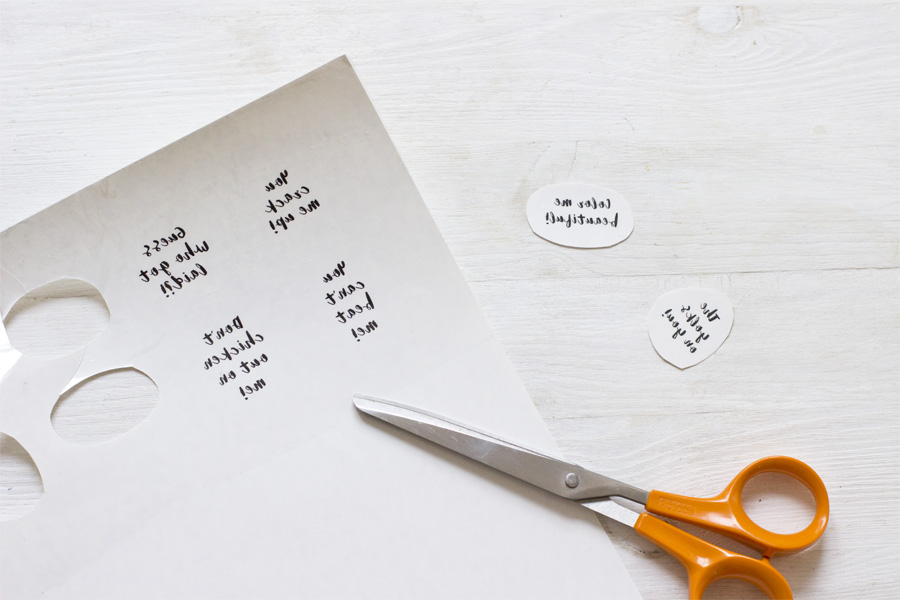
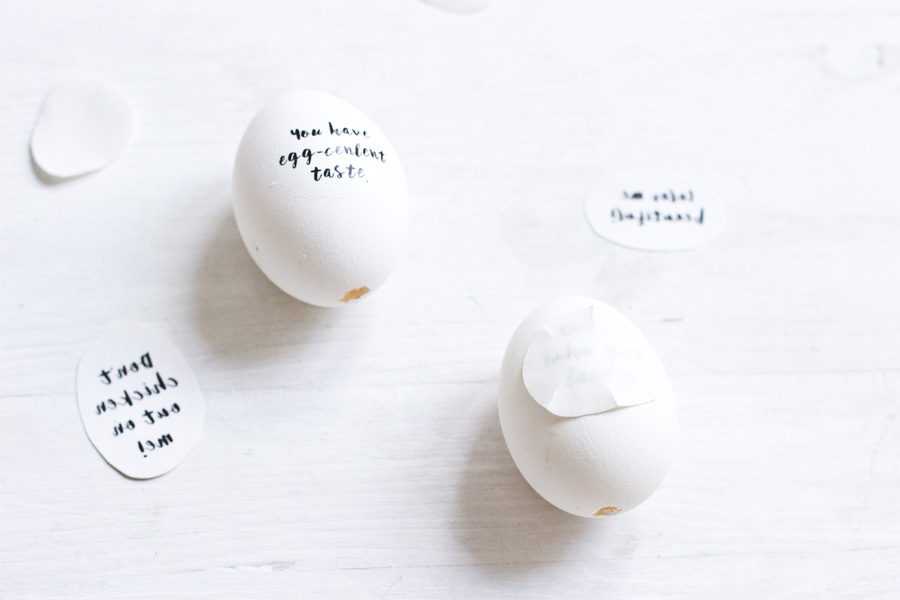
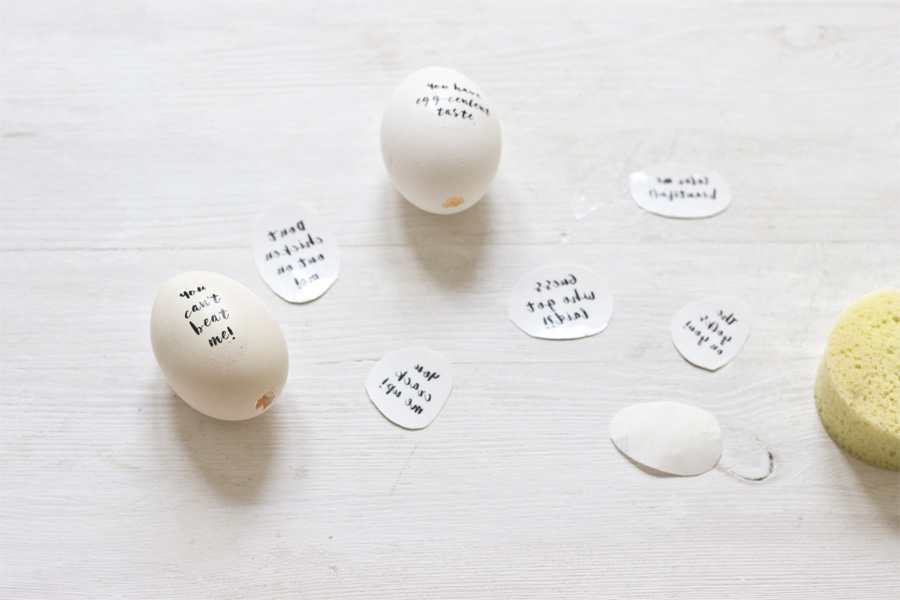
Now you can immediately cut out the designs and stick it on the eggs. Because the clear part of your tattoo will be reflective and therefore slightly visible, make sure to cut it out nicely (maybe in an egg shape like I did).
Now peel the adhesive clear foil (that you just stuck on there) off again, put it upside down on the egg and wet it thoroughly with the sponge. Press it down for a few seconds and peel the white paper off again.
Voilá! That’s already all you have to do. Pretty easy, right?
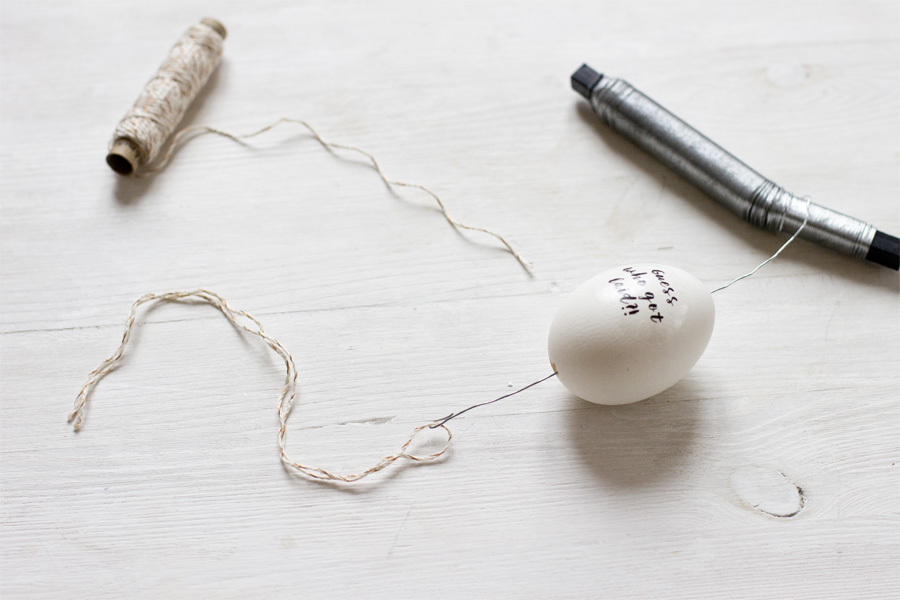
Now to attach the yarn to the eggs, I made a hook with the wire (you might wondered already what you need that for), stuck it through the egg, attached the yarn and pulled it back through. Just make a knot at the end and you can hang it on some branches.
I love the minimalistic look of this Easter decoration. Almost like it’s of Scandinavian design, don’t you think?
I collected these branches when I was out and about with my sister and because it’s been the warmest Spring (being warm 16 days earlier than usual!), they had not only blossomed already, they were done with blooming and already making big leaves. And because our flat it hot and dry like a dessert and I keep watering the branches, they’ve grown quite a bit in the last few days.
If I’m not careful (or very careful), I might end up with homegrown apples!
Now. Carry on!







<3 anytime! I will bring the next delivery personally 🙂
I’ll come back to this! Promise! 😊