I’m all about going outdoors following my own advice. So of course it affects my crafting: first with this enamel cup and now with outdoor cushions. I like to go on picnics but if you ever try to sit comfortable on a blanket in the woods or on the stone-y banks of a river, you know there’s nothing comfortable about it. Glamping? Not at all!
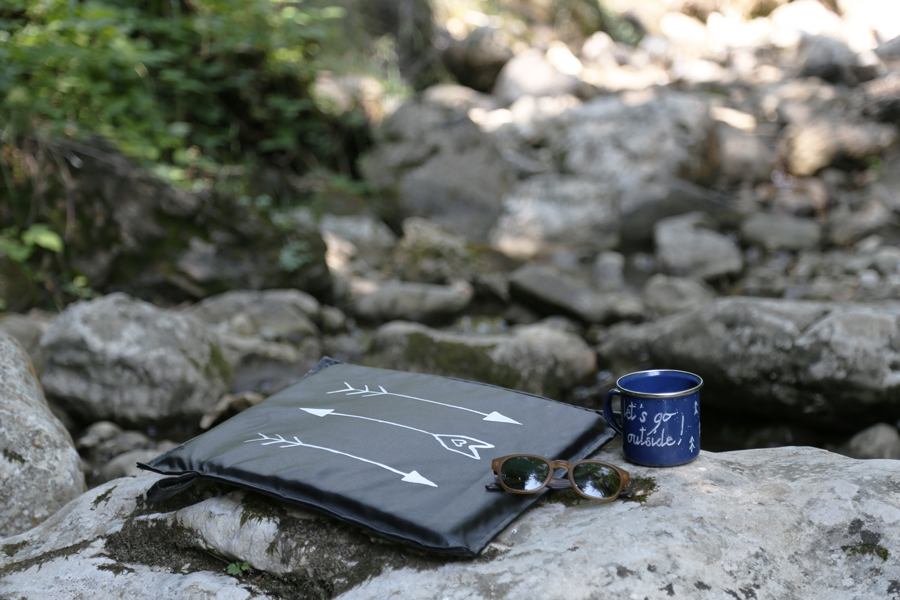
Of course I want to go outside and be in nature but not on every cost and the well-being of my butt is very important to me. (I never thought that I’d ever write this sentence on the blog). So this outdoor seat cushion DIY was overdue!
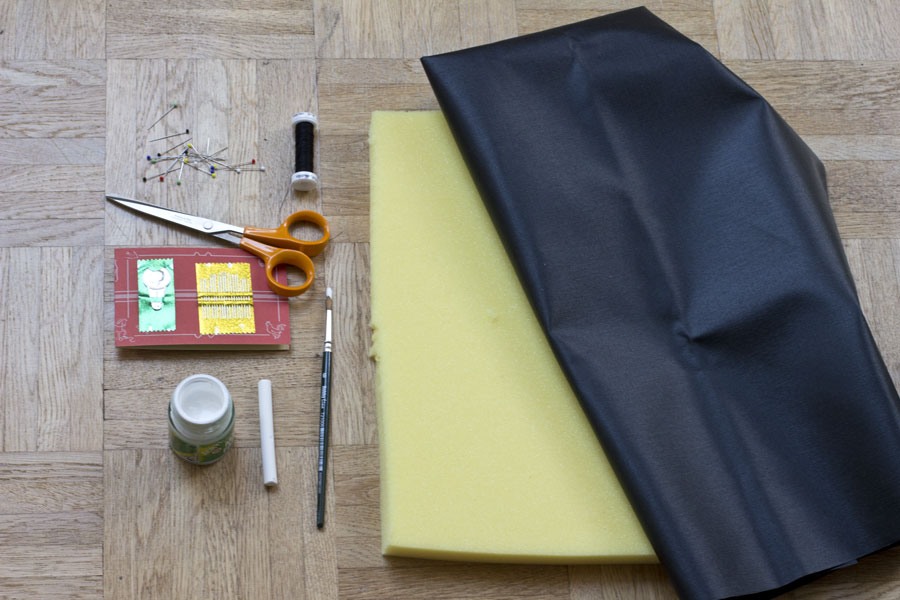
All you need is:
– foam of 40×40 cm
– waterproof fabric
– scissors
– pins
– sewing supplies (black thread, sewing machine)
– chalk
– acryl paint
– brush
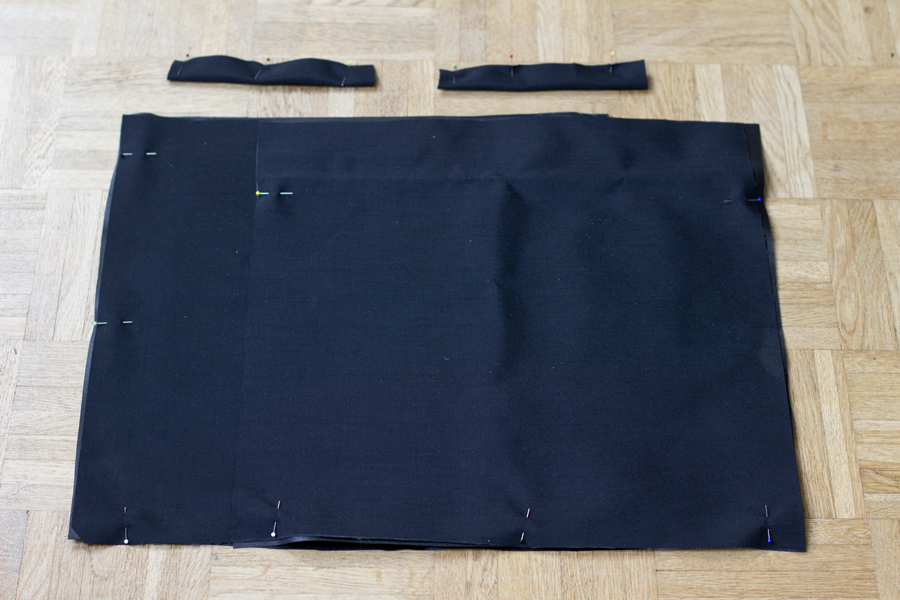
Cut 4 pieces of the size 45×45 cm out of the fabric and 4 pieces of 10×3 cm – as in the picture above. Put the right (the shiny) side together on the inside.
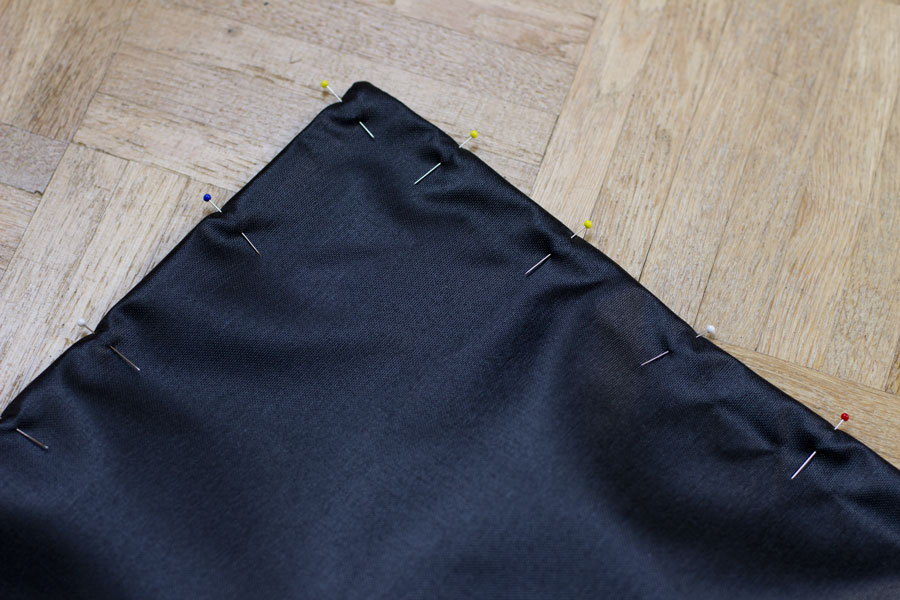
Take the sewing machine and sew 3 sides of the fabric squares. Sew the 2 small longer pieces as well. Turn the fabric inside out (all 4 of them).
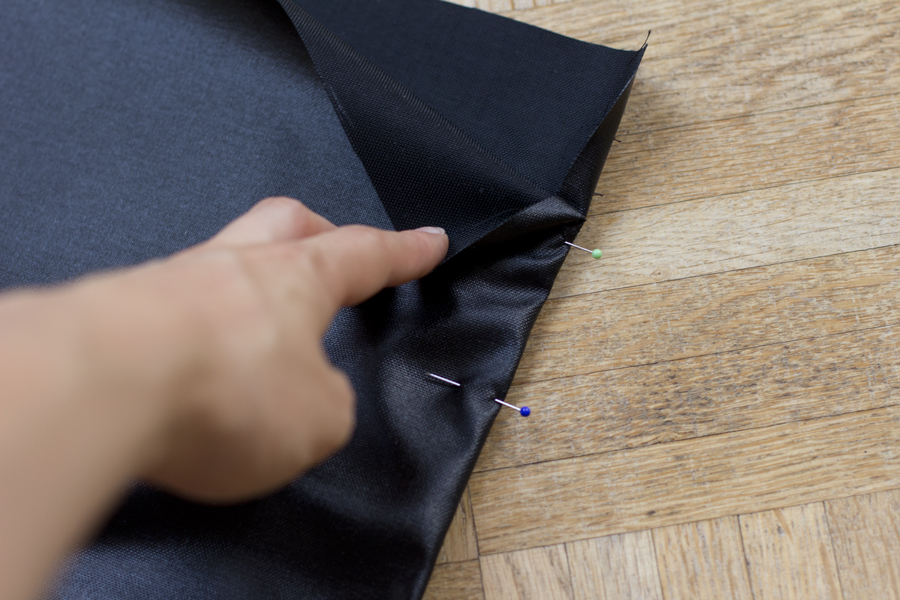
The one open side should look like in the picture above with enough room to fold it close afterwards.
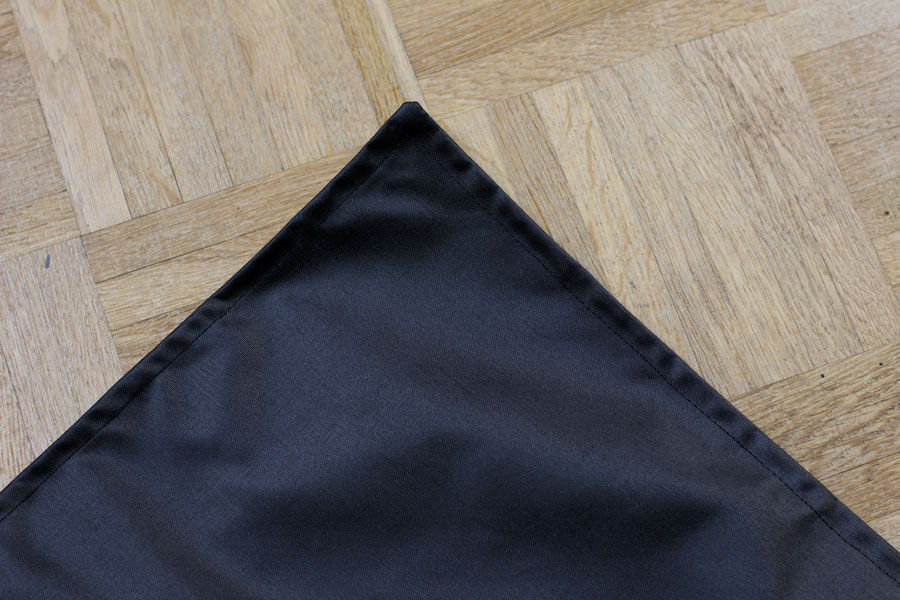
Now sew the 3 previously sewn edges again at 1 cm.
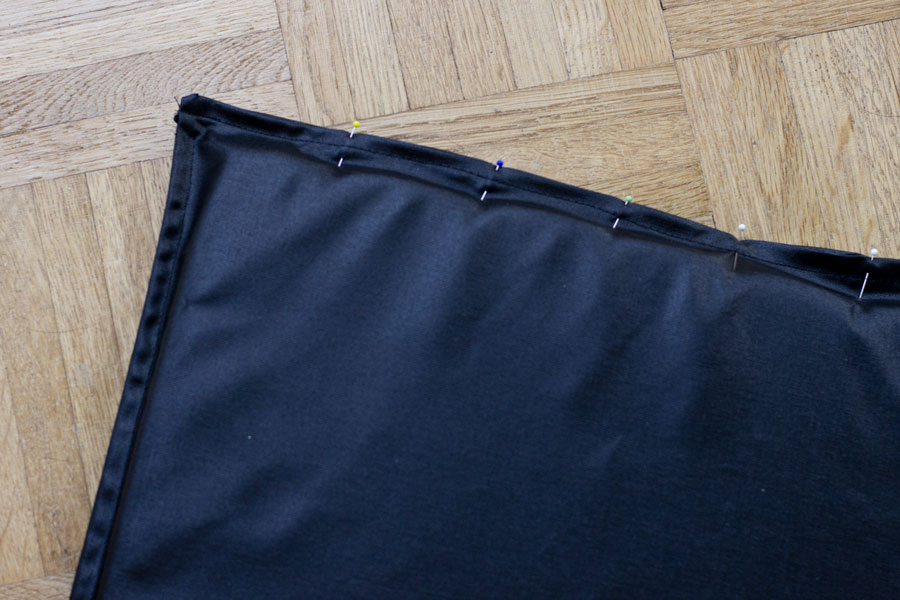
Put the foam in and take the pins. Fold the open side inside and close it with the pins. Fold the small sewn handles into half and attach them with the pins in one corner as well. Now sew it again – closing the last side.
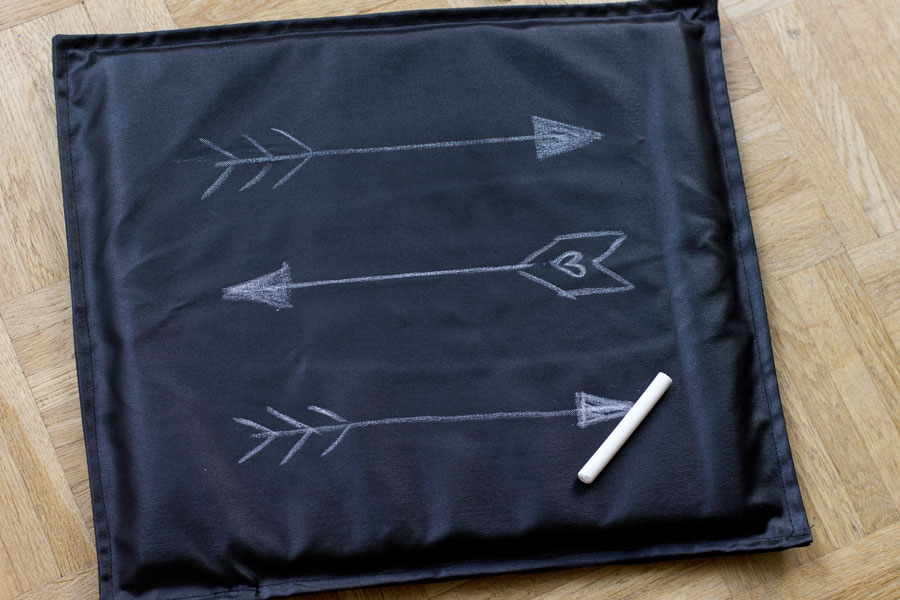
Take the chalk and draft the picture or quote you want on the cushion.
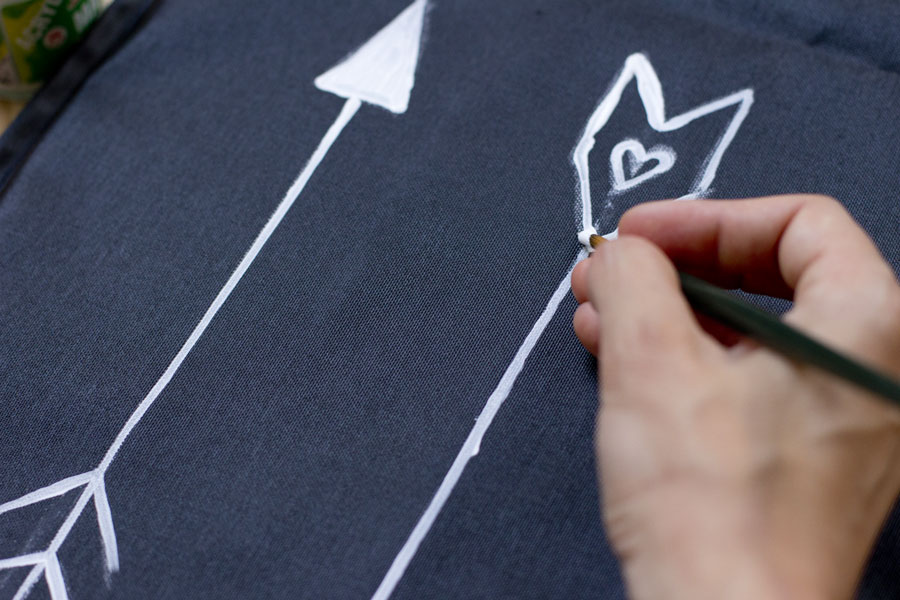
Follow the draft with the brush and acrylic paint. Let it all dry and voilá! You made your customized outdoor cushion!
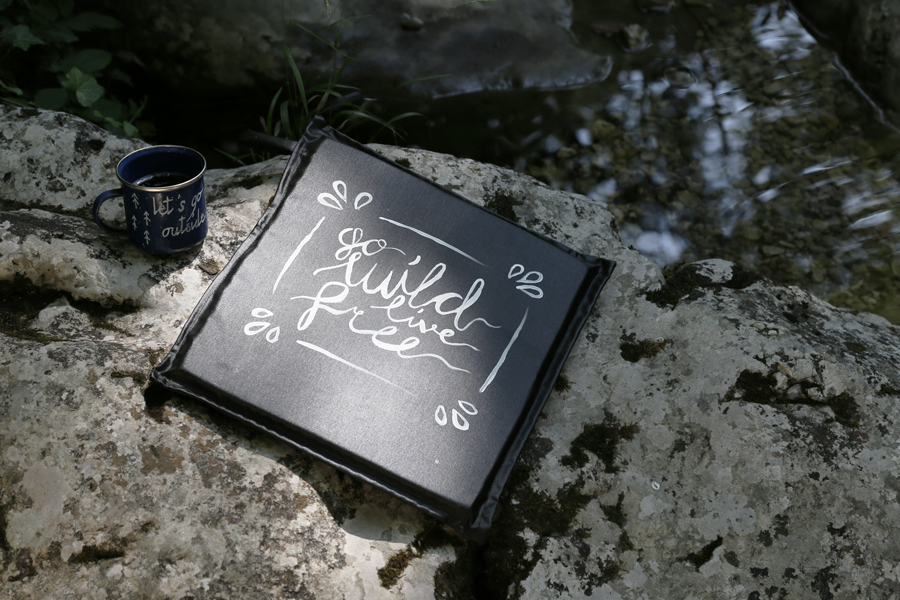
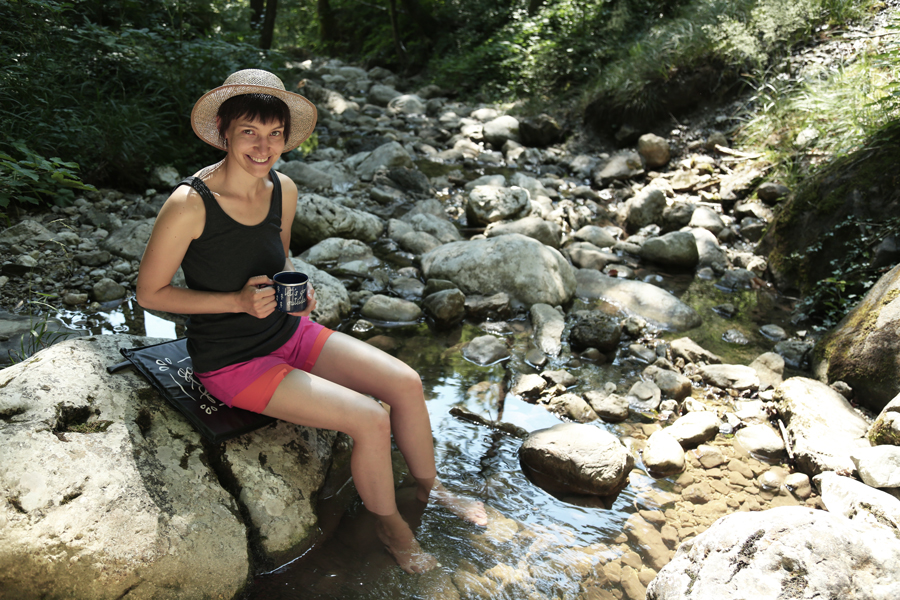
You can now take them on a hike with you and sit comfortable on stick and stones. Enjoy nature’s beauty without the negatives.
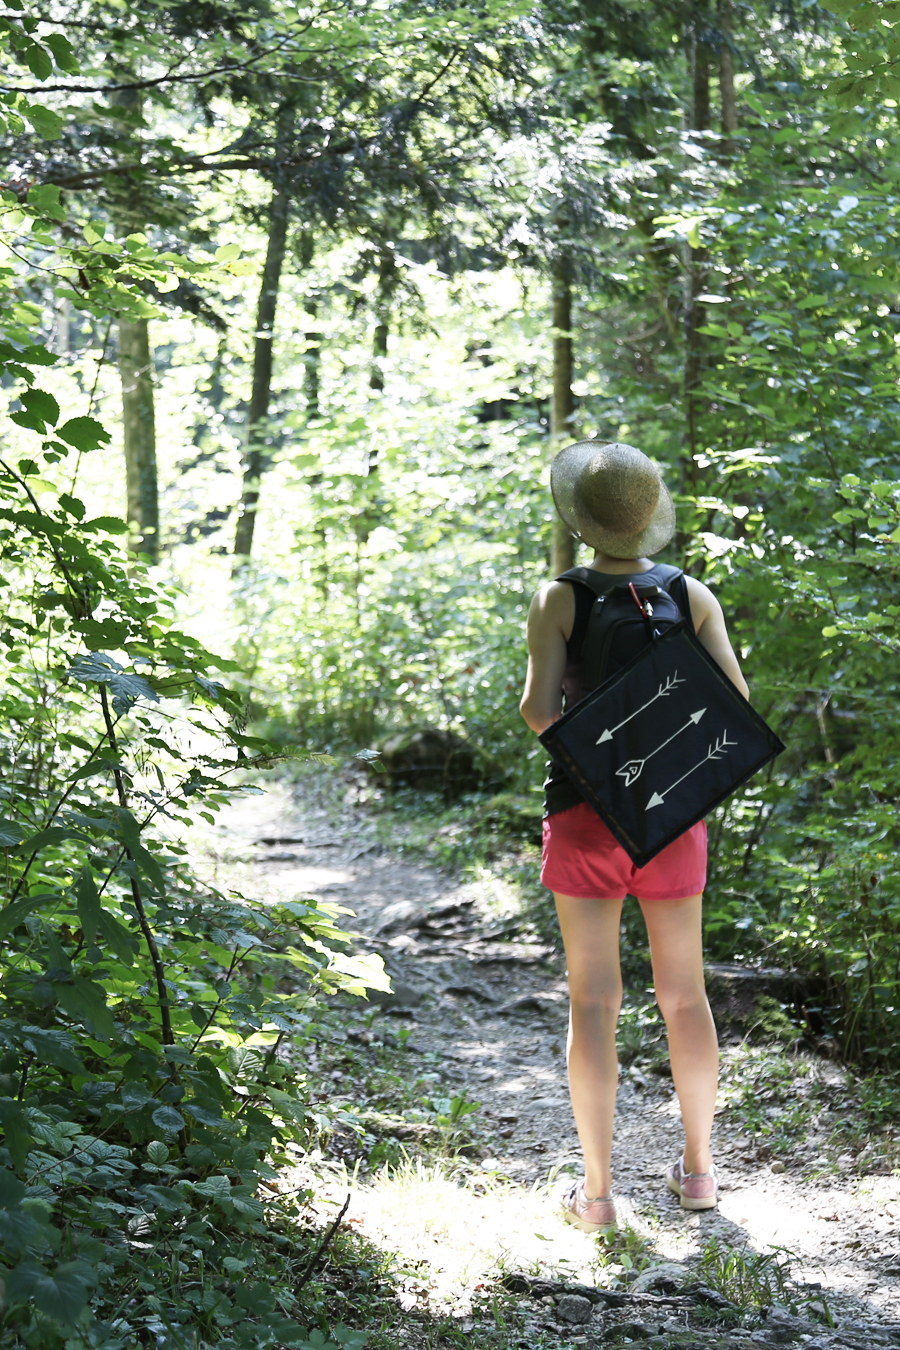
Thank you to my friend Vanessa, taking all this great pictures of me.
Now. Carry on!


