I’m already with my family and ready to celebrate Easter. However before I do so, I thought I share one quick and easy Easter craft with you. Just in case you are like me and welcome every excuse to keep your hands busy and feel productive. That sounds like you? I thought we are alike! This paper Easter bunnies DIY is also for people who are impatient with crafting (like kids and boyfriends) because it’s done in no time. If you like to keep busy for longer just make more of them.
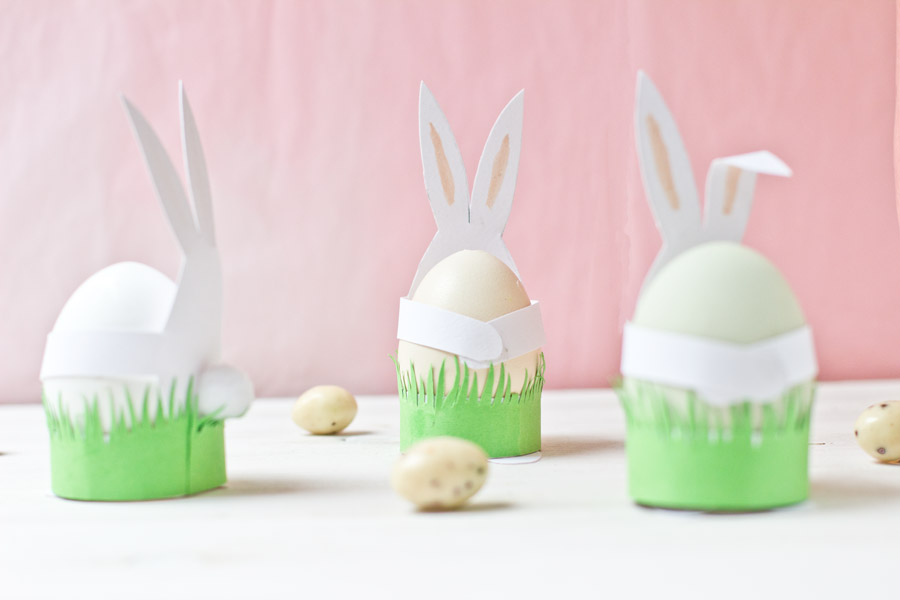
Just follow a few easy steps and your colored eggs get a new place to shine!
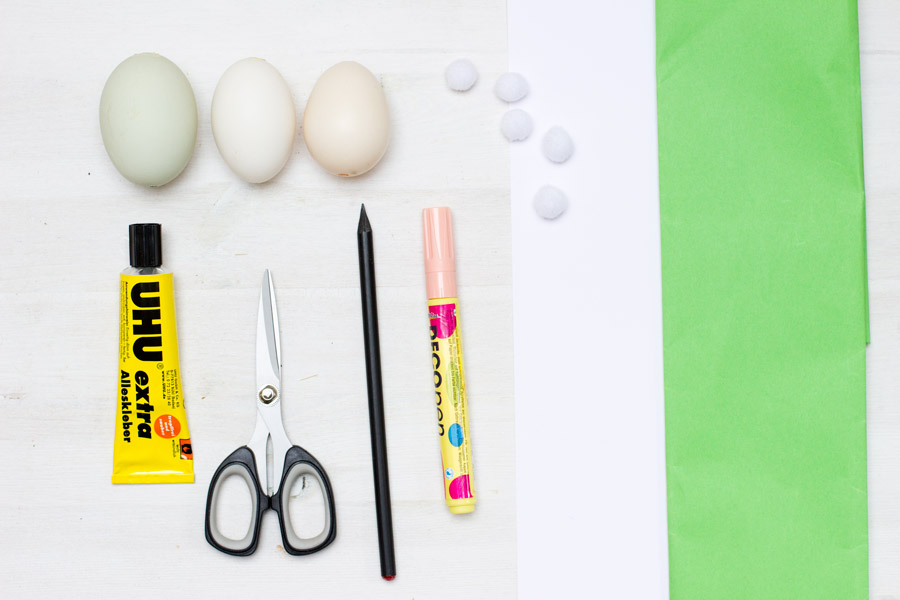
All you need is:
– white and green paper
– tiny pompoms
– a pencil
– a pink pen
– glue
– scissor
– hard-boiled eggs
– this paper easter bunny template
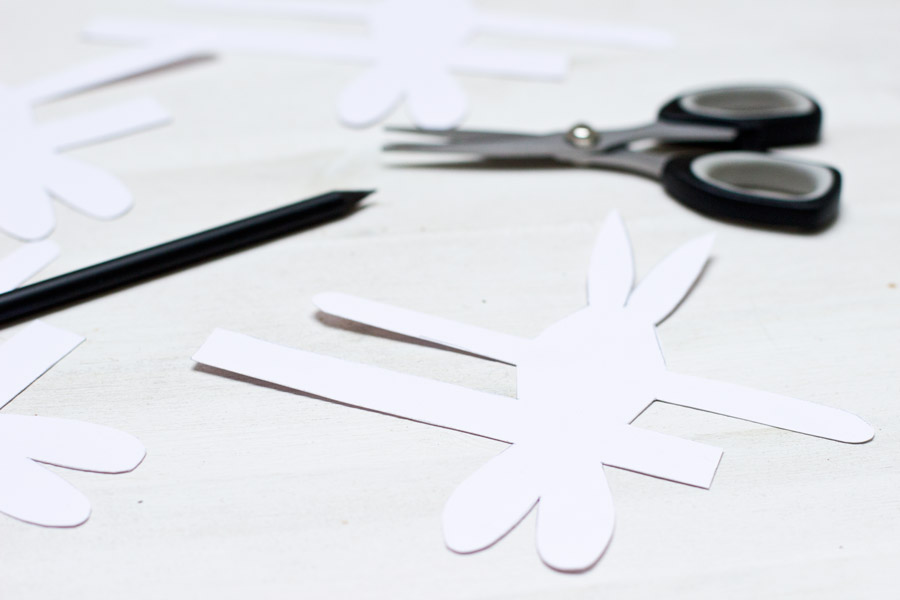
Print out this paper easter bunny template. If you have thick paper for your printer – lucky you! The paper I bought was to thick for my printer so I had to copy the shape onto the thicker paper once it was printed. Cut out as many bunnies as you like.

Paint the insides of the ears.
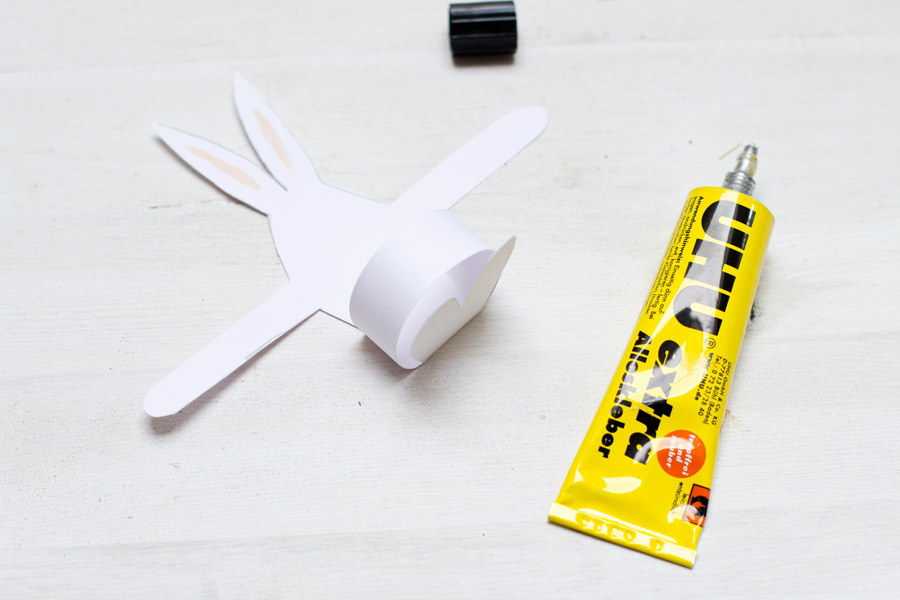
Fold the feet up and glue the white stripes together. Make sure that the egg can sit in it quite comfortable. We don’t want to egg to complain about it’s now egg holder…
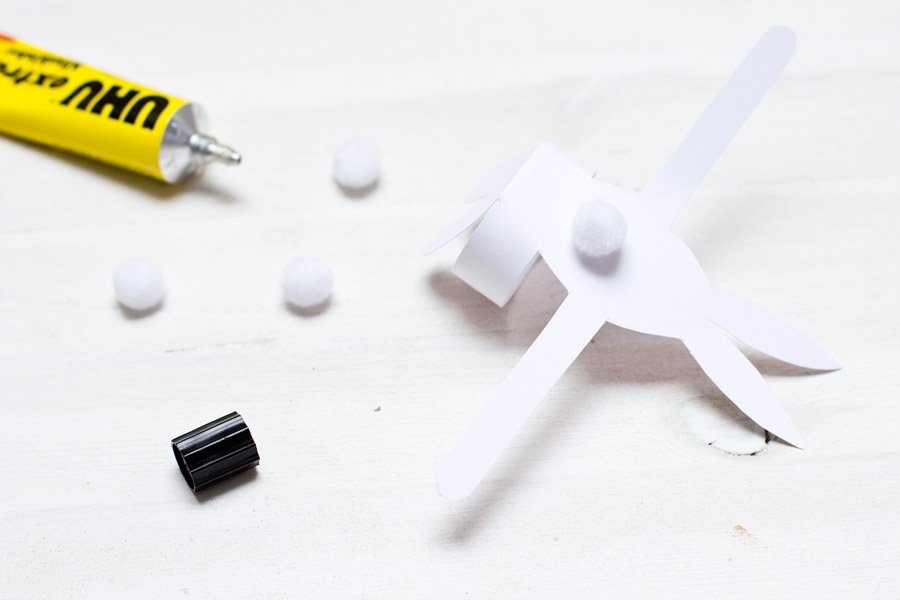
Stick the pompom tail to the back of the rabbit.
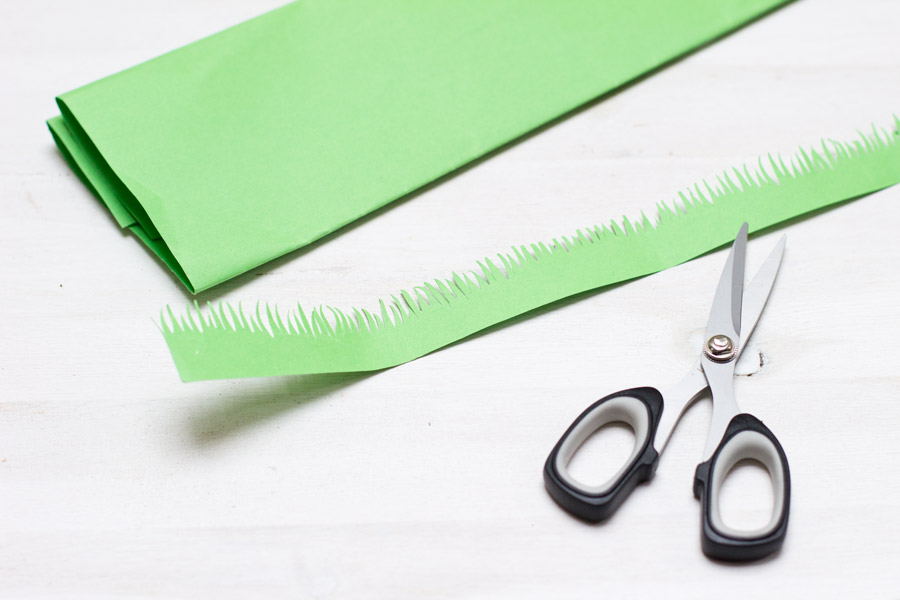
Cut out grass out of the green paper. You might have guessed that the scissor in this picture is not the one I used. You are so clever! I can’t trick you! I used a nail scissor but because I’m a professional stylist I thought about the look of it on pictures and it didn’t look good. I have to keep up appearances.

Cut the grass to the length of the scope of your egg’s nest and stick it on the white paper.
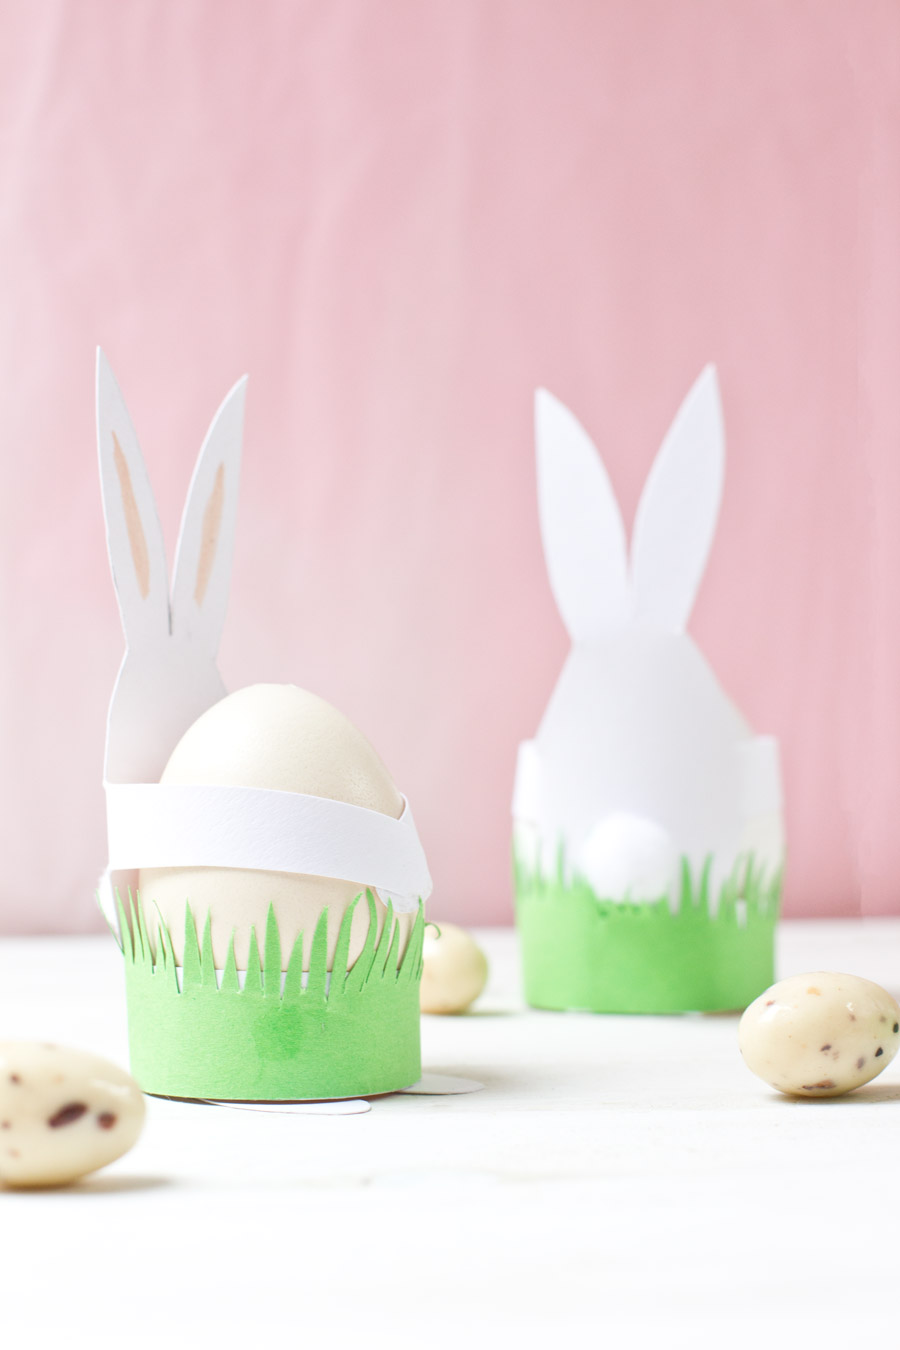
Now put the egg into its new place and fold the arms in. If they are to long (because of a smaller egg) just cut them a little) and stick them together so the paper rabbit is hugging the egg.
Voilá! You’re done! Repeat all steps to make more.
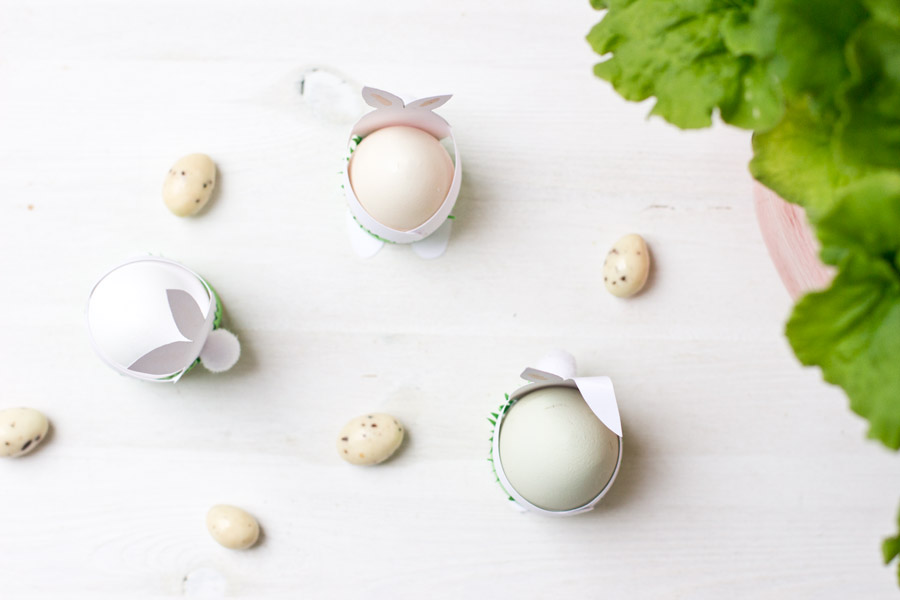
They make cute egg cups for Easter – either to decorate with or to use with your breakfast egg.
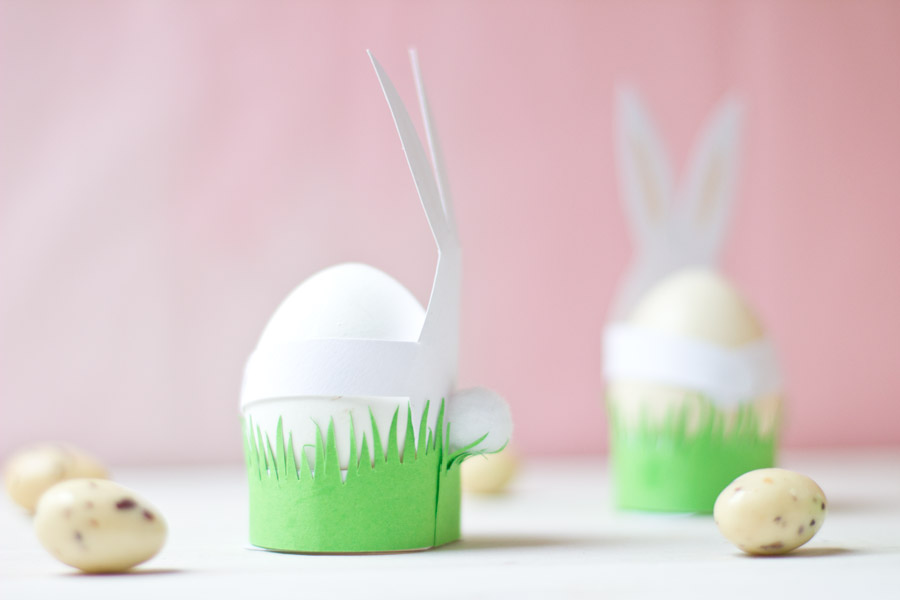
I really like the tail of this Easter bunny. Doesn’t that look cute? I can’t wait to use them as my Easter table decoration!
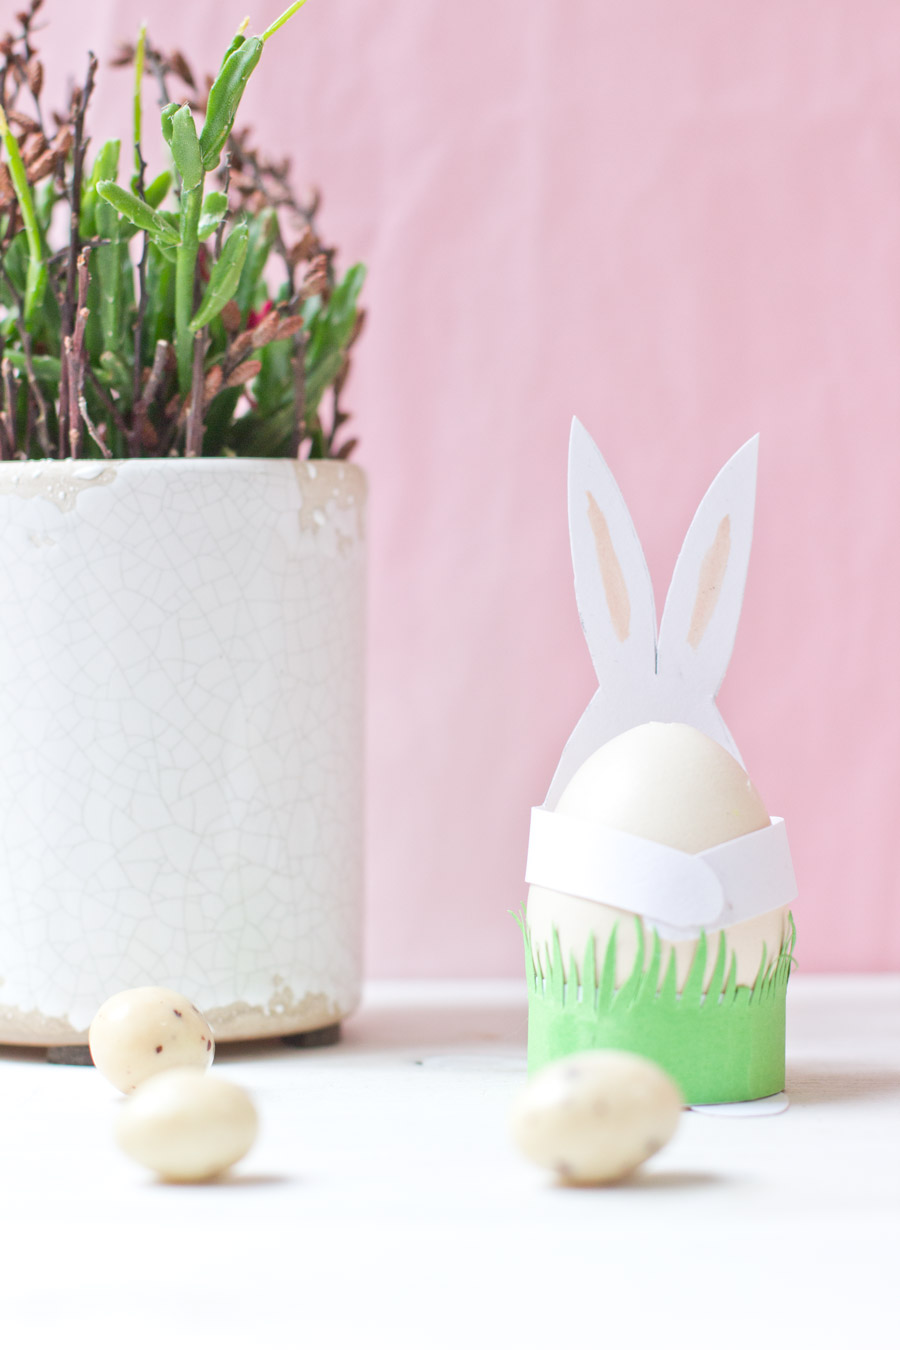
Now. Carry on!


[…] 2. Get the template from Look What I made for the bunny egg cups, and add some grass using green paper. All the instructions are here. […]
What does the other side of bunny look like? Does it have a face? These are really cute could make in other colors like grey, brown or tan even. Bunnies come in all colors.
The back has a pompom-tail as you see in one of the pictures. In the front, the egg covers the “face” of the bunny and therefore I didn’t paint a face as it wouldn’t be visible.
Different colors would look great! Even yellow or green would look fantastic if it goes with your color-theme. The possibilities are endless… 🙂 I only had a thick white paper and had to work with that.
[…] | Make these cute paper egg cups to hold your breakfast […]
[…] Paper Easter Bunny Egg Cups by Look What I Made […]
[…] atcerējās bērnību un izdomāja dažas īstās olas sapucēt par zaķiem. Sameklējām paraugu, izdrukājām, izgriezām, uzzīmējām zaķiem sejas un salīmējām. Mums gan likās, ka […]
[…] 5- Una creativa presentación que incluye varias de las ideas que hemos compartido anteriormente: conejos y hierba. Paso a paso en look-what-i-made […]
[…] Papierové veľkonočné remeslá sú mega jednoduché na výrobu. Sú tiež super cenovo dostupné. Len s papierom, lepidlom a vajíčkami si vaše deti budú užívať výrobu týchto roztomilých zajačikov s vami. […]