You might have spotted it in my sidebar: I’m now a contributor to Qoolart – a German online magazine that is all about fashion and lifestyle. They asked me to contribute DIYs and stylings for interior design. They didn’t have to ask me twice.
We’re starting with a summer DIY that reminds me so much of my holiday in Italy just a week ago. Can someone take me back? Pretty please?!

Before I get too nostalgic about my holidays (still need to share some images and tips with you!), I present you the first DIY I made: a neon light sign. I’ve wanted to make one of those for a long time and after a little research I’m unsure why I put it off so long. Probably because I thought it’s hard, expensive and difficult to get the material. Surprise! It was neither of those things.
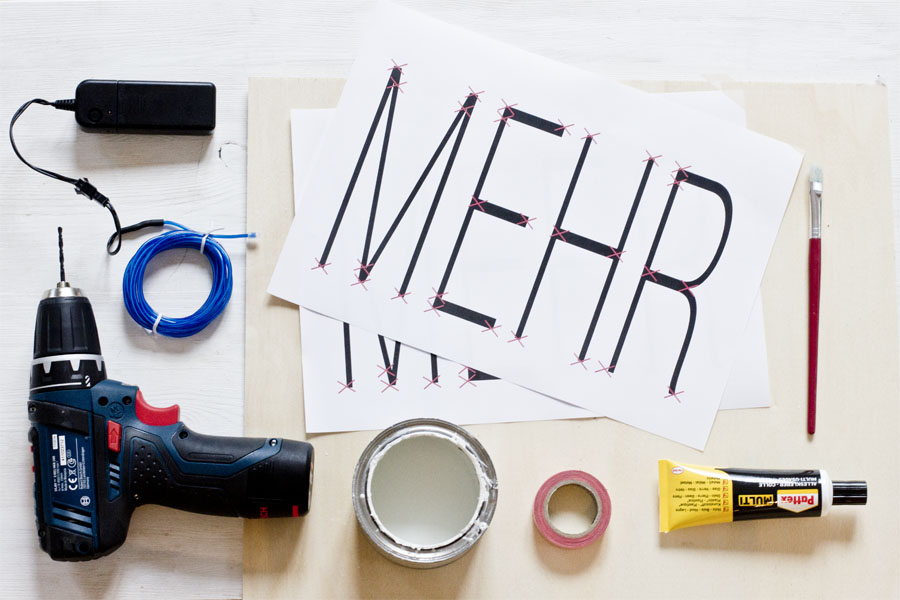
What you need for this neon sign:
- a thin wooden board
- white paint
- a brush
- this template
- this neon light sign template
- Washi tape
- a drill
- 5 m EL light wire
- strong glue (that can be used for plastic and wood)
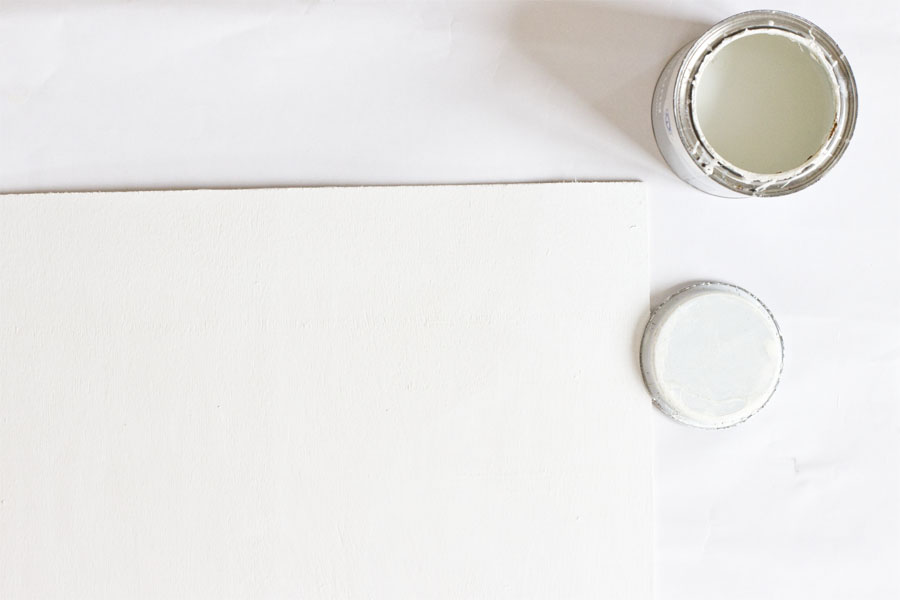
First we need to paint the wood white to make it a nice canvas for our neon sign.
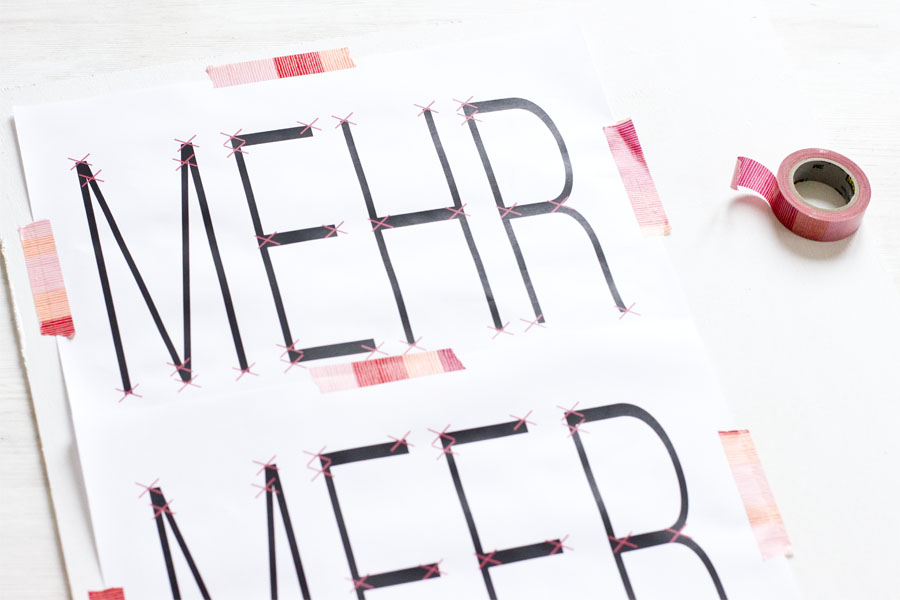
Then take the template and stick it on the wood where you want the letters to be.
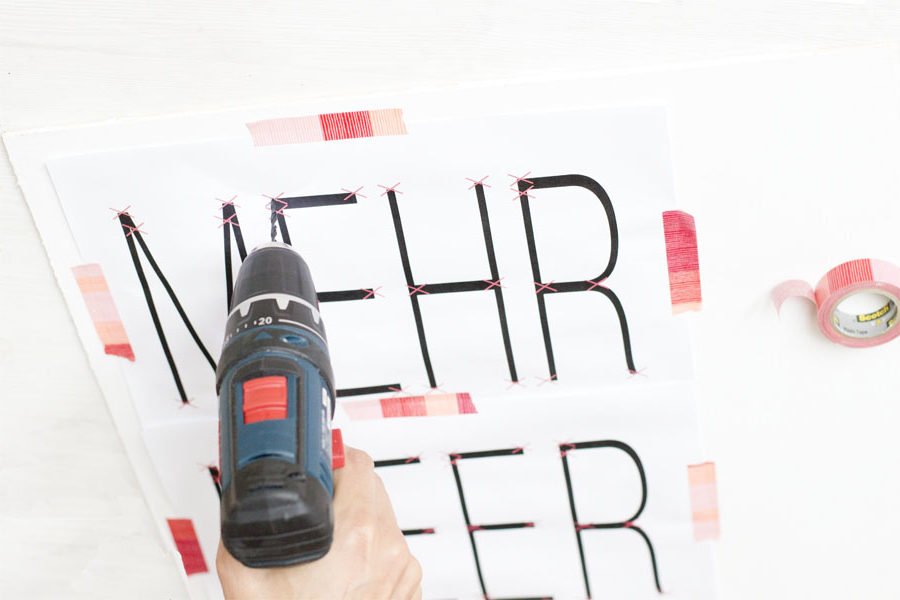
Drill holes on the red marks.

Now take the EL light wire and thread it through the holes. Be careful that the wire is on the right side of the wood where you want it to.
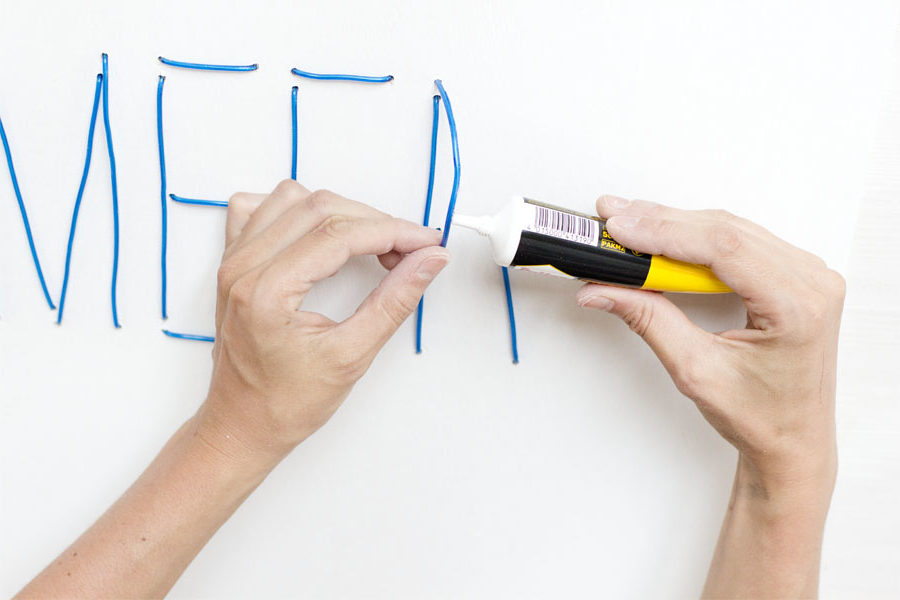
Take the glue and stick the round parts to the wood so it’s flat and even.

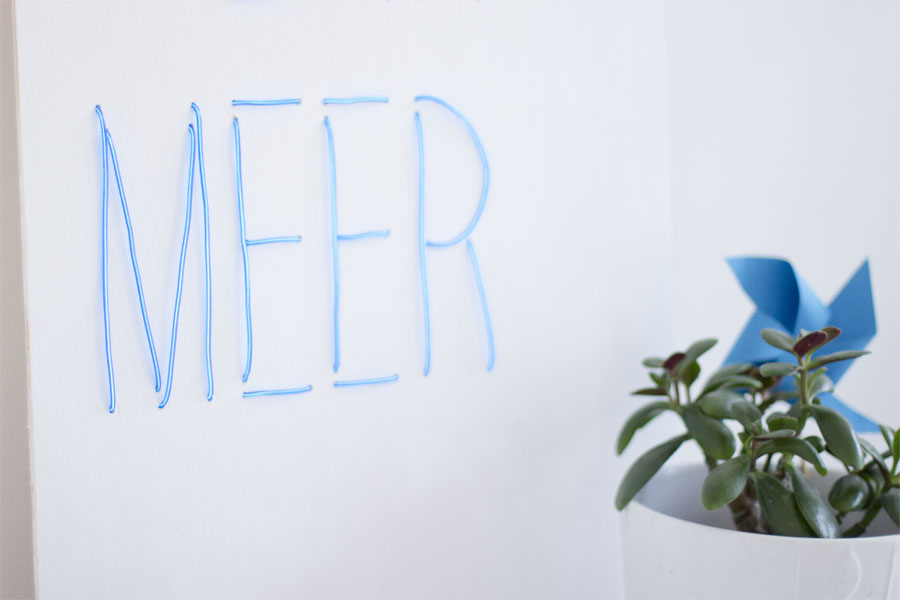
Voilá! You just made your own handmade neon sign for this summer!
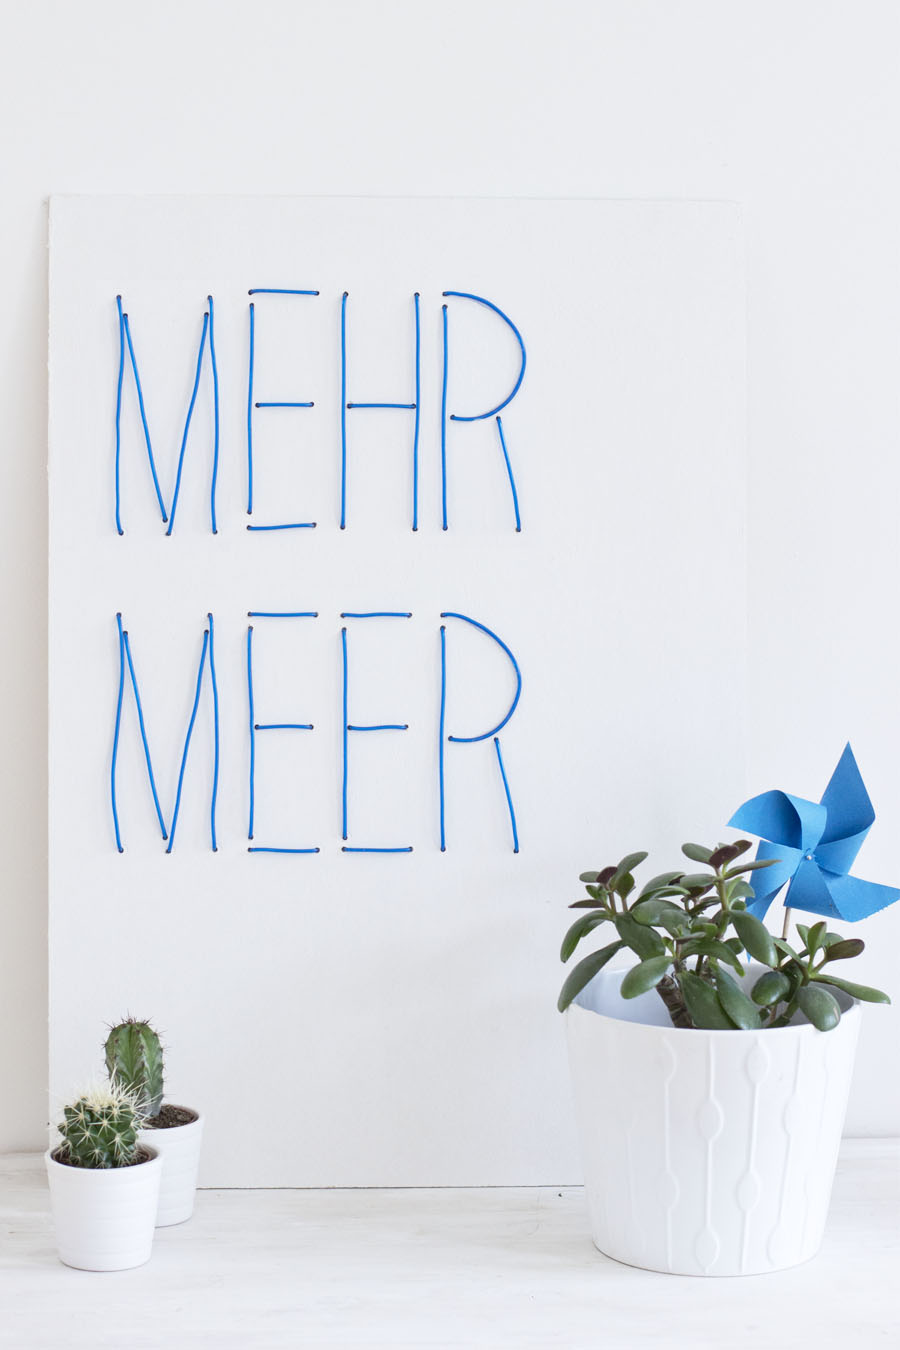
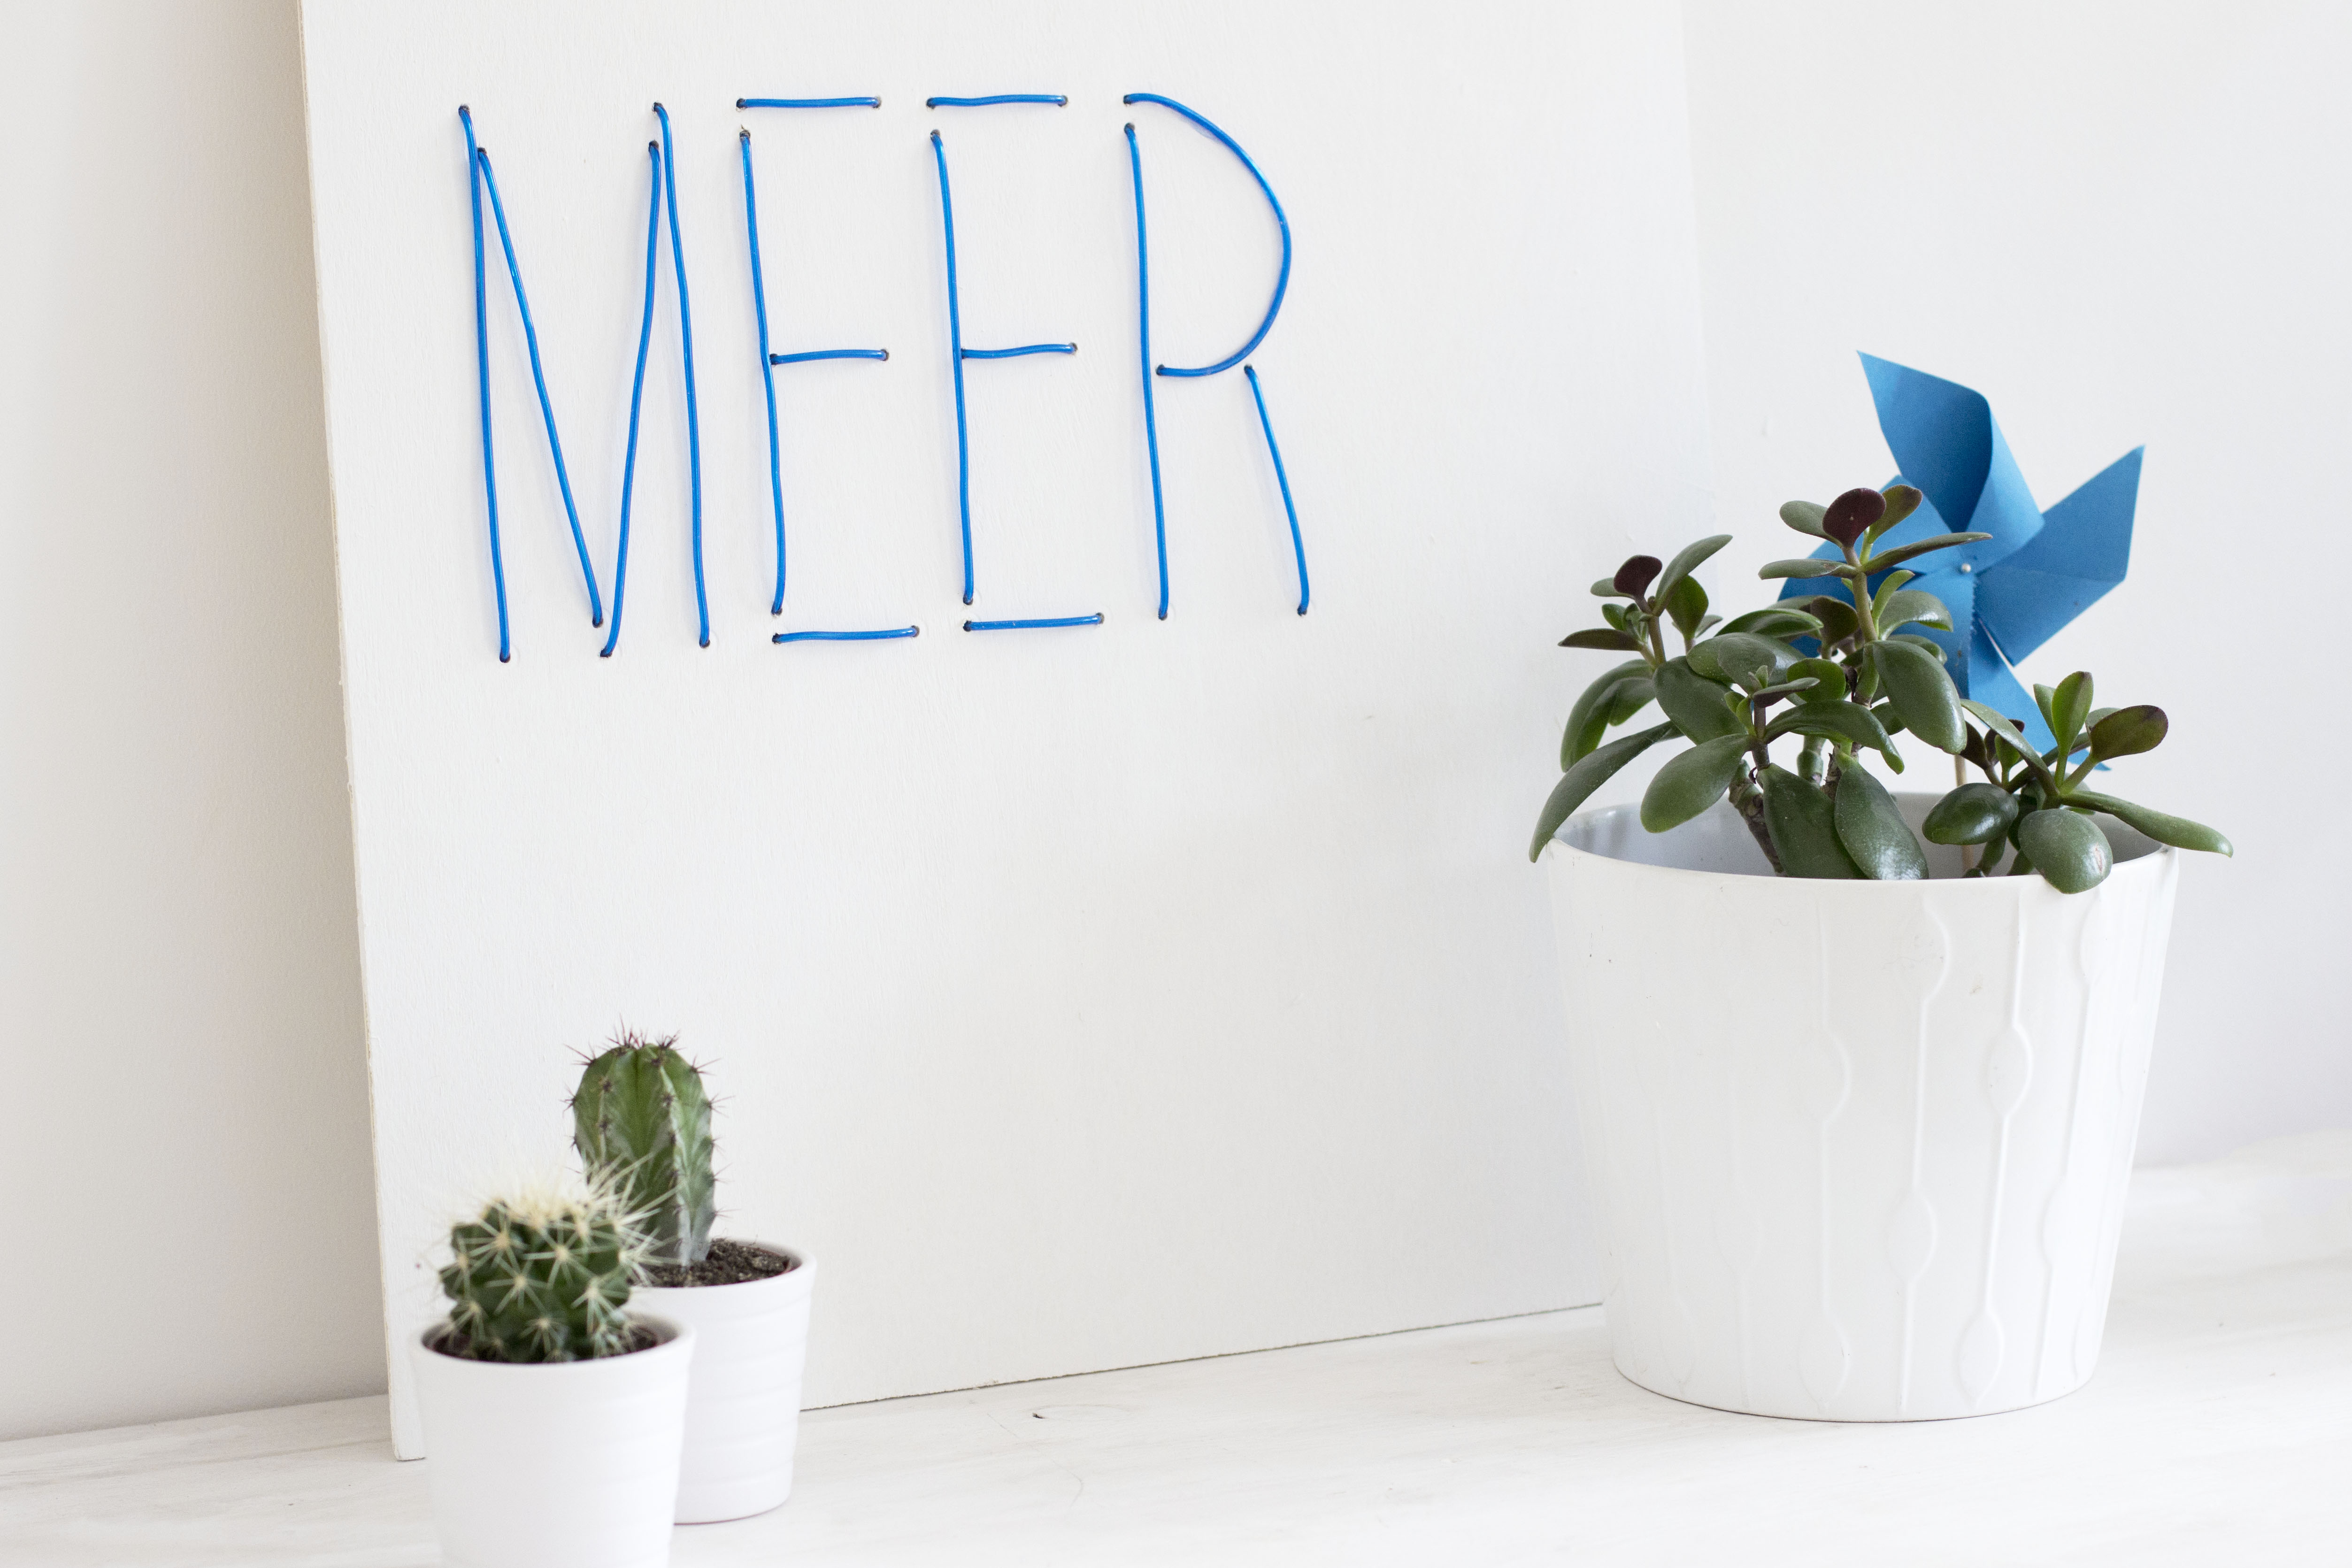
In the picture above you see how it looks like switched off. It’s just a darker shade of blue in the daylight but at night it shines so pretty!
Now. Carry on!
*Sponsored Post


I love what you did, it’s lovely!