
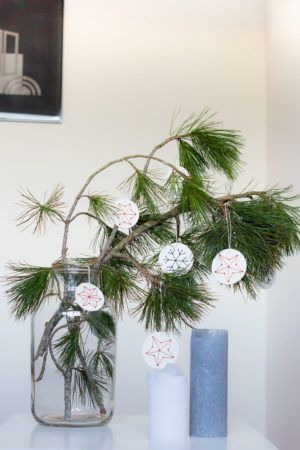
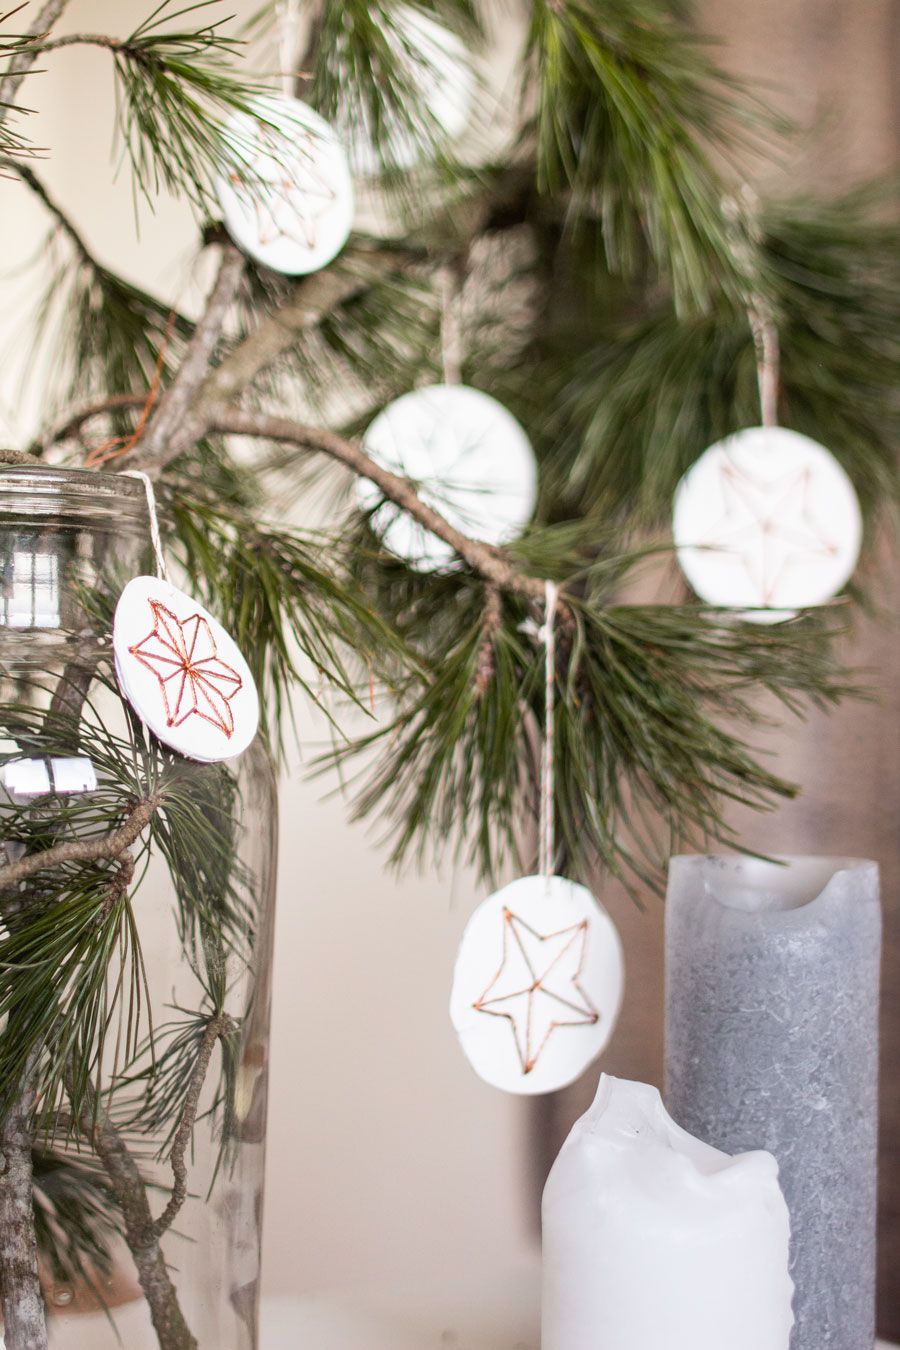
Every year I make it my mission to create some new Christmas hangers. Our tree is very unique in the way that almost all hangers come from me. Remember those concrete hangers I made?! Perfect for weighing those branches down that are too far up.
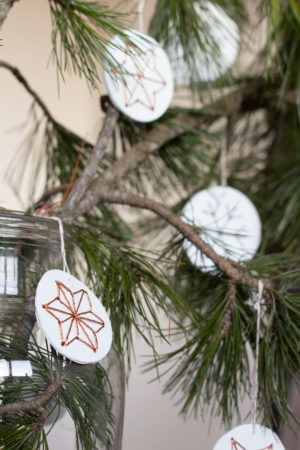
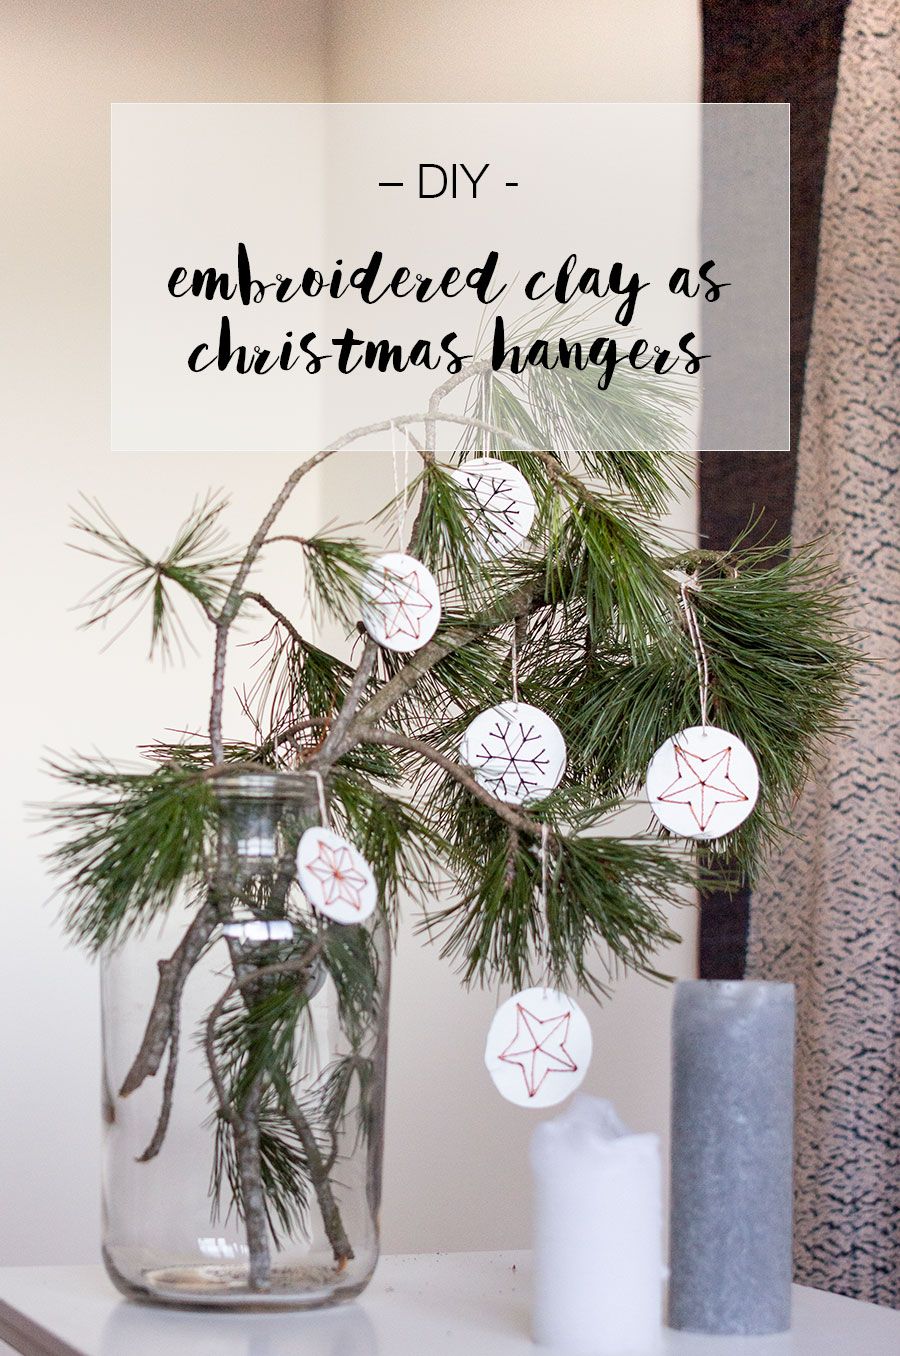
This year I created embroidered clay hangers – making myself proud by combining unusual materials. Did you ever think of embroidering clay yet? I may or may not be really proud of that idea. Anyway, they look real cool with the copper yarn I had at home and are easy to make. I even created a template that you can use to punch the holes into the right place. However, I also created some free style with my hands and they look just as good in my opinion.
The template is more to give you an idea where you need to punch holes into your clay. Maybe you come up with a new (better?) shape than stars and snowflakes. Not my most creative work in the execution. I’m just proud of the idea of embroidering clay – maybe this will inspire you.
All you need:
- air dry clay
- rolling pin
- round cookie cutter (I used a piece of a pipe – a wine glass works just as well)
- this embroidery template
- an embroidery needle
- copper and black yarn
- white paper
- a pencil
- glue
- scissors
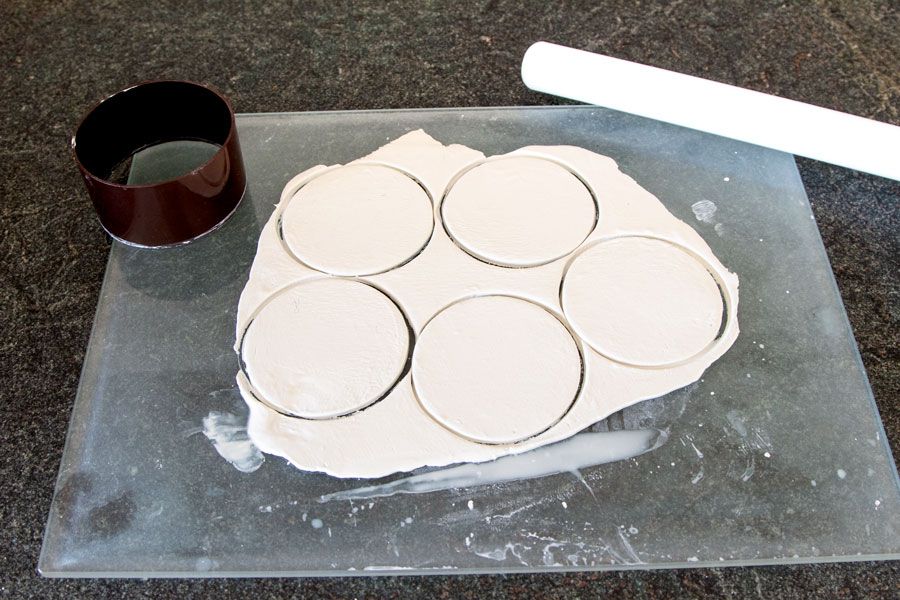
I used a glass plate to create a smooth surface as my kitchen counter is a bit rough. Take the clay and roll it about 2 mm thin. Cut round circles out of it and take away the rest of the clay.
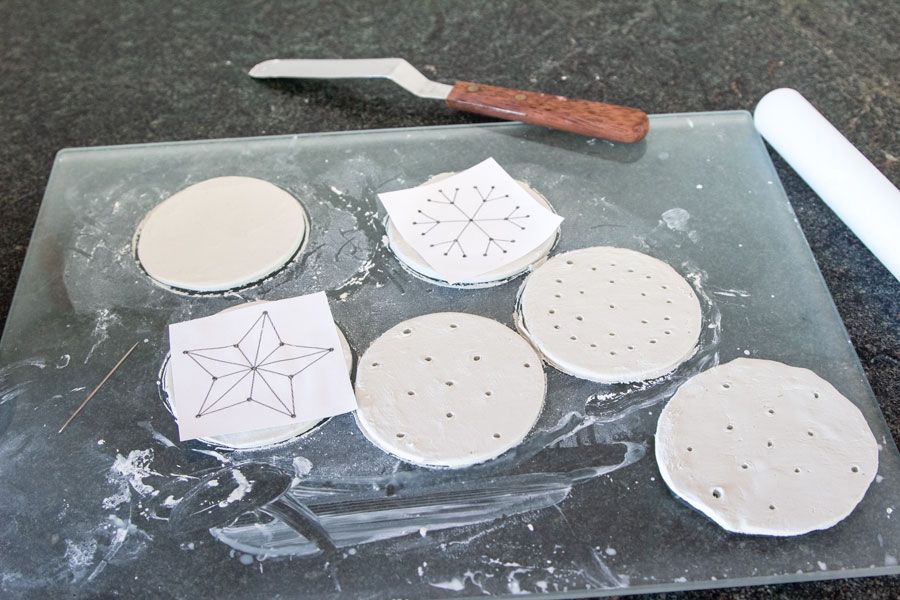
Take the template and cut out one of those shapes. Lay in in the middle of one round clay plate and punch holes with your embroidery needle where the dots are. Make sure to punch one more hole around the edge for the hanger.
Follow this step for all those hangers-to-be. Then let it dry for 24 hours.
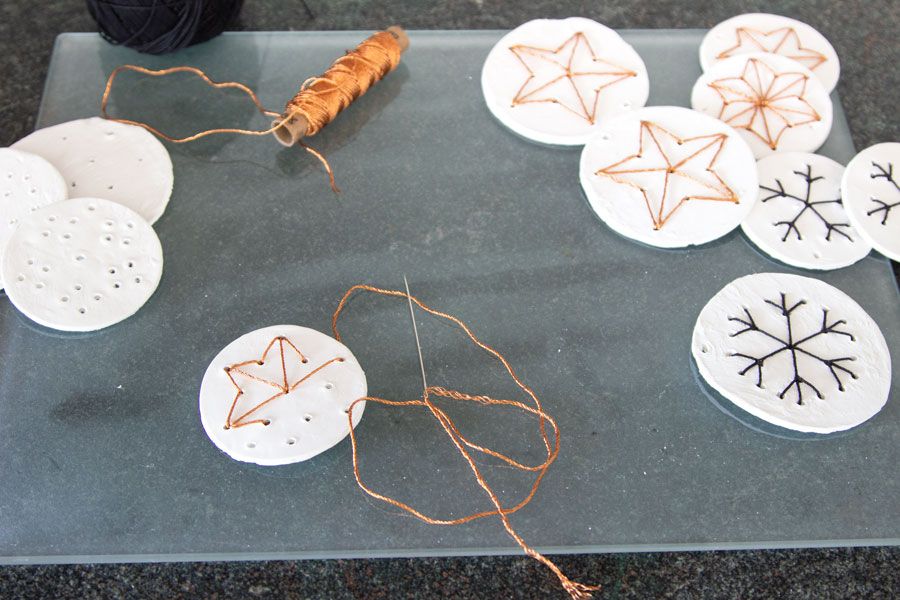
Take the yarn and embroidery the hard clay plates like you see in the picture above. The template also gives you an idea where the yarn should be once you’re done embroidering. Don’t worry about how it looks in the back.
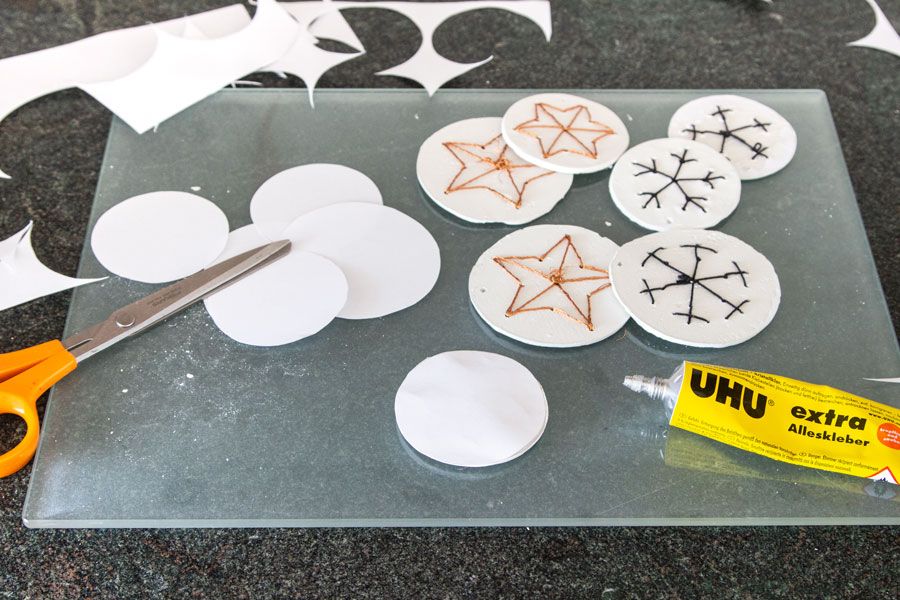
To create a nice backside we lay the circles on some white paper and draw the exact shape on it with the pencil. Cut it out and stick it to the back with some glue. If the paper circle is too big, you can adjust it some more with your scissors. Now all there’s left to do is to attach a hanger with some yarn and it’s done!

You just made your first clay embroidered Christmas hangers! An achievement that you never thought possible – right? Sometimes it’s the tasks that you never thought you are going to do that feel the most satisfying, don’t you think?
These are also great hangers for your Christmas presents. On the paperback you could write the name of the gift receiver… What do you think?
Do you have any other ideas for shapes to embroidered on those Christmas tree hangers? Remember it has to be simple… Let me know in the comments!
Now. Carry on!


die sind ja wunderschön! auch als geschenksanhänger würden sie mir super gefallen. ganz tolle idee, sarah!
oh, danke, nadin! so schön, dass es dir gefällt. 🙂