New home, new interior DIYs. That’s what i promised you but so far I’ve been really neglecting it. This has many reasons, the most prominent one: it’s a new home, not a fixer-upper. So I’m hesitant creating something just for the sake of it. So I’m really looking for ways to make DIYs that I first of all really, really like and second I really want and/or need.
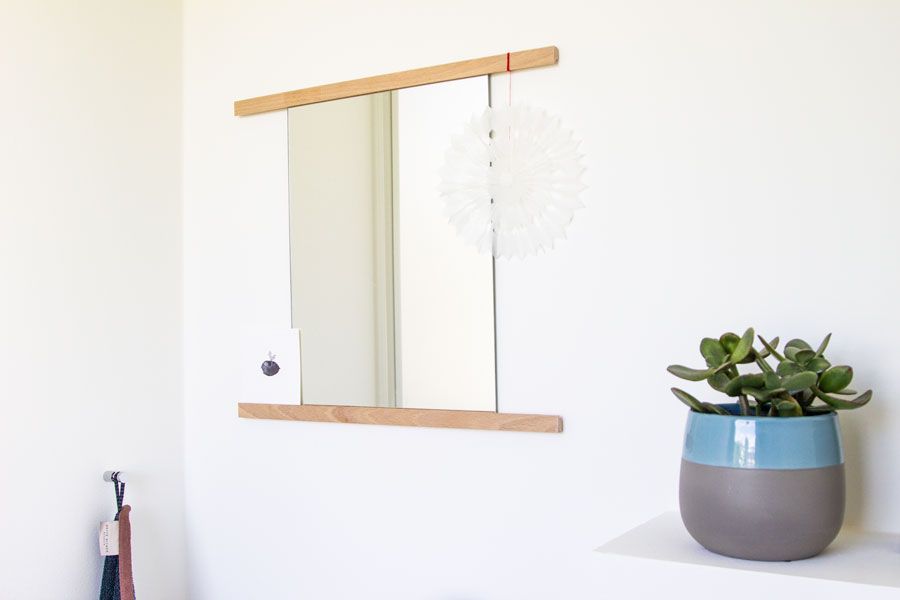
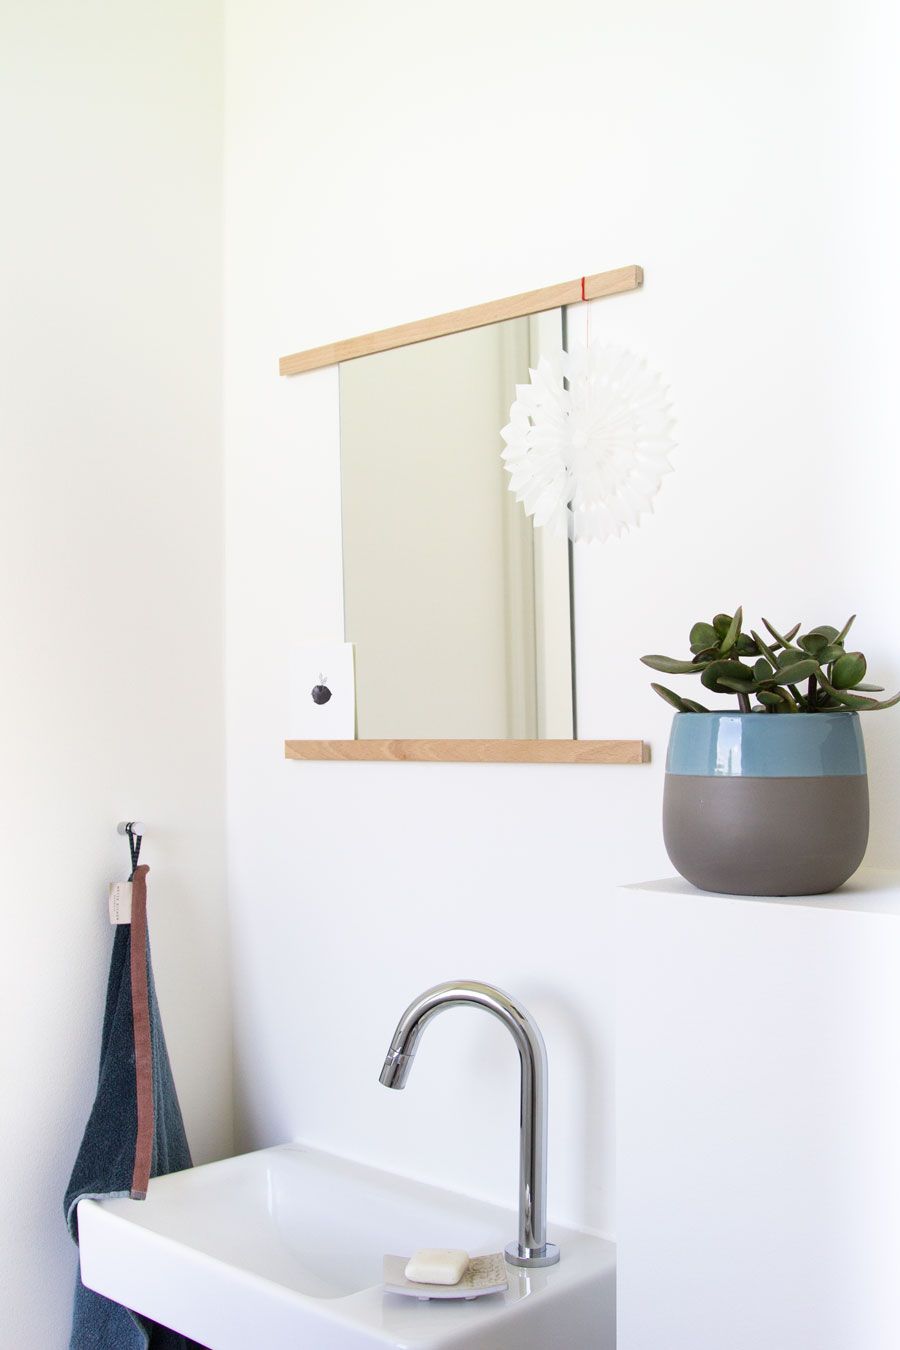
My home office still needs a lot of stuff, but I’m starting with a DIY for our guest bathroom aka guest toilet. We were looking for mirrors for this small room for a long time and the ones we found were either really ugly or very expensive. Mostly both. Since a plain mirror from a hardware store cost nearly nothing, I only needed a halter that goes with the overall theme.
We used a lot of wood in our flat – from the kitchen to the floors and every room has some other wooden element in it (may it be the bed or a shelf), I wanted to incorporate it into the bathroom as well.
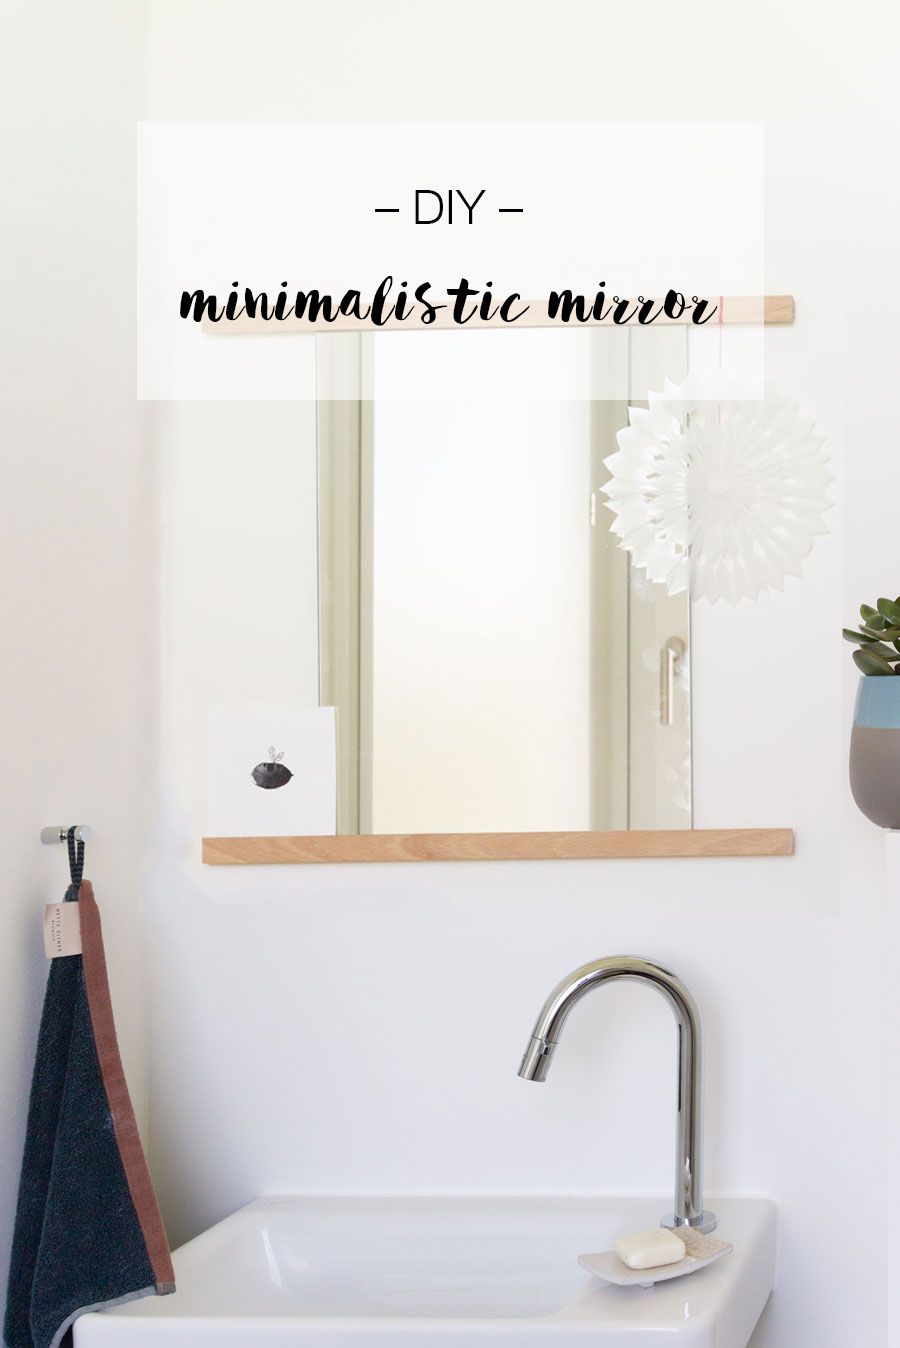
In one crafty afternoon I made this minimalistic DIY mirror. Check out the video at the end of the post to see in detail how I made it.
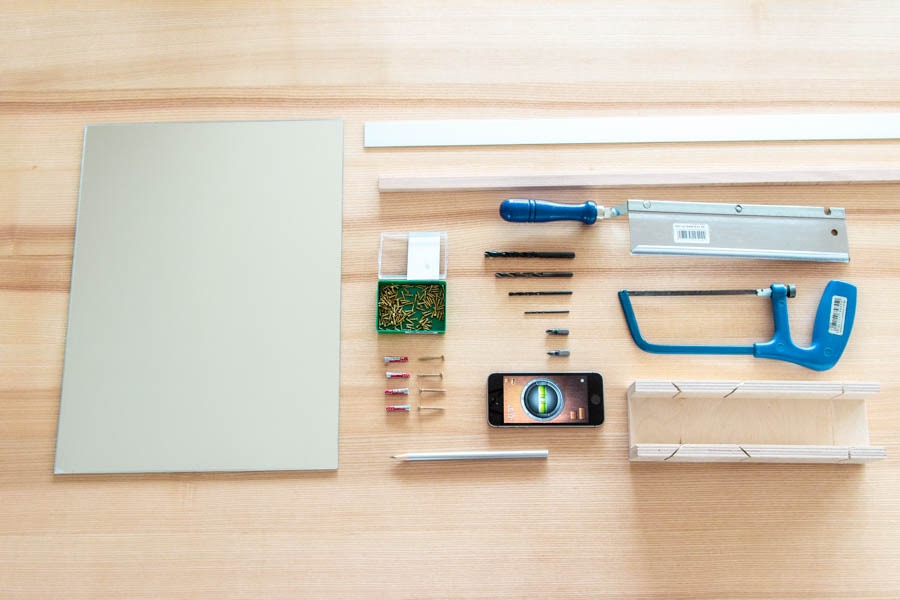
Don’t get scared by the long list of supplies that you need. It’s actually quite easy, I just wanted to make it perfect, so I used a lot of tools – but mainly in a similar way.
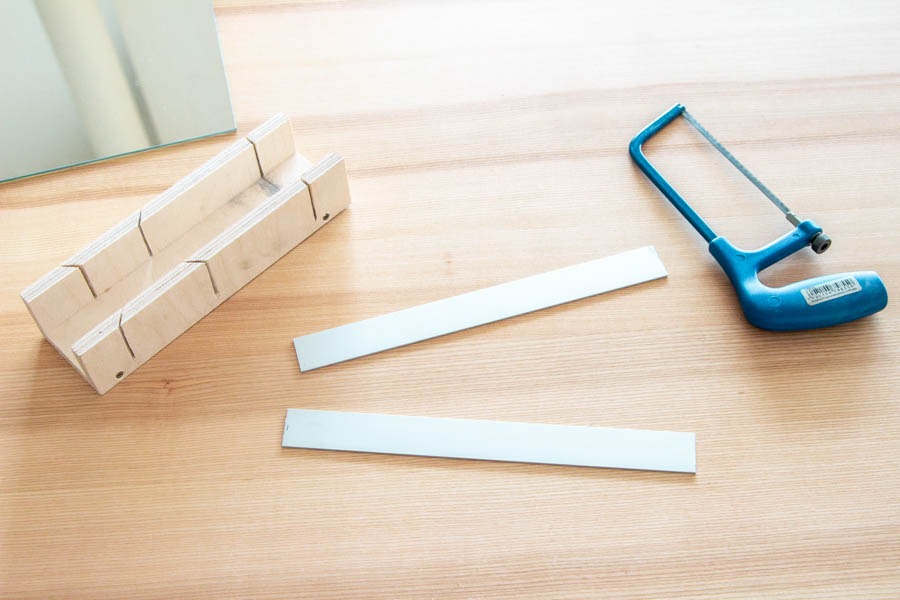
All you need for the DIY bathroom mirror:
- 1 wooden rebate bar
- 1 flat metal bar
- a mirror (mine’s 30 x 40 cm)
- 6 small screws (that are not as long as the rebate bar thick)
- 4 larger screws (to attach it to the wall)
- 4 dowels (that go with the screw)
- a metal drill bit of the size of the small screws (and one a size larger)
- a metal drill bit of the size of the larger screws (and one a size larger)
- a drill bit of the size of the dowels for the wall
- a wooden saw
- a metal saw
- a miter box
- sandpaper
- a pencil
- a level
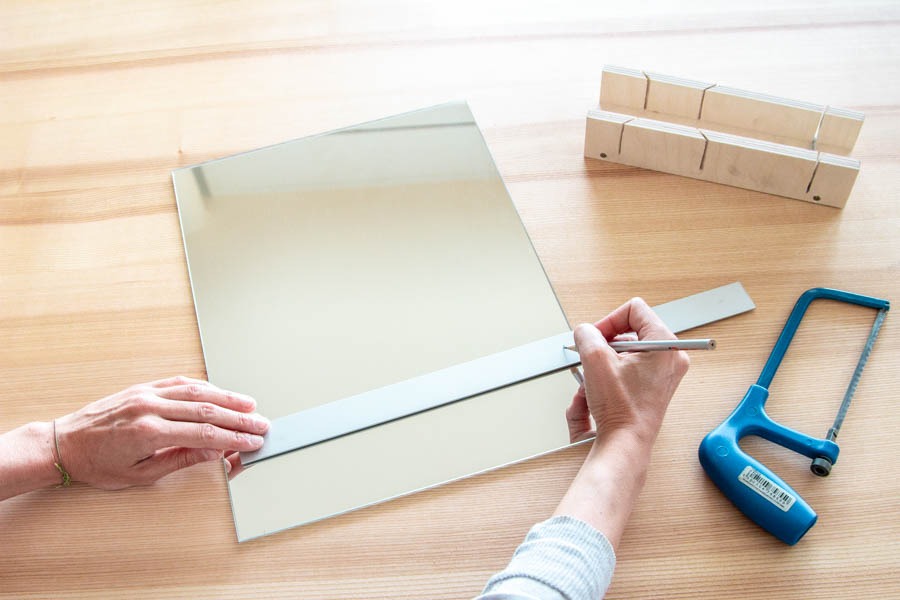
First we need to cut the bars to the exact sizes that we need. For this, take the mirror, the pencil and the metal bar. Mark the metal at about 1 cm into the mirror on both sides.
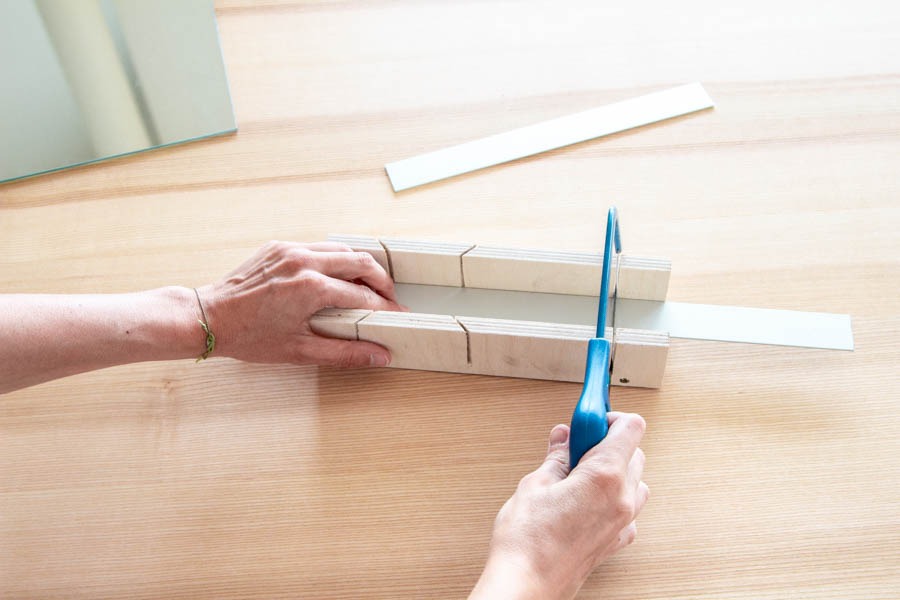
Now take the metal saw and miter box and cut it at that mark. Do this with another piece of the flat metal bar to get two pieces of the same length. Sand the ends to get rid of any metal splinter.

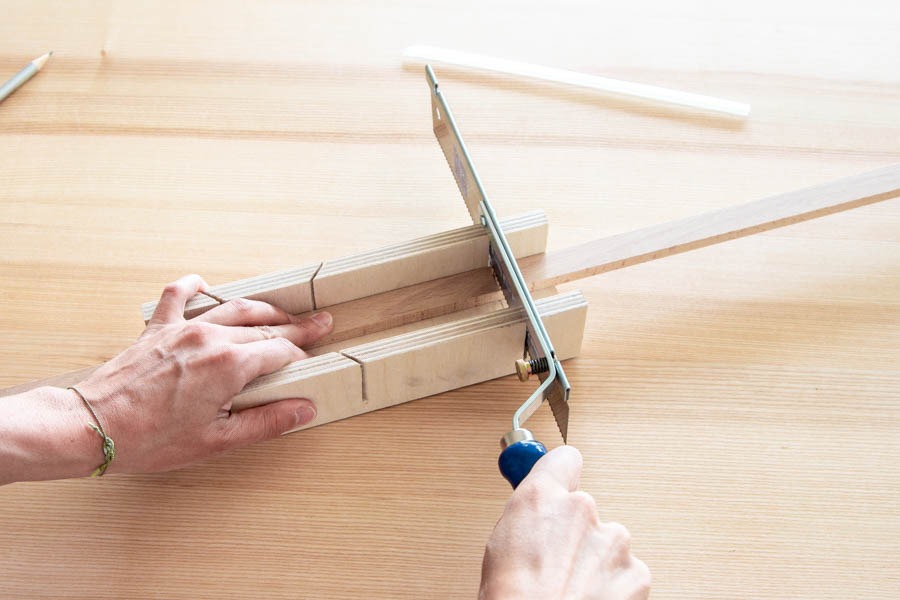
Take the wooden rebate bar and measure the middle. Mark it with the pencil as well, take the wooden saw and cut it at the mark. Sand the cut ends.
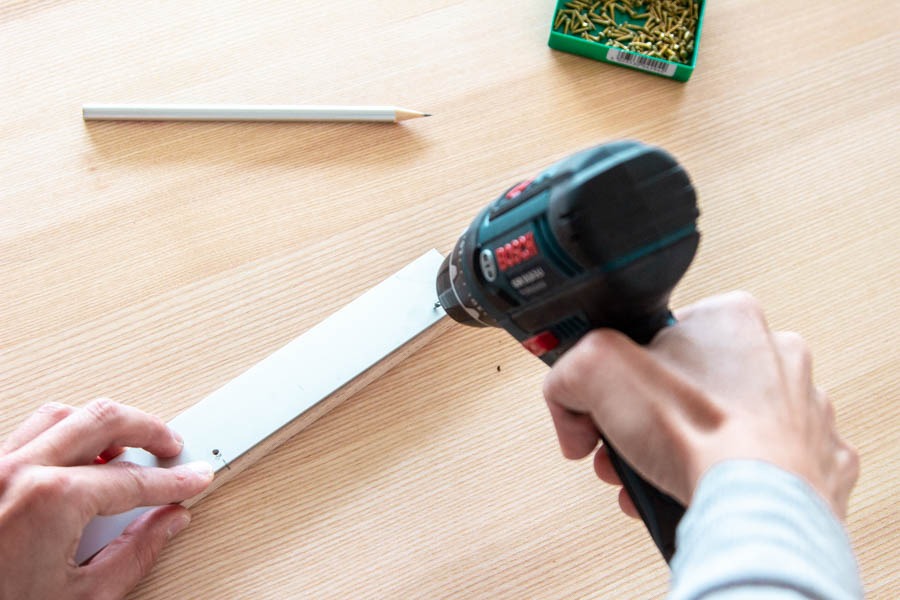
Following, take one metal and one wooden piece and mark the middle on both. Put them on top of each other by their length, where the wood is the thickest. For reference see the picture above.

Drill now three holes through the metal and into the wood (one on each side and one in the middle). Don’t go too far with the drill as we want the tiny screws to still hold in the wood. Take the larger drill and widen the holes on the metal a little, so the heads of the screws have a deepening. Repeat for the second wood and metal.

Take the metal off again and turn it around. Screw now holes on the sides of the metal with the drill for the larger screws (make sure it’s on the opposite ends of the small holes and drill from the other side). Widen those holes as well with a larger drill, to deepen the heads of the screw heads. Repeat for the other metal bar.

Eventually attach the wood and the metal with the small screws. The holder for the mirror is done, we now only have to attach it to the wall.
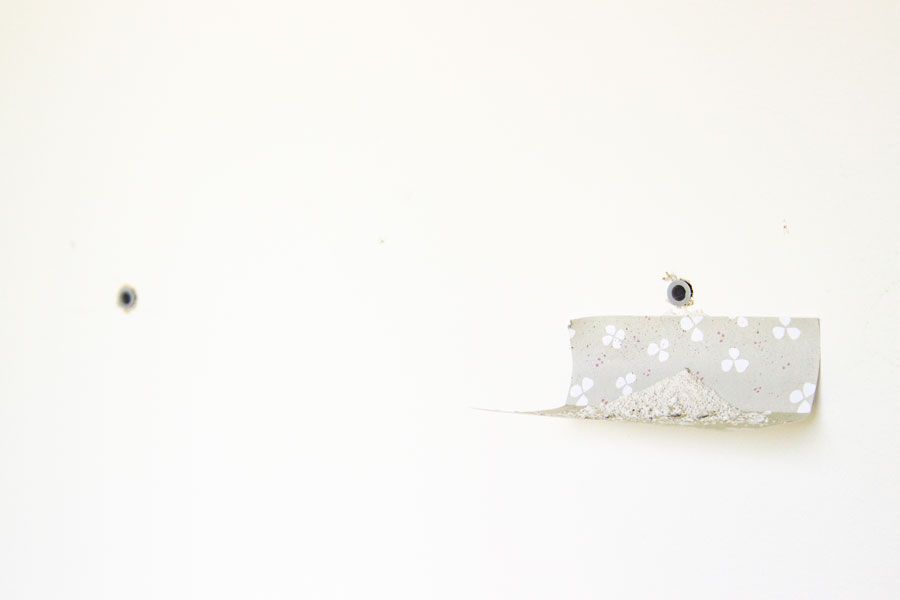
Take the wooden ledge and hold it up to the wall where you want the mirror. Take the level and straighten it out. Once you’re happy with the position, take the pencil and mark the holes in the metal bar.
Pro Tip: Take some postits and fold them. Stick them to the wall under the mark where you want to drill to get a little shelf. This will catch most of the dust when drilling. This means less cleaning!
Drill the holes and put the dowels in.
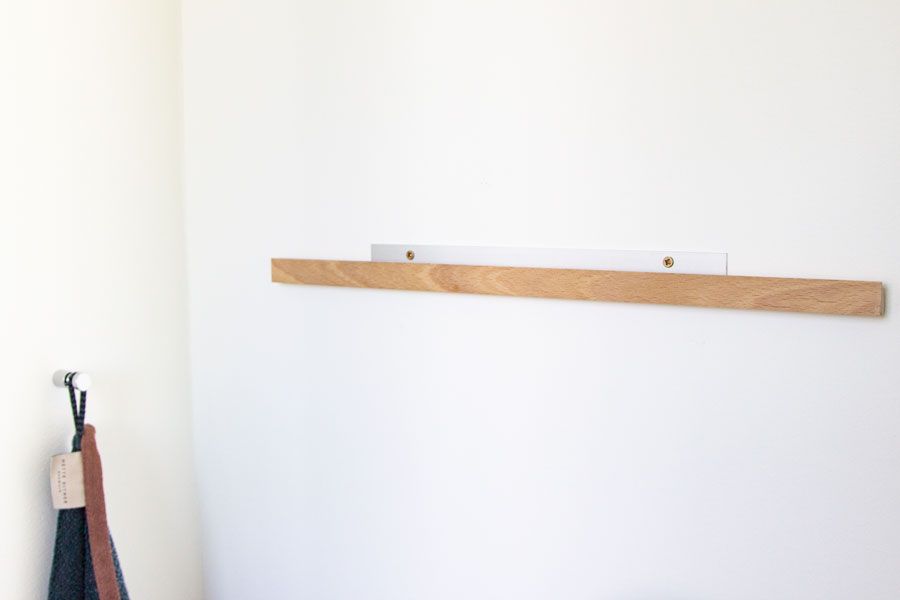
Attach the wooden ledge with the larger screws on the wall. Repeat this step for the ledge on top of the mirror.
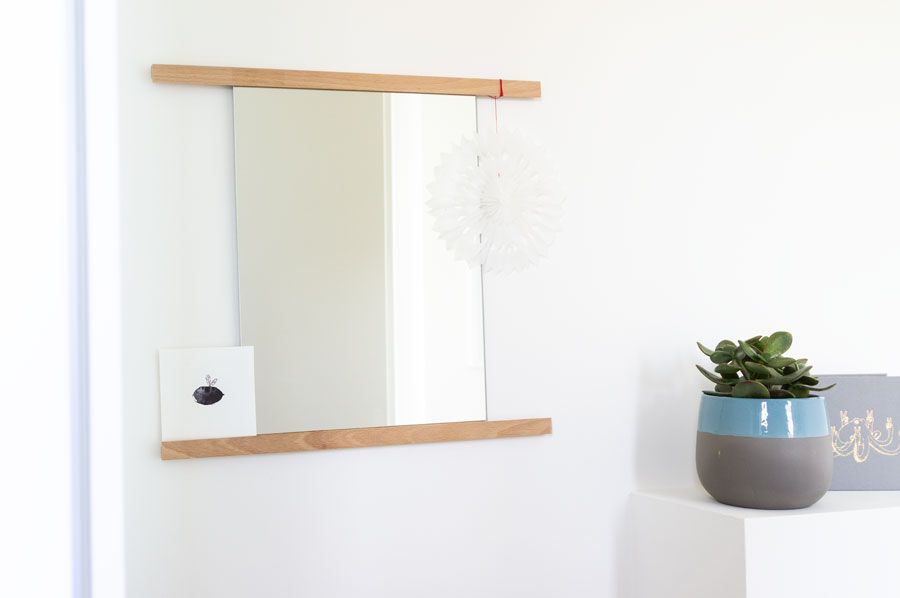
Finish it off by sliding the mirror in from one side and decorate it to your liking!
I’m really happy with the finished work. Maybe I’ll shorten the wooden ledge a little bit but we’ll see. It’s practical and minimalistic – just what I wanted!
As promised, here’s the video showing you just how I created this mirror. Go check it out!
How do you like it? What kind of mirror do you have in your smaller bathrooms? Did you ever search for a specific piece and ended up making it yourself because you didn’t like the options out there? Tell me in the comments!
Now. Carry on!

