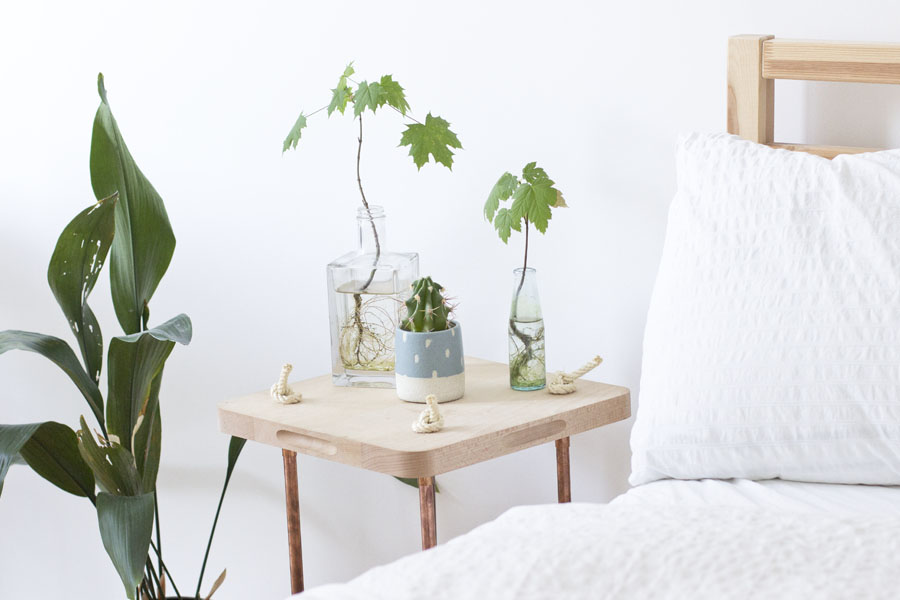
This copper wood side table was a long time in the making. To be precise: it took me years. Ok, that’s over-exaggerated. Maybe a year. First, I had to get all the material which took me a while to find a board that has the right thickness. Only this took me months. Then I went to the hardware store to buy the copper pipes and had them cut it. But because I went there 10 mins before closing time, they didn’t made it as precise as I needed it for a stable table, so I had to cut it at home. With a metal saw. Don’t ask.
But I still wasn’t done: I assembled the table and found out that it’s not working. Read: stand up alright. I was so frustrated after this odyssey that I put all the stuff aside. Moved and took everything with me in pieces and left it that way for months.
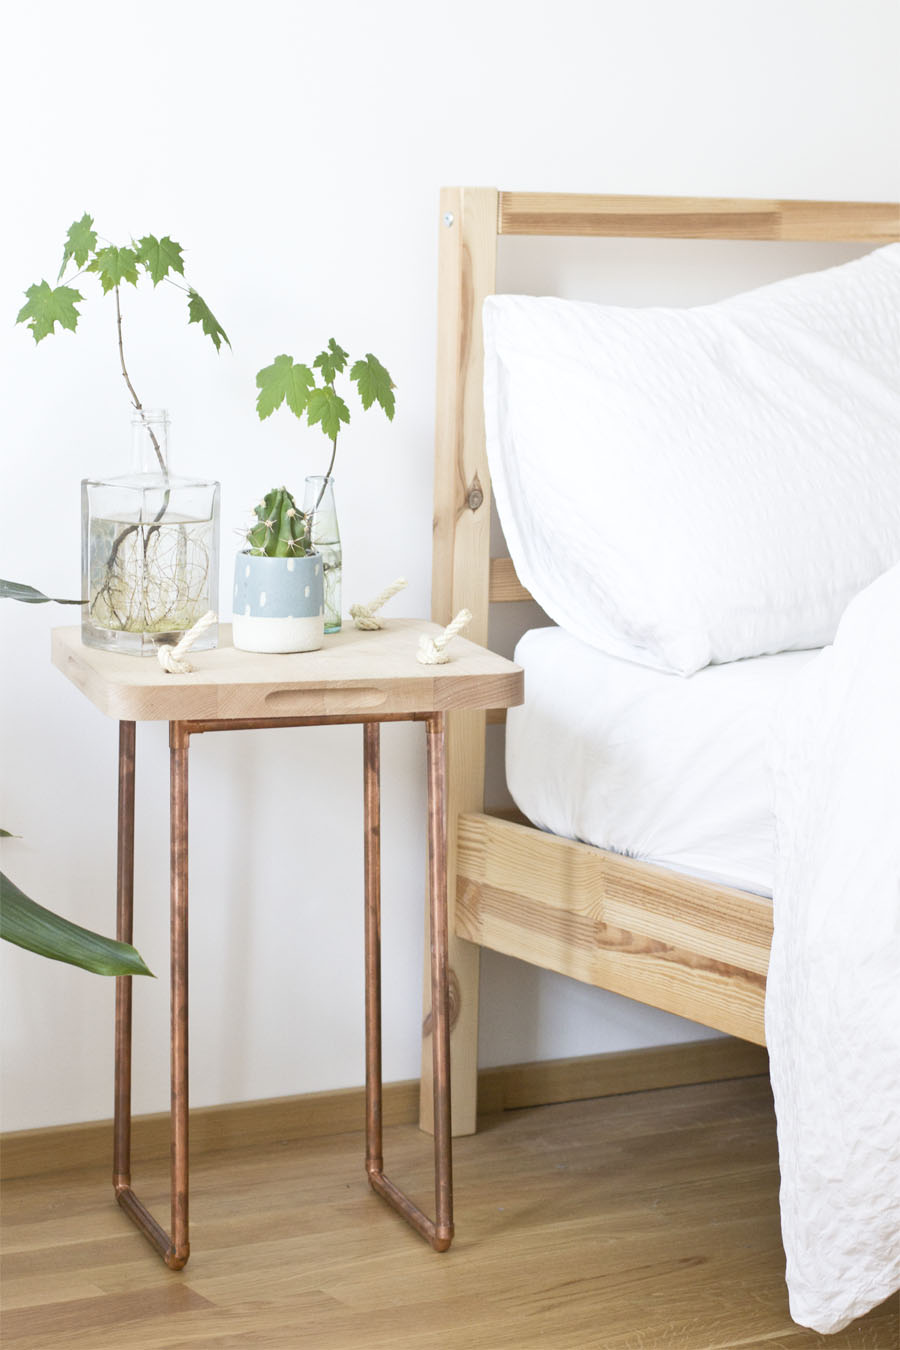
One day (or was it a night?) I had this epiphany that I could use rope to make it stable. Rope! What an idea. I was so motivated but couldn’t find the right one until last week in the hardware store. But again I went there 10 mins before closing time so I couldn’t buy the right one. So this week I went back and made the table in one (cr-)afternoon.
And it wasn’t hard at all! The only thing is that I missed 4 pieces of T-shaped copper pieces in the supply picture. But I guess we can get over this.
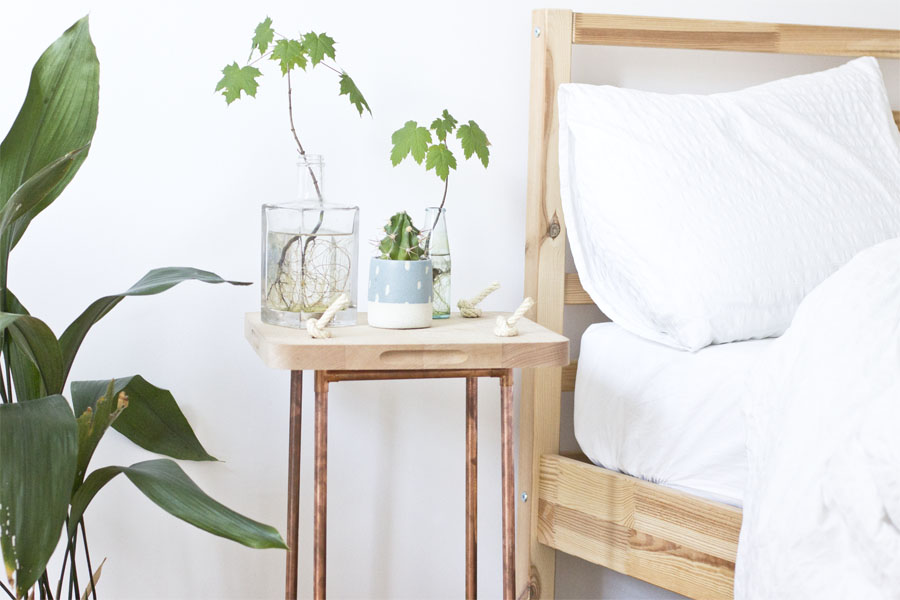
Now let’s celebrate the copper wood side table that has been the result of all of this.

What you need:
- a wood board
- 4 pieces of copper pipe at the length of 75 cm
- 4 pieces of copper pipe at the length of 20 cm
- 4 pieces of copper pipe corners
- 4 pieces of copper T-pieces (not in the picture)
- 2 pieces of rope at the length of 2 m each
- strong glue
- a power drill with a drill the thickness of the T-pieces
- a pencil
- tape
- a tongs to cut the rope
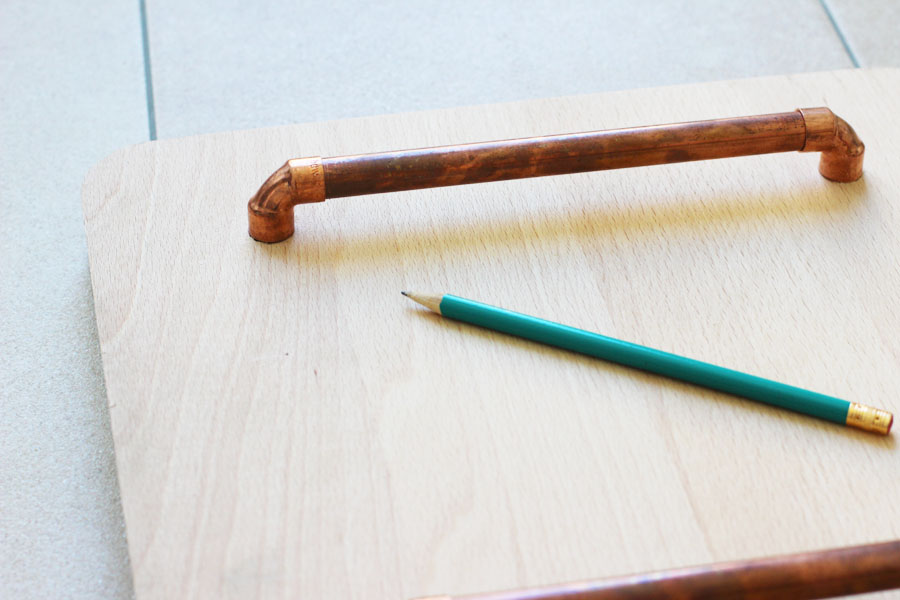
First mark where you need to drill the wholes. It should be a square with 20 cm copper pieces fitting into it.
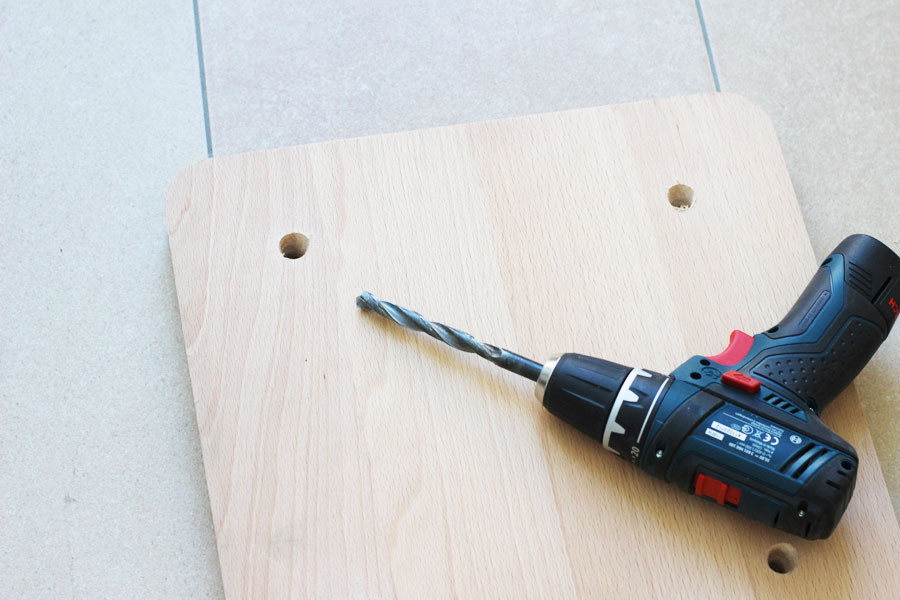
Drill the holes making sure the T-pieces fit into it to about the depth of 1 cm.

Put a little glue into the holes.
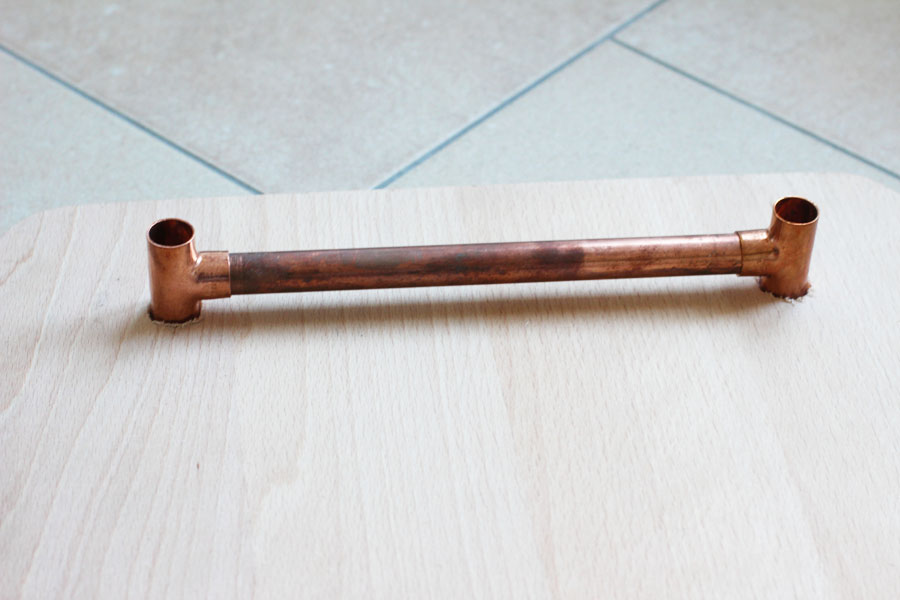
Put the T-pieces and 20 cm copper pipes into the holes.
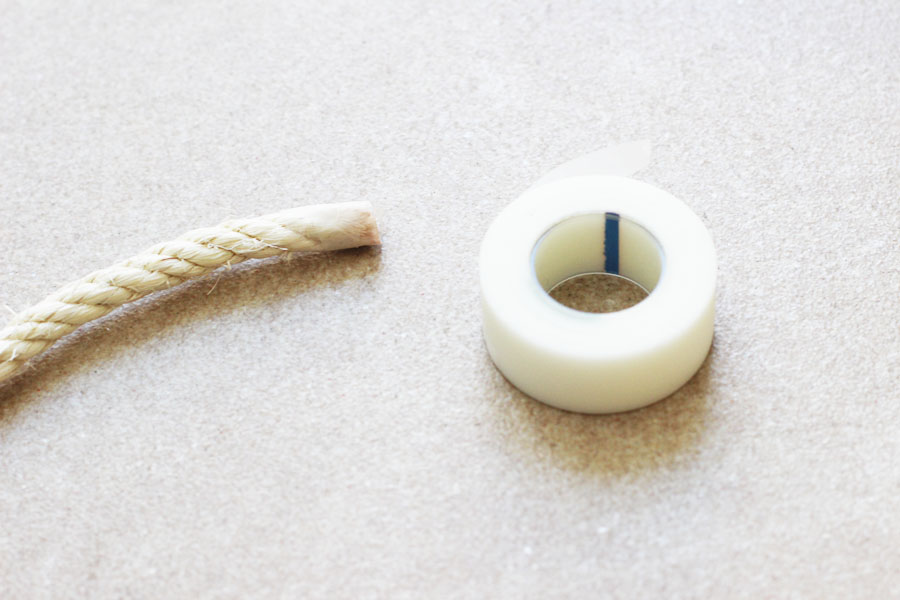
Take the tape and wrap it around the ends of the rope.
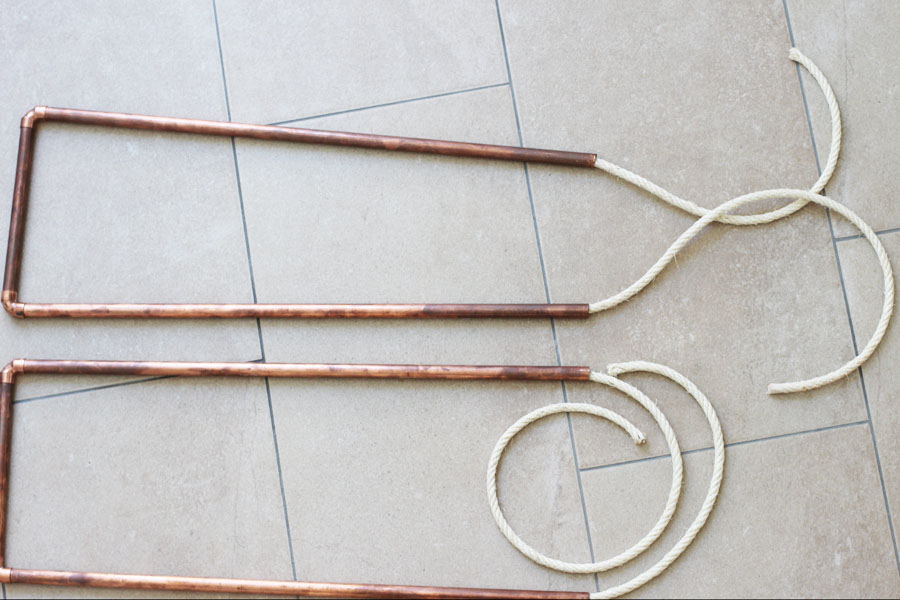
Now assemble the other copper pipe pieces with the rope as seen in the picture above. The tape makes it easier to thread it through.
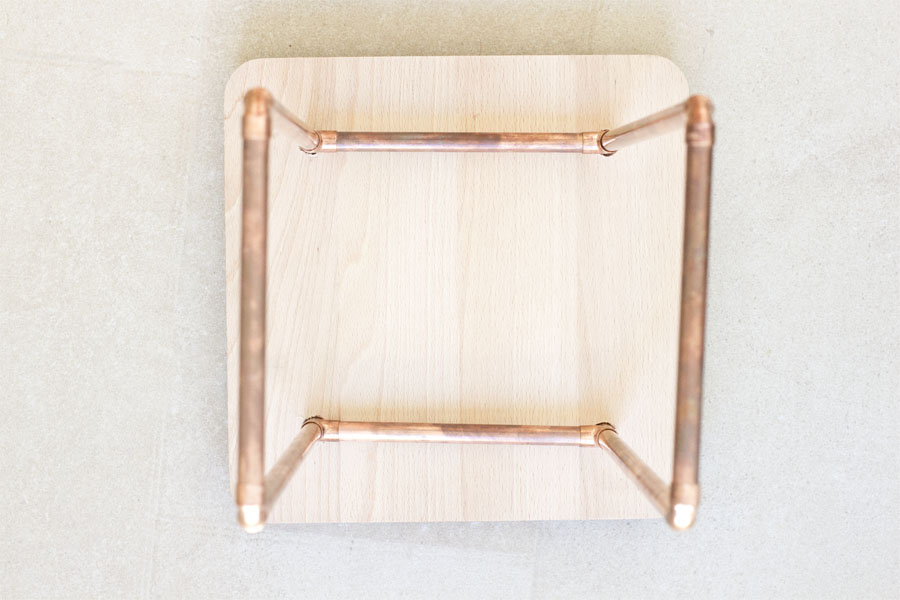
Pull the ends of the ropes through the copper and board you already assembled. Make sure the 20 cm pipes go all away around like in a square.

Tie a knot on the top of the board and voilá! That’s it!

It’s not the most stable table there is but it holds up alright. I use it to display some of my plants and they look awesome! The smaller the legs, the more stable it is though!
It’s also a great bedside table as you can see. It might go really well with my copper cement lamp…

Can you tell me a story of something that was a long time in the making? Anything that’s still not finished (I have plenty!)? Let me know in the comments!
Now. Carry on!


This absolutely adore this side table. Thank you!
How did you do those exposed root plants? Do you have a tutorial for them?
Hey Tanya, those are real young maple trees that I took from the woods in Spring (that’s when there roots are small and they’re easy to pull out) and they’re still going strong! You can read about them in this post: https://look-what-i-made.com/2016/05/01/currently-on-display/
I hope this helps!
Unfortunately you have to wait until next Spring before you can make your own.
Huhu liebe Sarah 🙂
Ich bin schon lange eine begeisterte Leserin deines Blogs *-* Du hast immer so tolle Ideen und Projekte!
Und dieser Nachttisch landet geradewegs auf meine To-Do-Liste – ich bin entzückt 🙂
Vielen Dank für die Inspiration!
Hab noch eine schöne Woche und alles Liebe,
deine Rosy ♥
Hallo Rosy, das ist so lieb von dir! Freut mich sehr! 😊
[…] when an idea finally works after going through some troubles. Like with these storage jars or with this copper side table. They are now my favorite DIY […]
[…] Via Look What I Made […]
[…] Copper wood side table by Look What I Made – 6. Ladder shelf shoe storage by Design […]
[…] liebe Sarah von Look What I Made hat für ihren Beistelltisch Beine aus Kupferrohren gemacht, ebenfalls eine super Idee, die großartig […]
[…] Look What I Made. […]
[…] Look What I Made. […]
[…] GET THE TUTORIAL: DIY Copper Wood Bedside Table […]