If you follow this blog for the past year, you might know how much I’ve been longing for a balcony. It finally happened and besides the weather not playing along, I’m happy as a four-leaved clover! It’s not all set and done to reveal it to you yet but I’m working on it.
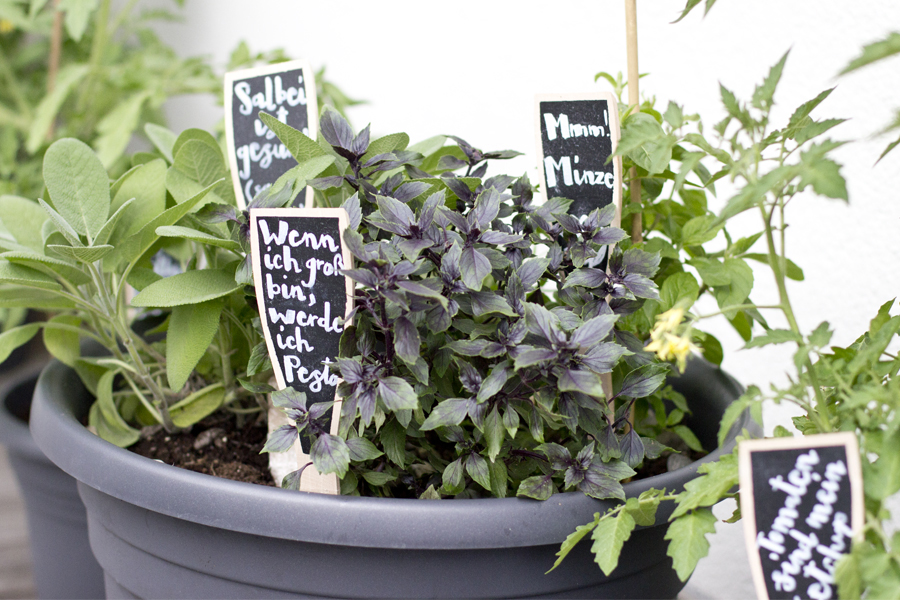
Part of it is the herb and vegetable garden my boyfriend and I are working on. He’s responsible for the hard work aka planting and watering and I’m responsible for the really important work aka aesthetics. Part of this I made some cute wooden herb labels.
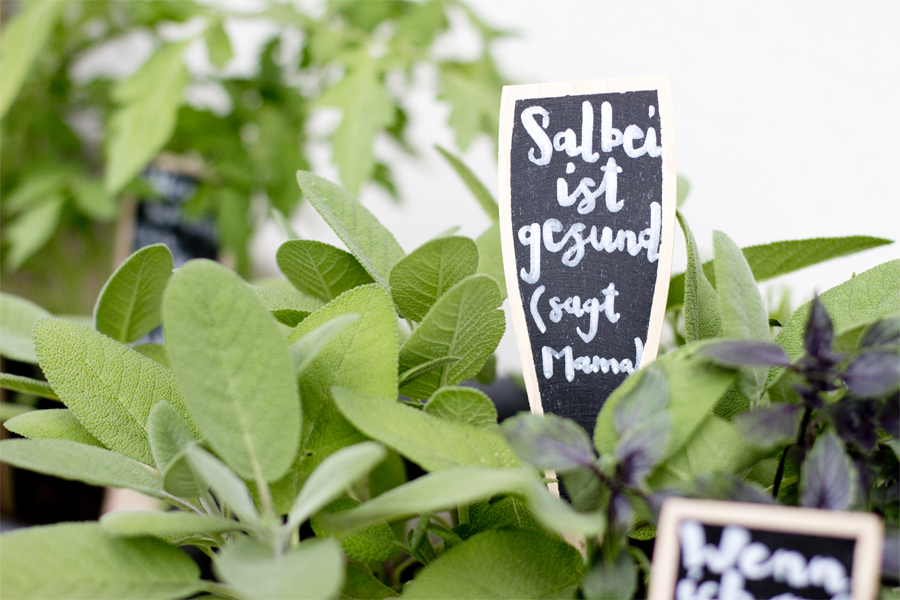
You can find the whole tutorial (in german) over on Alpenwelt Magazin with lots of pictures that guide you through the process (for english speakers, and there’s google translate too if you need help).
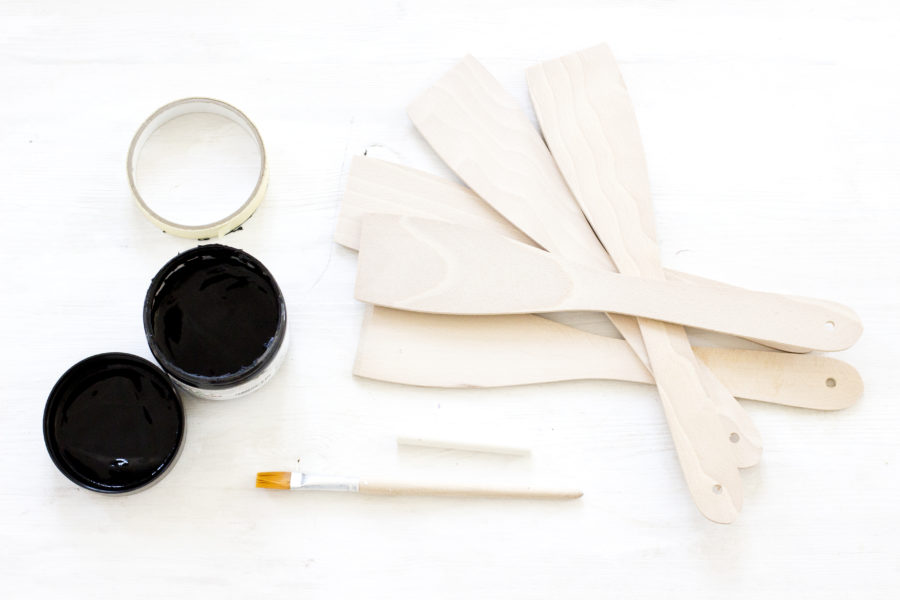
What you need for your upcycled herb labels:
- flat wooden spoons
- chalk paint
- a brush
- painter’s tape
- chalk
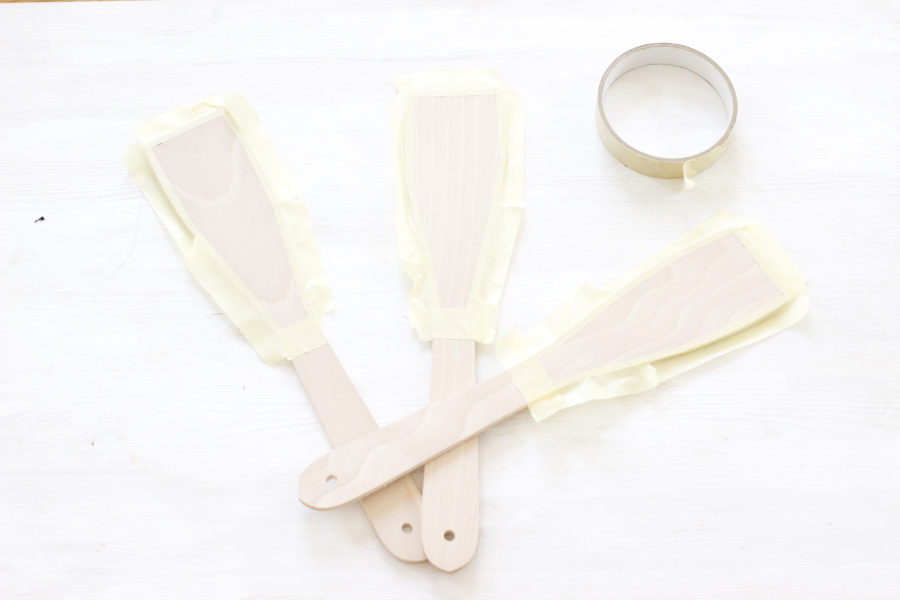
Take the wooden spoons and stick the painter’s tape around the spoons. It looks more professional when you leave a little space around the black chalk paint.
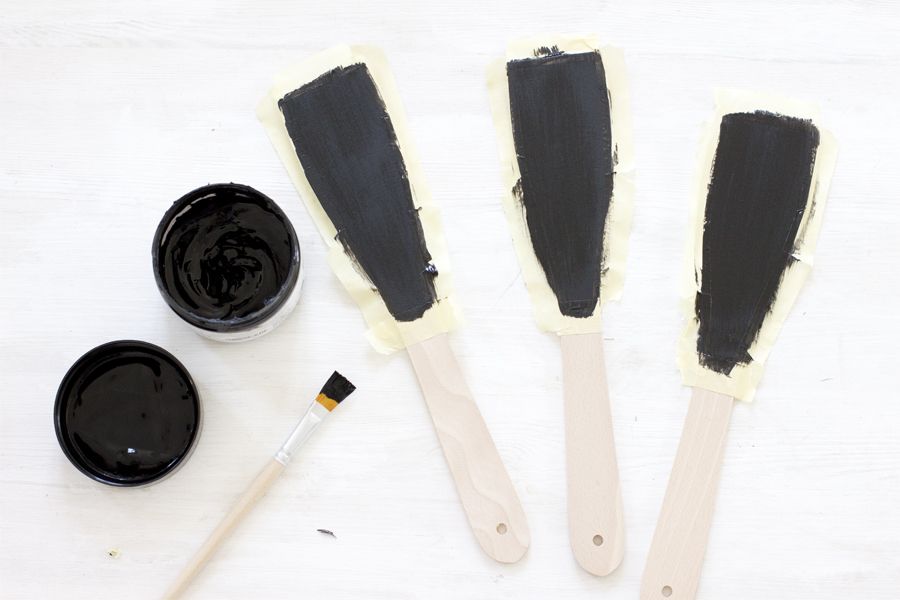
Once they are prepared, paint the inside with the black chalk paint.
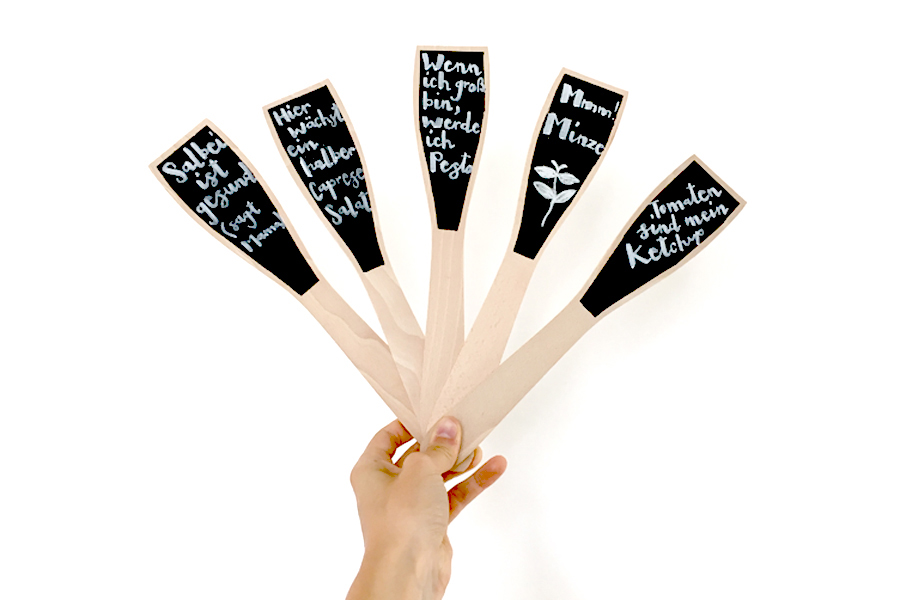
Let it dry completely and write something funny on it like I did (it’s in German but translated it would be):
- When I’m grown up, I’m going to be pesto.
- Here grows half of a Caprese salad.
- Sage is healthy (says mum).
- Tomatoes are my ketchup.
- Mmmmm! Mint!
And that’s it. I did wrap a little cling film around the bottom where I put it into the wet soil to keep them safe from rot.
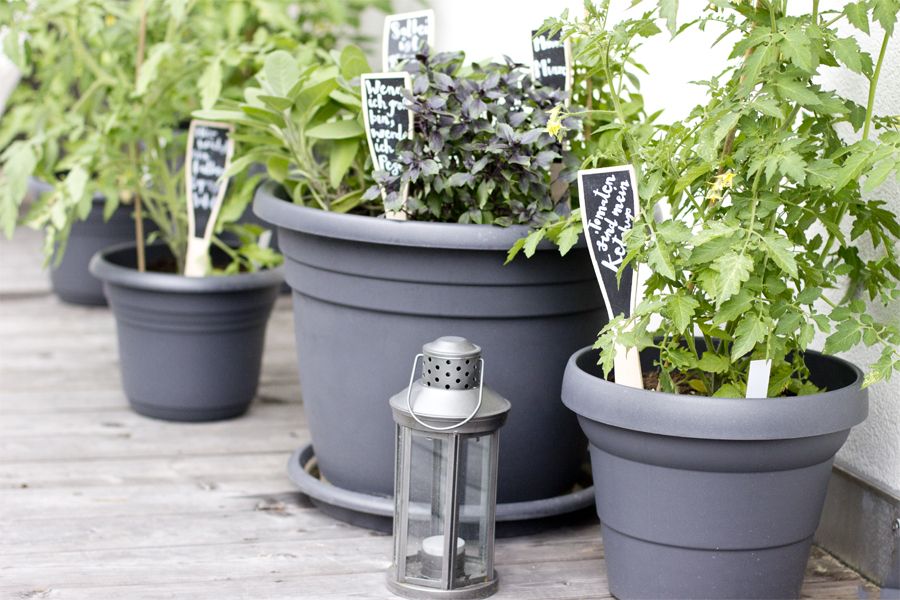
Aren’t those cute? I didn’t settle for the name of the herb but rather a saying that reminds me of it’s purpose. What would you write on it?
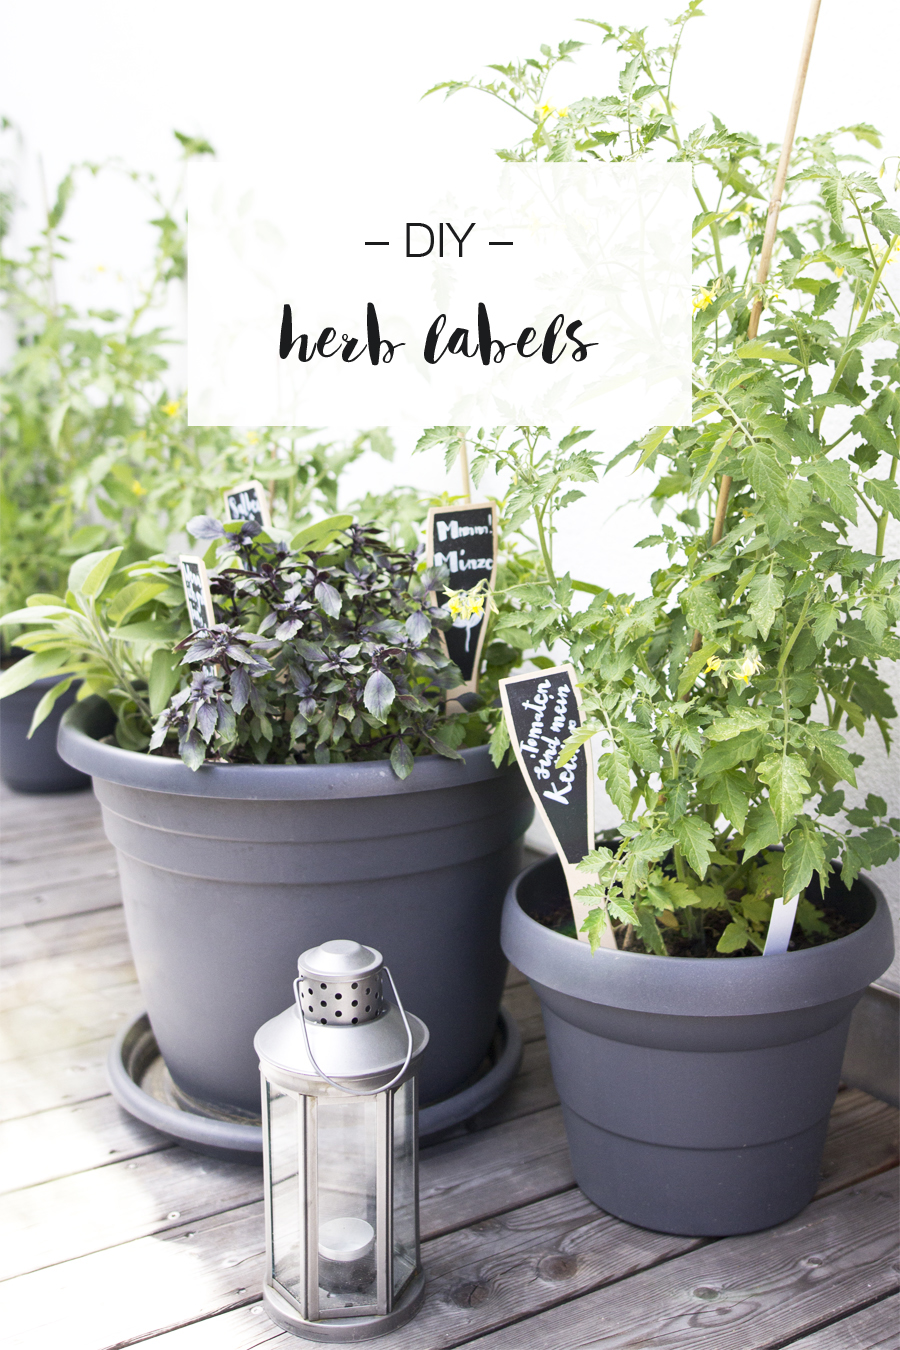
Sponsored by Alpenwelt Versand.
Now. Carry on!


[…] 6. Blackboard Herb Labels by Look What I Made […]
[…] I also reused the herb labels I made last year. It always makes me so happy when I can pull things that I made back out and re-use it. You can make your own with the tutorial I showed in this post. […]