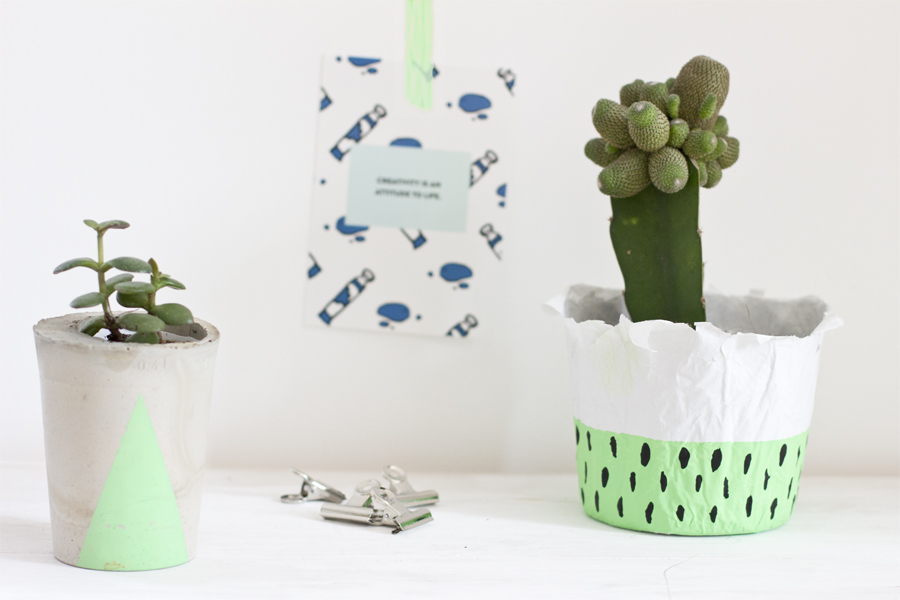
Spring gets me all excited about plants and flowers. How about you? How many plants can you see from where you sit? If it’s more than 16, you won! If not, maybe this DIY will make you want to buy one more.

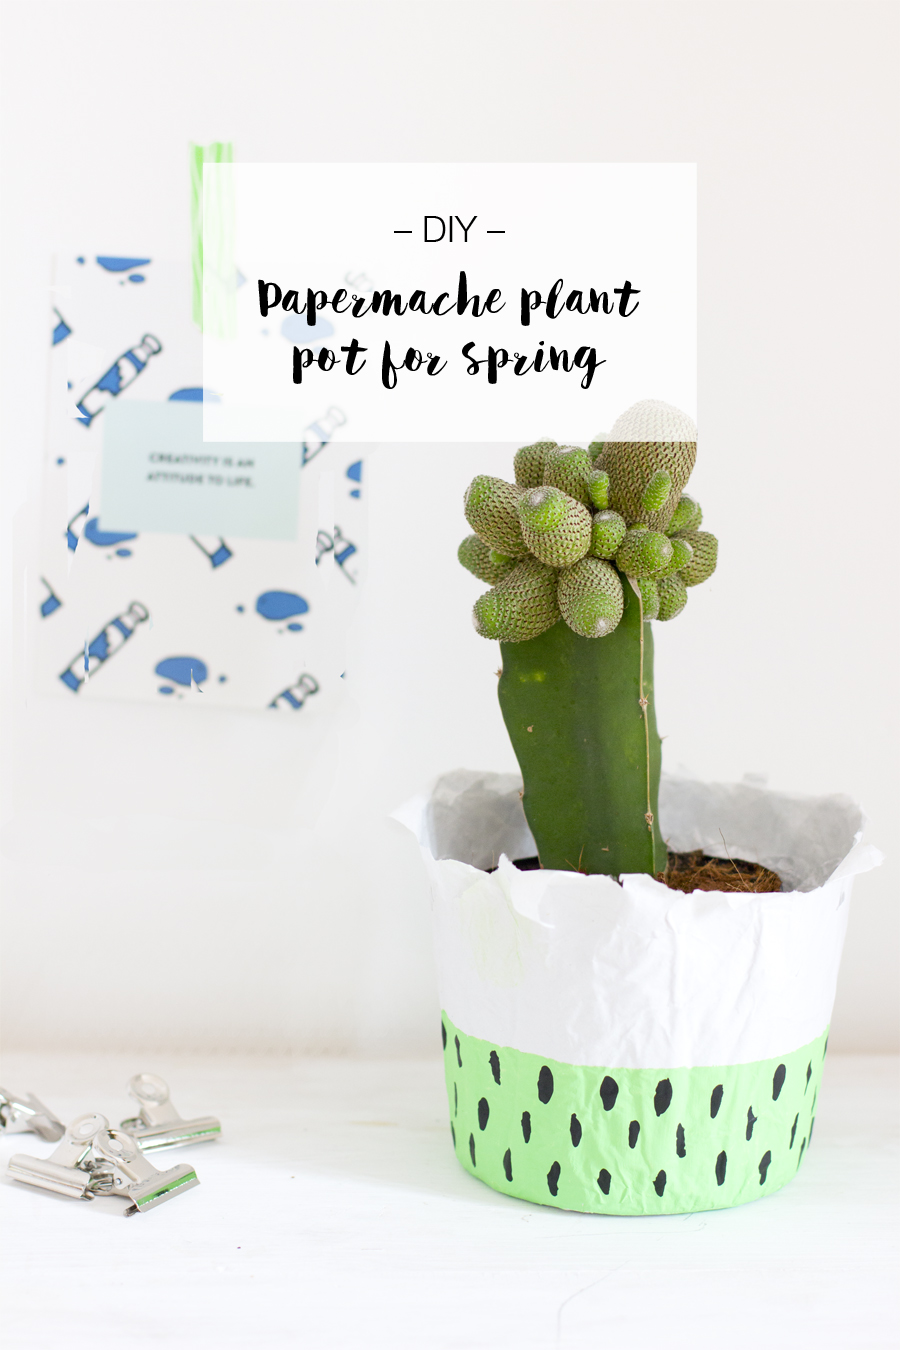
Isn’t this DIY paper mache planter cute? The color is so refreshing. It’s called May Green and it may be already May looking at the trees outside. (Yes, I did think about that sentence for a while – my creativity doesn’t stop at the DIYs!)
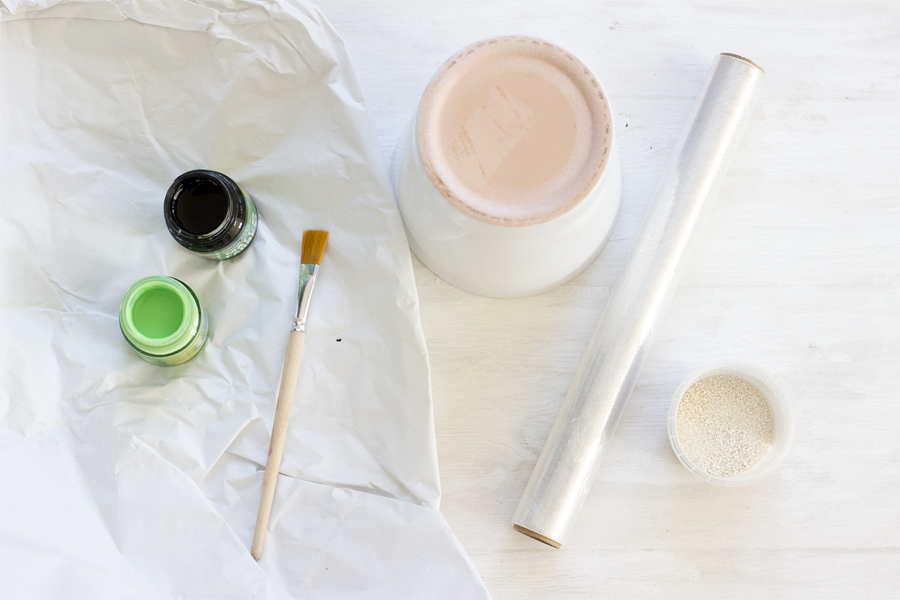
All you need is:
- paper
- a pot
- cling film
- goo
- light green color
- black color
- a brush
- tape
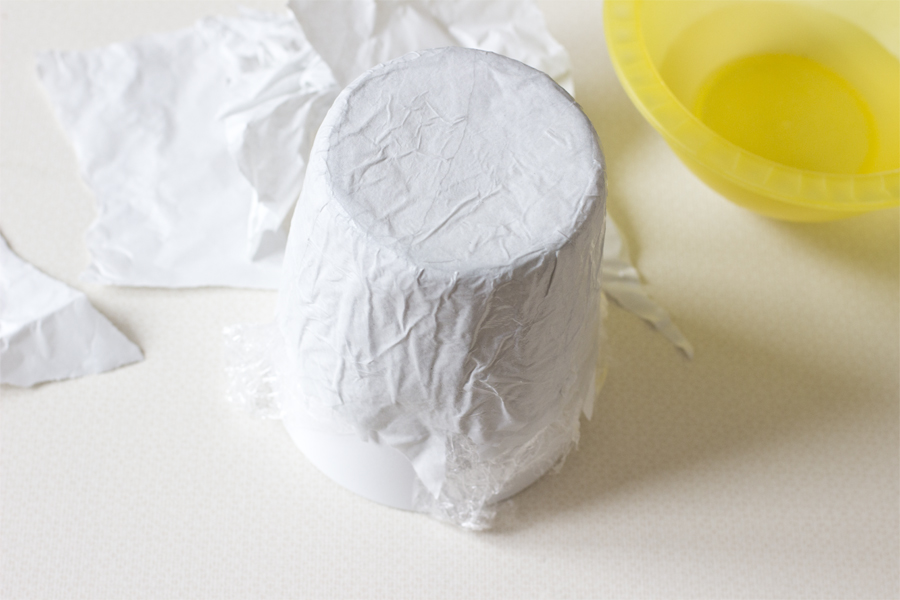
Wrap the outside of the pot with the cling film. Stir the goo if you just have powder. Now rip the paper into pieces. Glue the paper cuts to the pot with the goo. Make the top a little fringy – this will look especially cute.
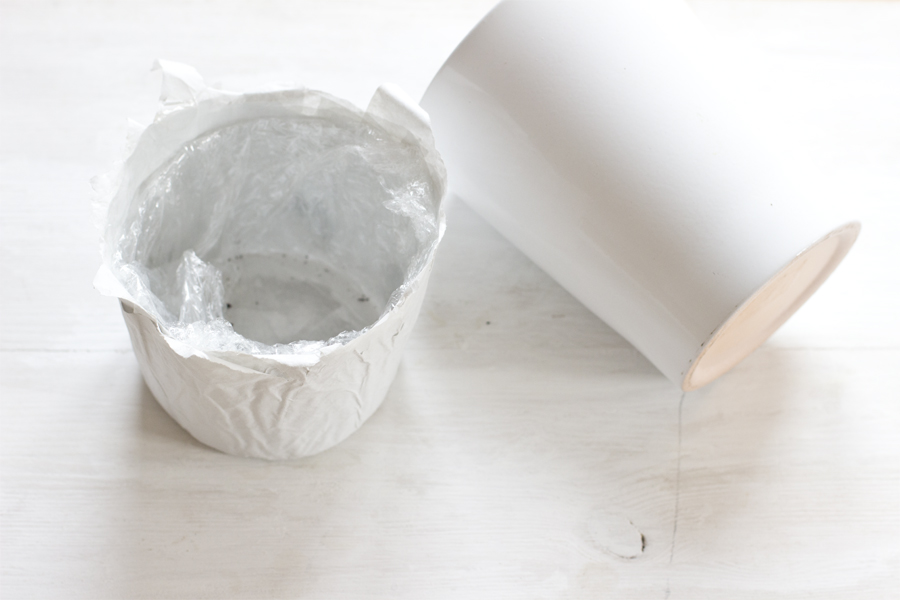
Once all the paper is used up, let it dry completely.
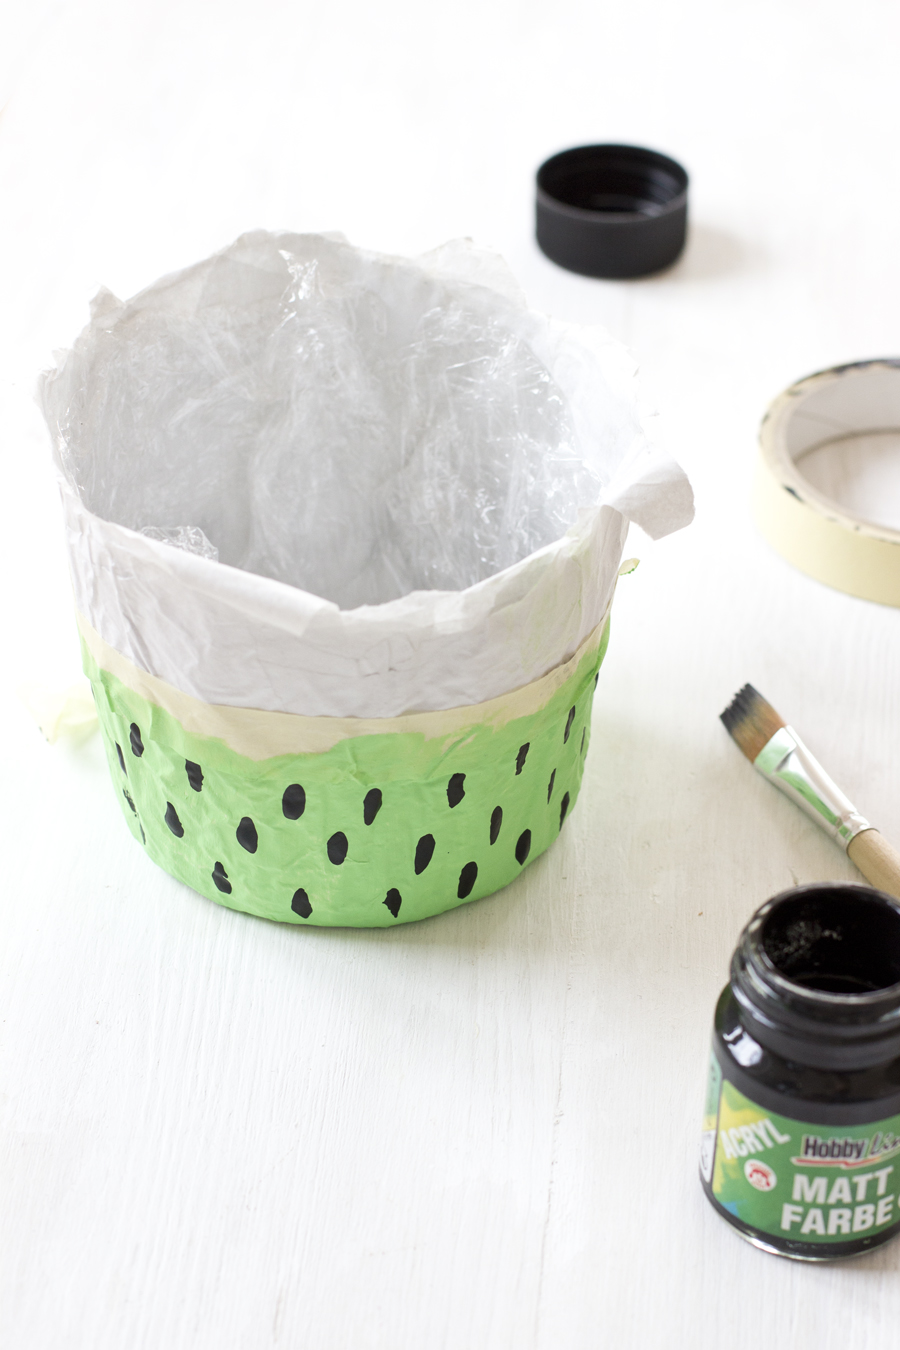
Wrap the tape around the half of the paper mache planter and paint it green. Add the black dots once the green color is dry.
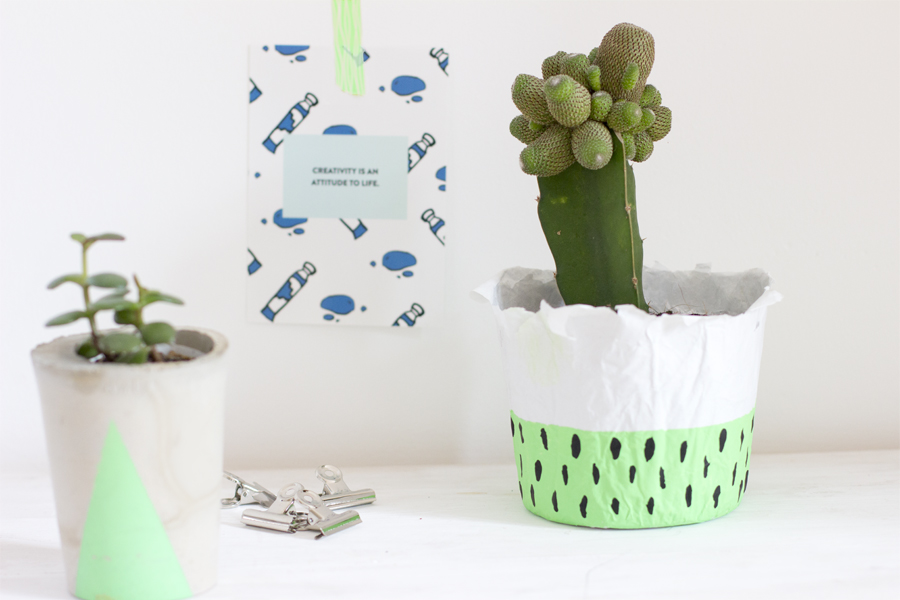
Now look what I made: my little cactus has a new home!
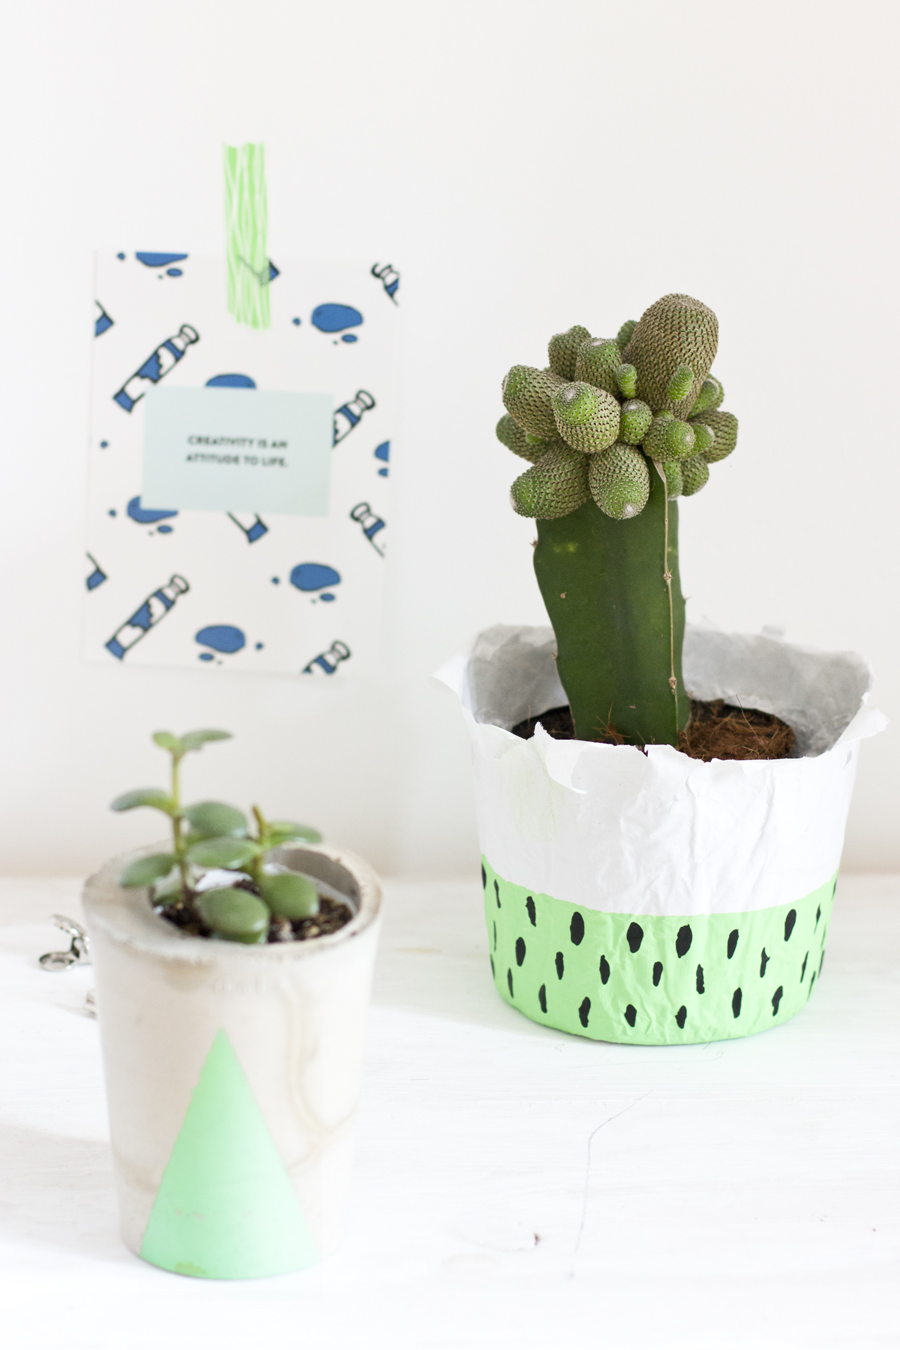
This post card is from the finished book of my good friend Monika. You might remember her from here. You can buy her book about how to turn your creativity into money on amazon.
What are you working on these days? Any project to share? Then use the hashtag #lookwhatimade_diy or #lwim_diy on social media for me to see.
Now. Carry on!


This looks sooo cute!!
Thank you so much, Kim. I love it too and it’s so easy to make. Those are the best projects, right?! 😊