On Pinterest I already collected a lot of pins on embroidery. Since I made this Ikea hack, I was looking for other ways to use stitching in new and different ways. But of course I wanted to make something that I wanted to use. Finally I found an occasion or better: an excuse. I already bought the present for one of my sisters birthday in August (yeah for being super-organized!). And to even step up my game of being uber-organized I was looking for some packaging – and of course something that doesn’t need to be thrown away.
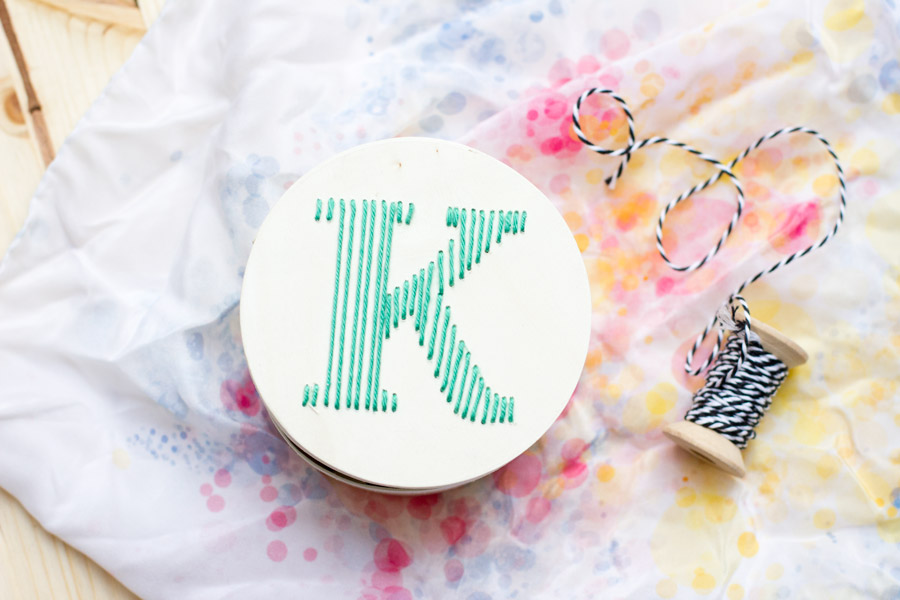
So I made this embroidered wooden box with the initial of my sister’s name. Isn’t it cute? Unfortunately a little small for the actual present but it’ll work. Just make sure not to make my mistake as well. 🙂
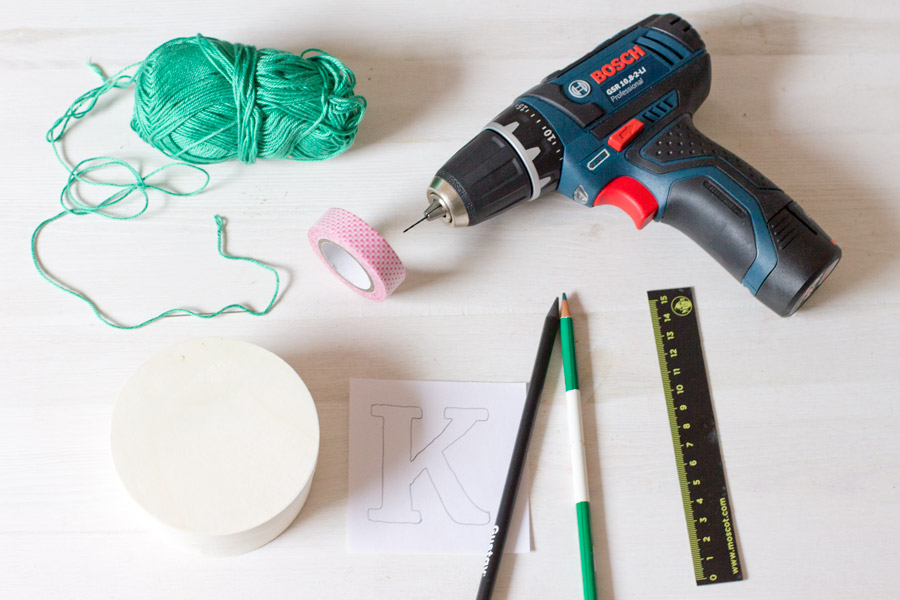
All you need is:
– a wooden box
– thread
– a needle
– a drill
– paper
– pencil
– a ruler
– washi tape
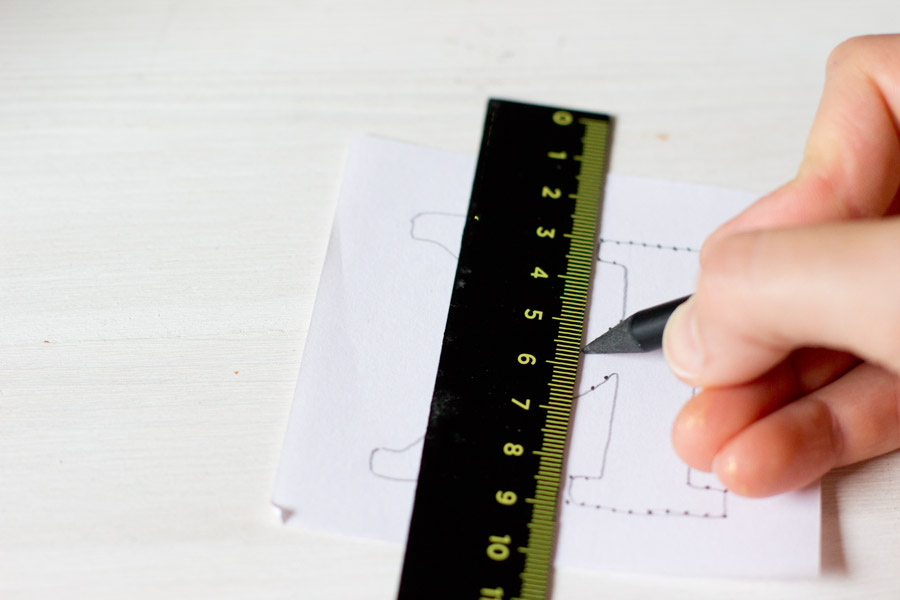
Make a template by printing the outline of a letter on a paper. (If you are more lucky than me and your printer just didn’t break down the minute you wanted to print this.) Now draw dots on each sides of the letter where you will have the holes for stitching the wood. Make sure each hole has a counterpart.
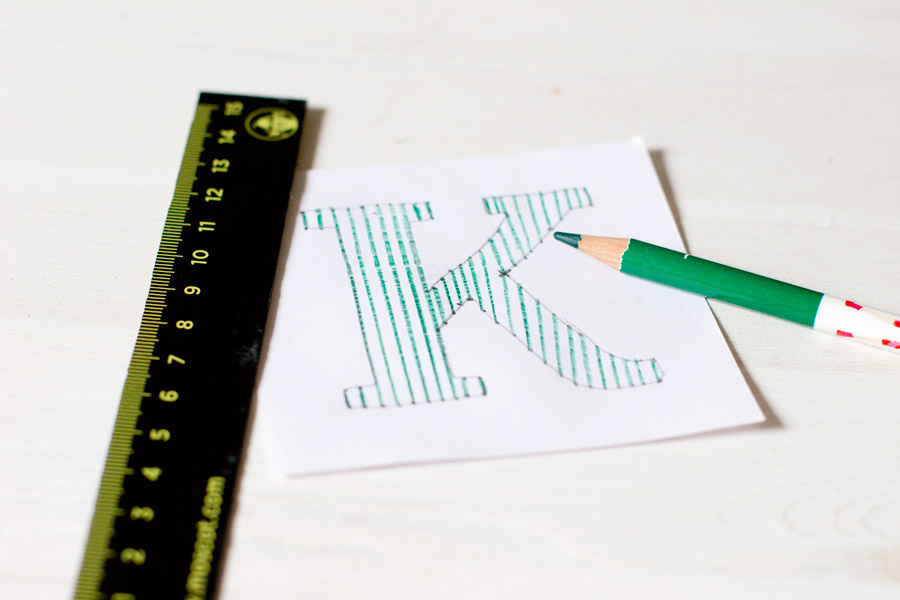
To see if the letter will turn out nicely when embroidering, draw lines between the dots. It should turn out like in the picture above. If you wonder why there’s a x in my picture: there is where I will have to drill a bigger hole because I will use it twice.
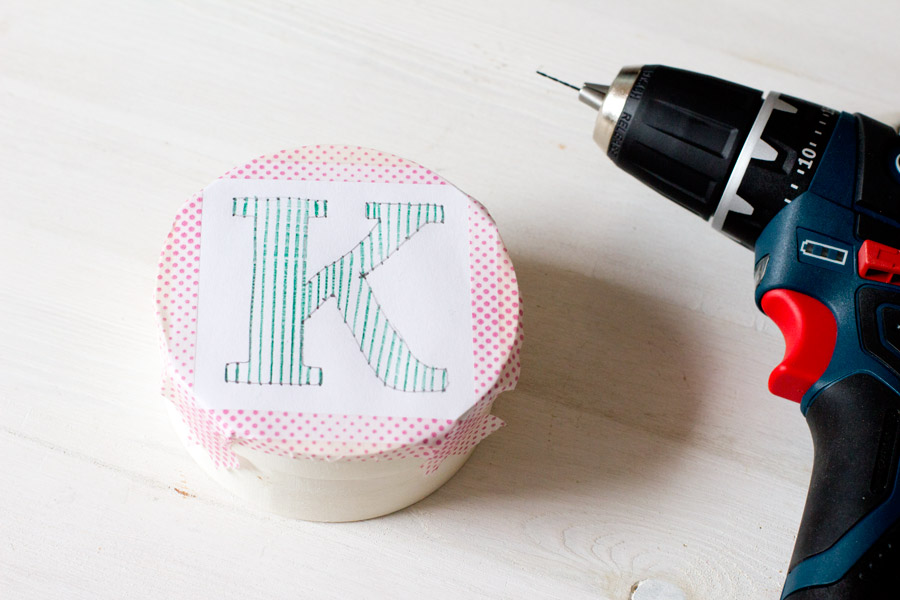
Now stick the template to the lid of the wooden box.
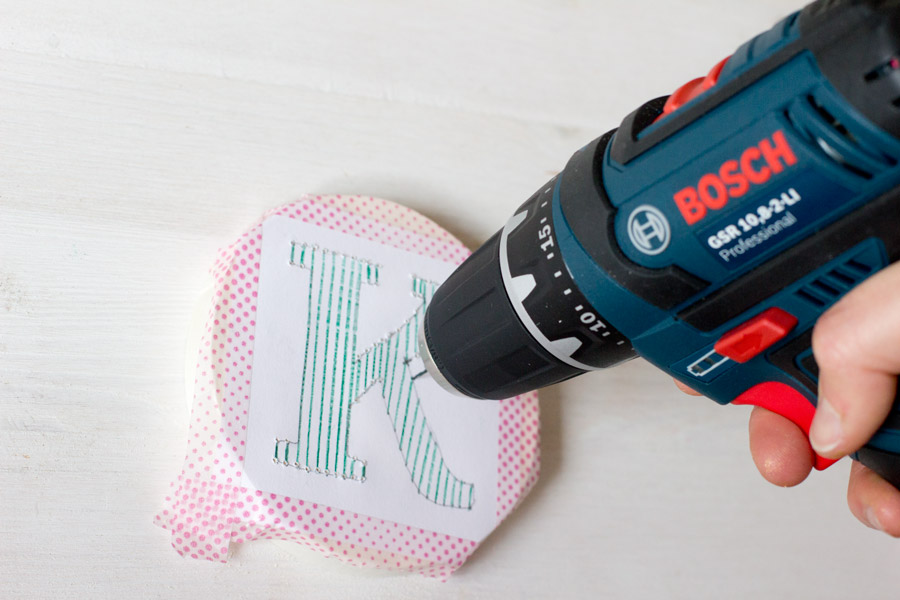
Take the drill and drill little holes where you drew the dots.
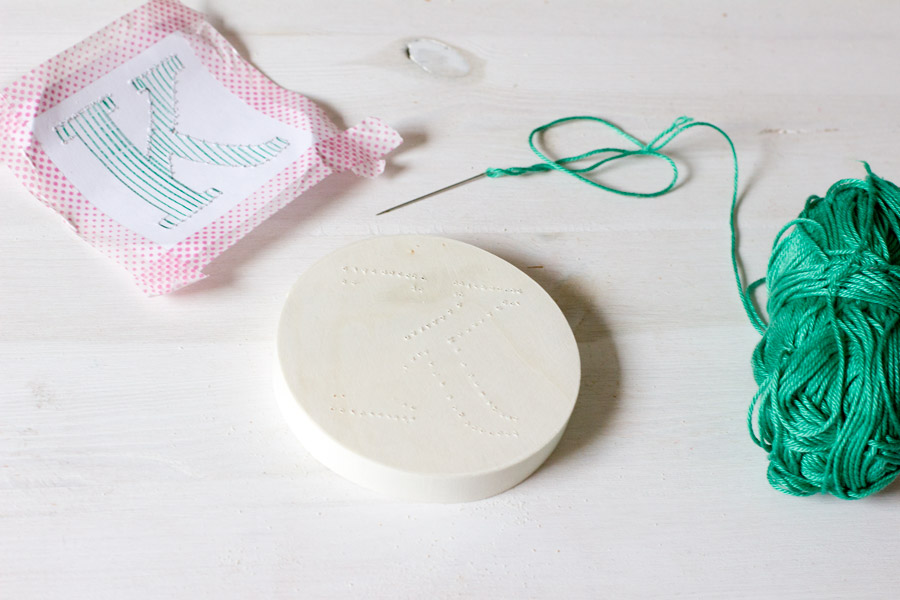
Take the template off and it should look something like this. If you chose the letter I – good for you! You’re almost done!
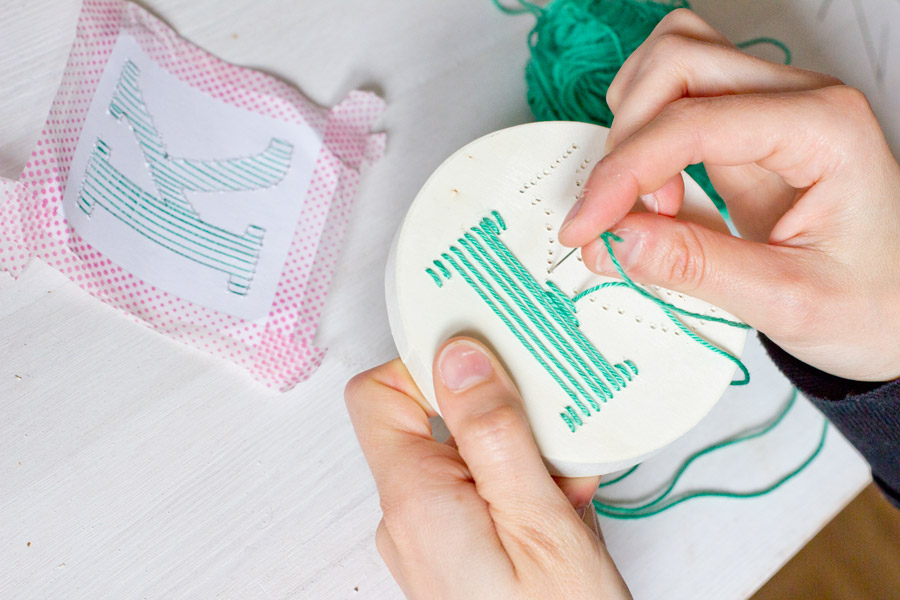
Now take the needle and thread the yarn through it. Make a knot in the end and thread through the holes. Make sure to go the shortest way in the back.
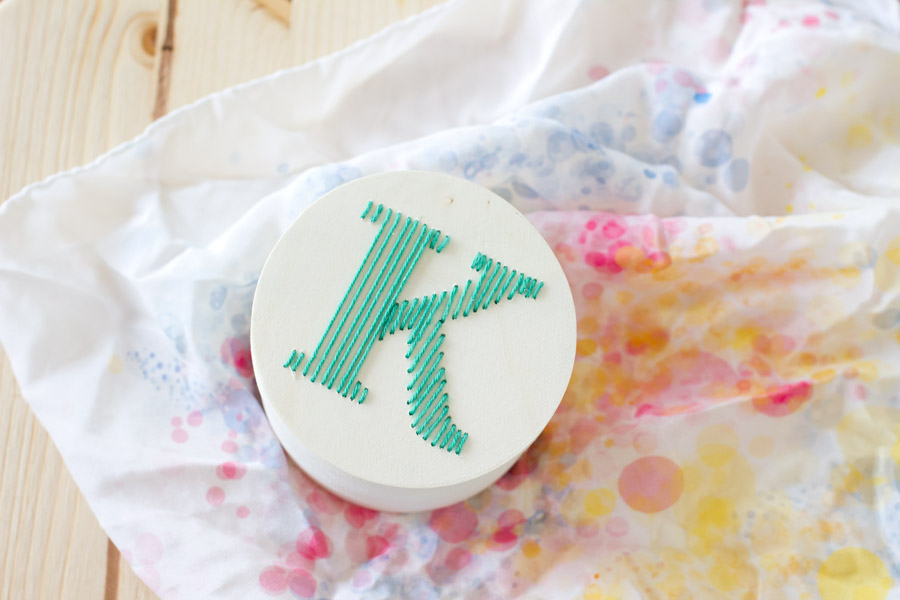
Voilá! You’re done! You just made an embroidered wood box.
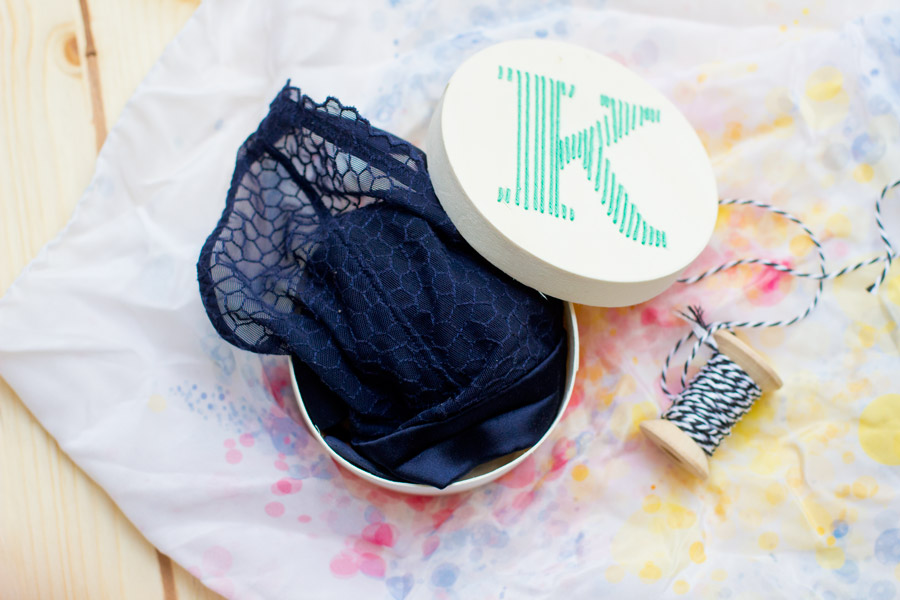
Now the birthday can come! I’m so stocked that I’m already this prepared. Now only a few more sisters and birthday to go. My mum this Saturday and my brother end of month. Do I have presents for those? Only one of them. That much about being organized.
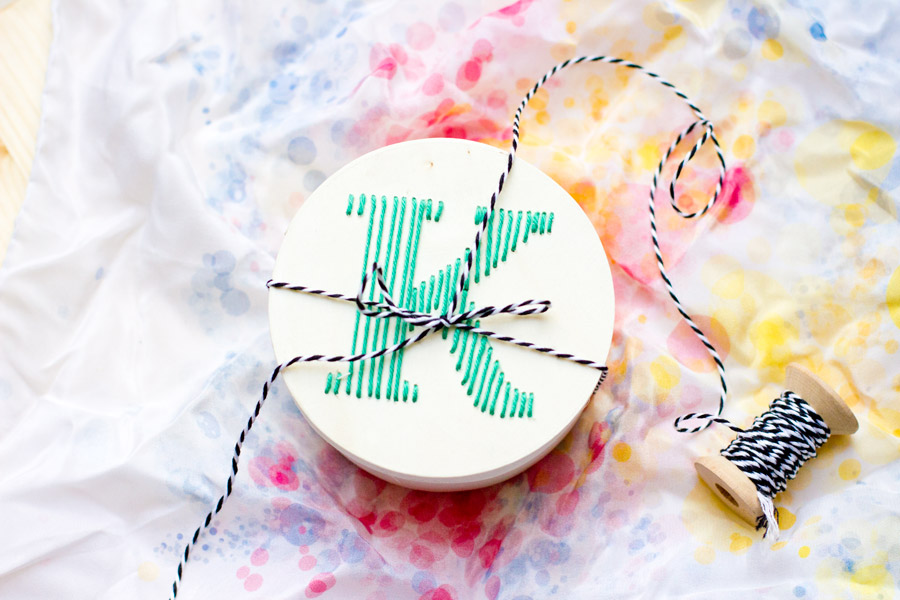
Well, at least I make one family member happy. If only she likes the present.
Now. Carry on!


This is awesome!
Thank you, Barbara!
[…] 2. Wooden Embroidery: Who says embroidery can only be used on fabric? Grab your power drill and use the ancient craft in a whole new way. (via Look What I Made) […]
[…] Neben verschiedenen Materialien, die sich zum Sticken eignen, gibt es mittlerweile auch Handyhüllen und Boxen, die extra zum Besticken gemacht sind, wie zum Beispiel diese Holzbox, die Delineate Your Dwelling mit einem Kaktus bestickt hat. Man kann aber natürlich auch selbst Löcher in Holz bohren und anschließend ein Motiv darauf sticken, wie zum Beispiel auf unserem Titelbild. Wie das geht, zeigt Sarah von Look What I Made in einem ihrer Stick-Tutorials. […]
[…] also think they make some great presents. I put them in this wooden embroidered box I made a while ago with some thin paper and ready is your last minute presents. They will be a hit, […]
[…] stand even more out and if you’re looking for other gift wrapping ideas, check this or this out – these are other DIYs to make your small gift (look) even more […]